We have strong winds today that are causing intermittent power outages. I’m suspending using my longarm machines until it passes. I want to avoid any surges & any chance of damaging a quilt. Thanks for your patience.
Category Archives: Quilting
Norwestern Quilt
Bonnie pieced this pretty Norwestern quilt. The Quilting design is called Storm Clouds by Christy Dillon. The thread is Teal color & the batting is Hobbs 80/20.


Whats in the works
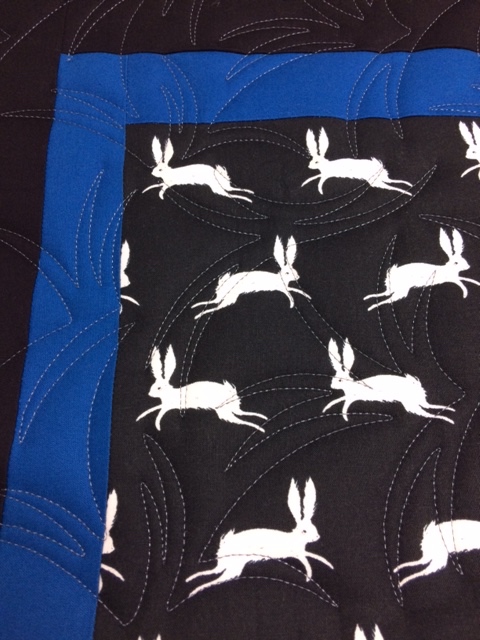
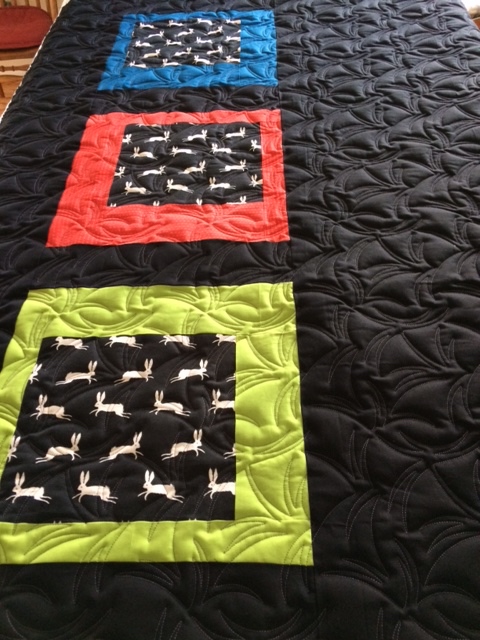
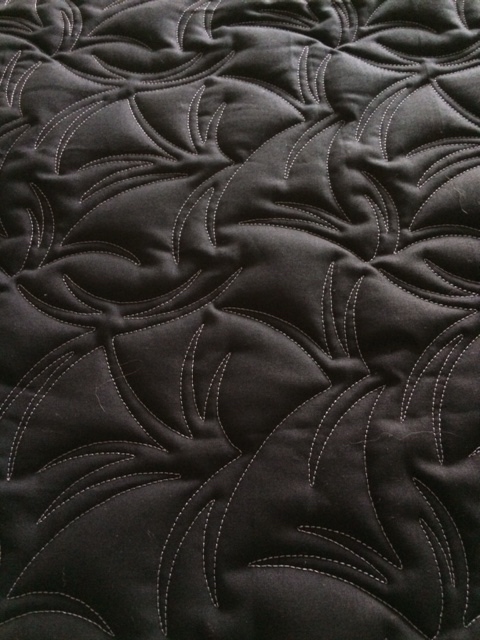
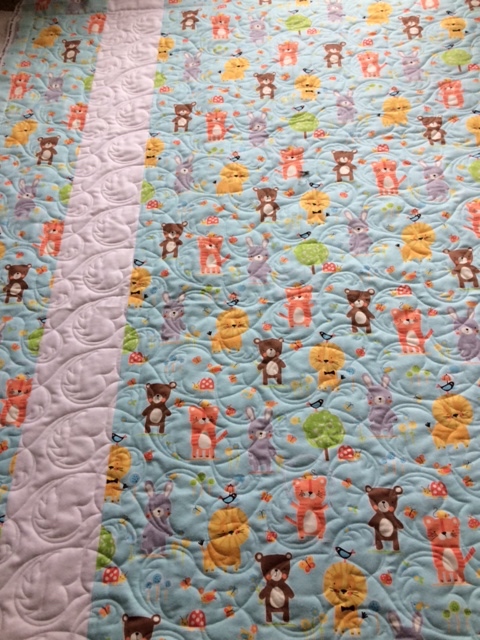
Today I have a couple things I’m working on. The edge 2 edge quilt belongs to Martha. Here is a sneak peek of her Bunny quilt. She wanted to quilt it with Spark allover design, which is looking really good! The thread is charcoal grey but looks a lighter under the bright lights that are over my machine.
****Editing to add finished photos*****
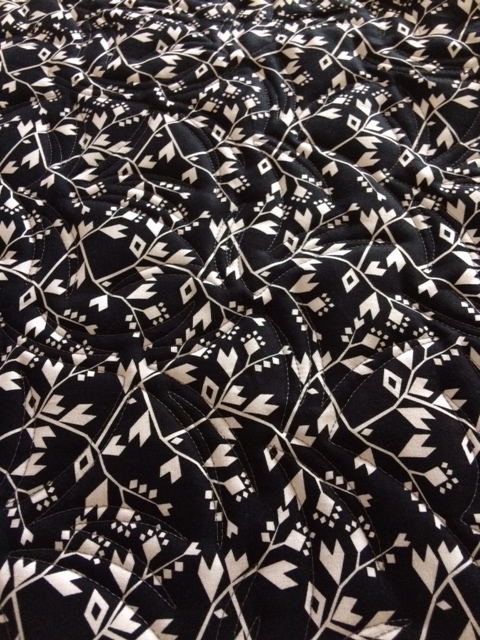 The black & white back for the quilt.
I’m starting on a Cuppa Quilt that belongs to Susan C. I’m part of the Sue Spargo BOM group 2016 called CUPPA & have a handful of ladies that needed someone to finish up their wooly projects. While I don’t normally do much custom quilting, I will be quilting a few of these special wallhangings for them and with their permission will share photos once I’m allowed to.
These are some of the most details projects I’ve ever seen outside of a high end quilt show. They have many layers of wool & have beautiful hand embroidery embellishing it. I really love looking at all of the detail. I will post a finished photo but until then, it is loaded & ready to begin the quilting. The batting is wool & the backing fabric is also a cool cup print. This is a pretty amazing piece that I’m lucky to see up close.
(If you saw a photo & wonder where it went…..I realized I was not authorized to show those yet by the Sue Spargo rules so I quickly took down the pic. Sorry for any confusion)
Charity Quilts for Great Lakes Heritage Quilt Guild
Yesterday I quilted 3 charity quilts for the Great Lakes Heritage Quilt Guild. I want to share some photos of the tops that were pieced by the Charity volunteer workers. Many of these get finished and returned to the charity committee without being viewed by others and a few get shown during show & tell on meeting night.
Since they often have busy prints the quilting cannot be seen unless up close. I thought the workers might want to see the finished quilts (well, they still needing binding). I’m trying to do primarily the quilting portion & pass them onto the ladies that like to do the binding only.
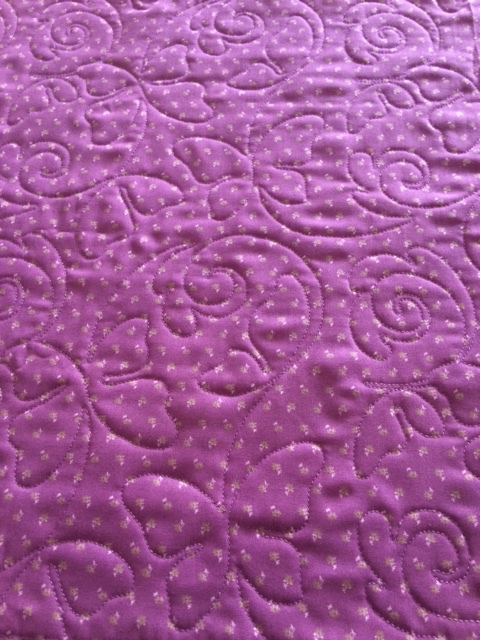
For the first quilt I chose a lavender thread and a butterfly design. It has a lavender backing & boy this thread was a true match for that fabric. Less contrasting thread results in mainly a look with texture.

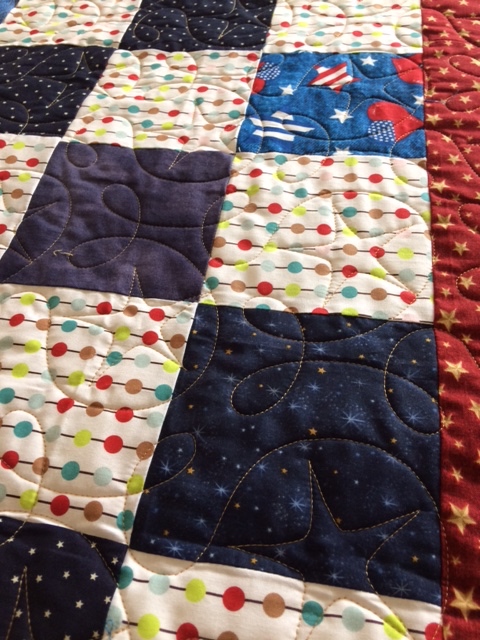
The next two throws are the same quilt with two different star quilting designs. I used a medium color gold thread that went well with the gold in the border print. Each quilt has a different backing. Its a great example for showing the difference you can achieve by using prints or solids & high or low contrasting color threads. The gold nearly blends in on the red print, yet on the muslin it stands out clearly and you can see a stronger contrast in color.


As I weed through my fabric stash in 2017, I’ll be donating more fabrics & partially finished projects to the charity gals who do a great job pulling these quilts together!
Asian Window Quilt & Camelot Quilt
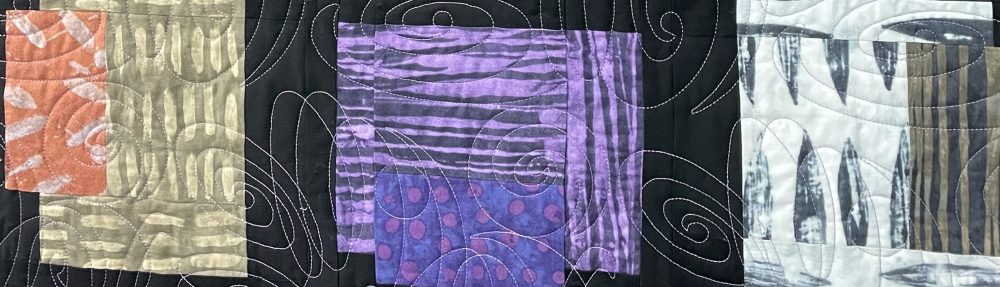
More quilts by Kathy, here is her window quilt with Deb Geissler’s Asian Flower Swirls quilting design, one of my new designs. It looks like Cherry Blossoms, pink thread, and Hobbs 80/20 batting. She made a pieced backing, making great use of her fabric stash!


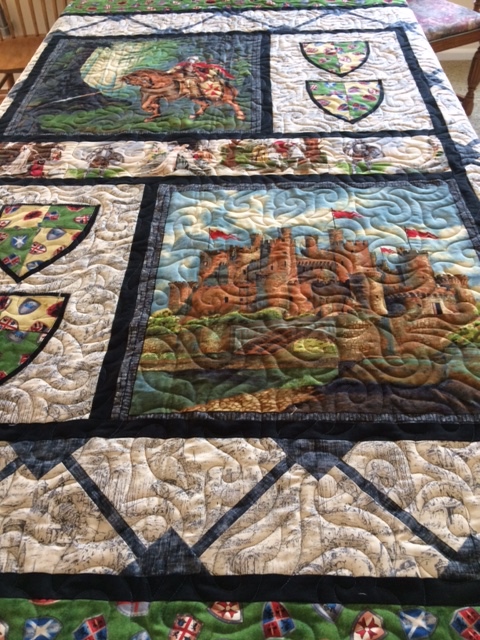
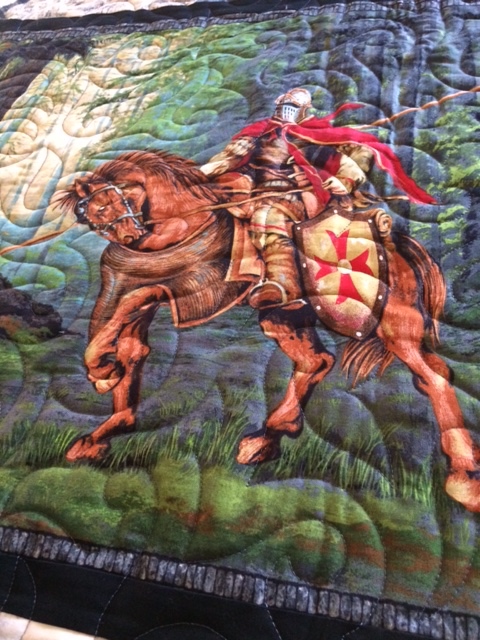
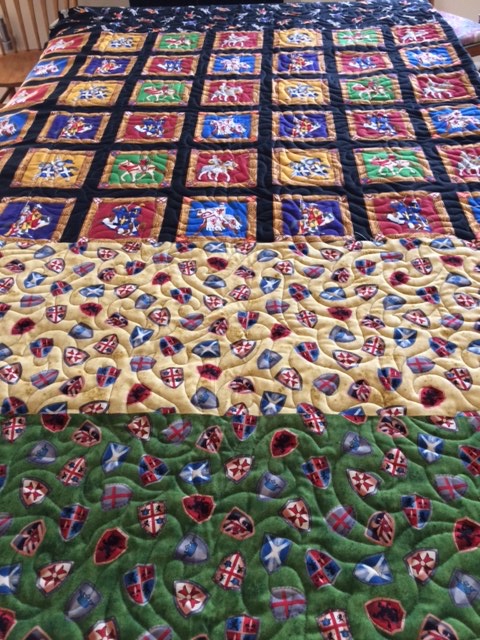
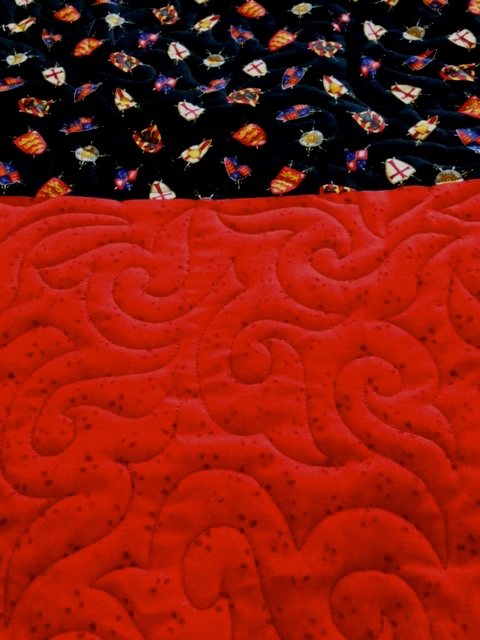
Her next quilt I’m calling Camelot. It is quilted allover with Ironworks digital design by Celine Spader. The thread is Black Marble and the batting is Hobbs 80/20. Kathy again made a really cool pieced backing with several different fabrics. I took a close up of the Knights print. I think the gentleman this is being gifted to will be very happy.


Wooly Goodness
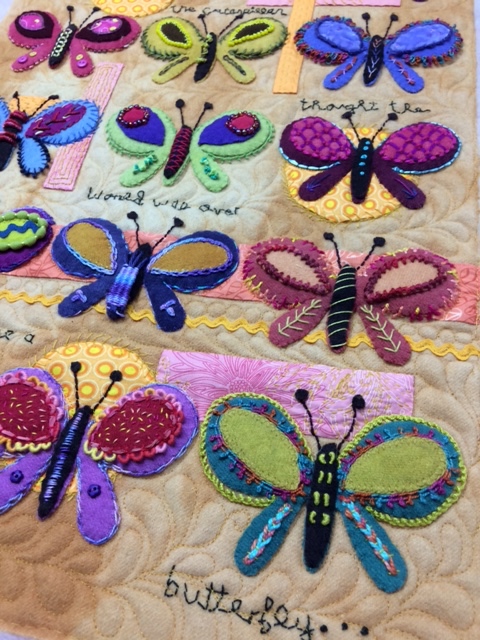
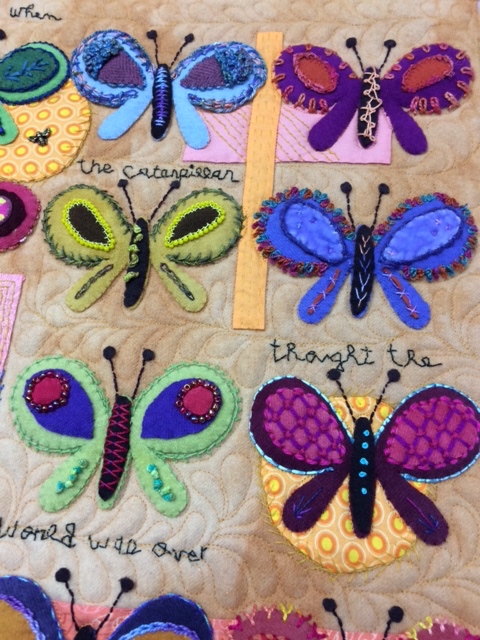
Susan C., from Tennessee, made this beautiful Wooly Butterfly Wallhanging. The pattern is by Sue Spargo. This small wallhanging packs a punch with all the small beads, knots & special stitches. I chose to custom quilt it with some wonky feathers. The batting is Hobbs Wool & a gold thread to go with the background wool. It was such a treat to see all the beautiful work up close. I posting several photos so you can see all the different butterfly’s.


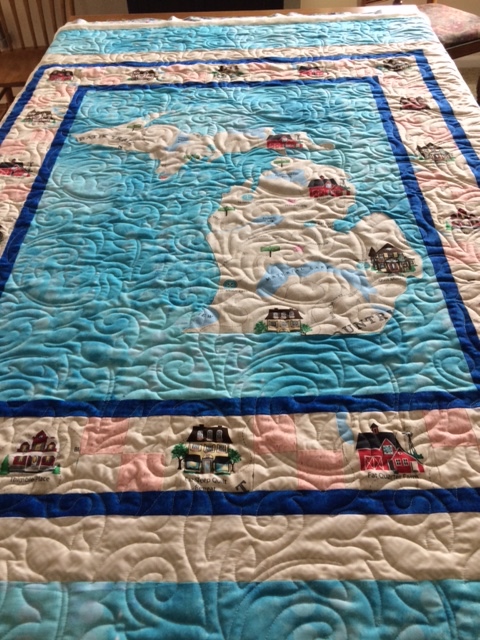
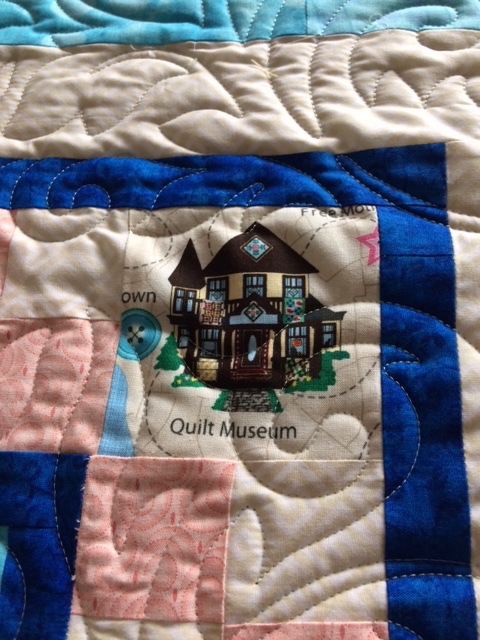
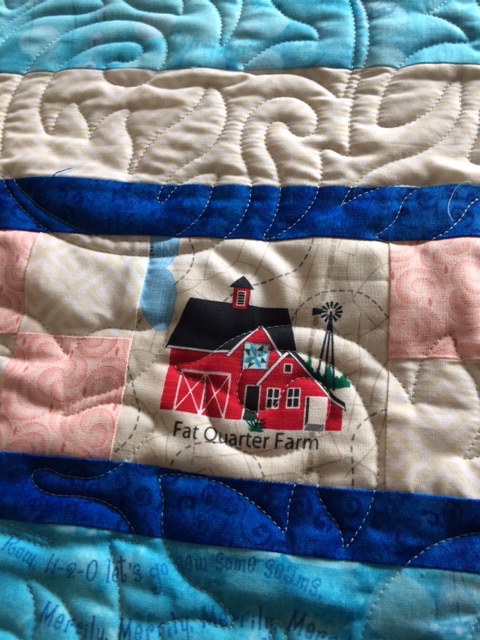
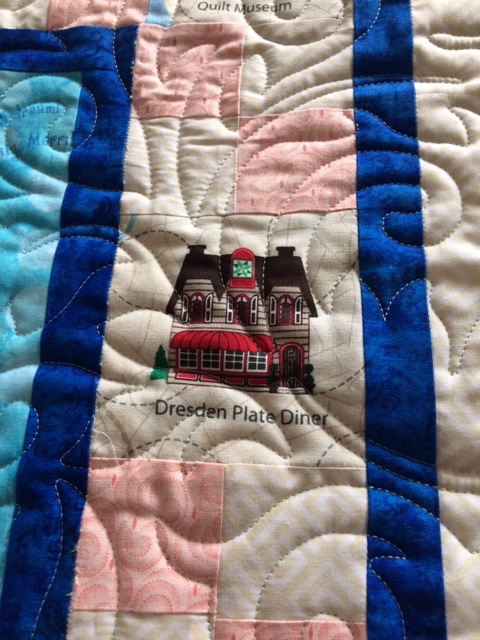
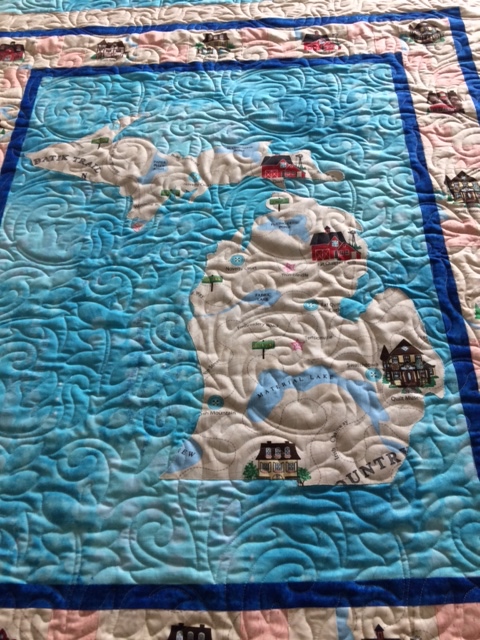
A Michigan Quilt
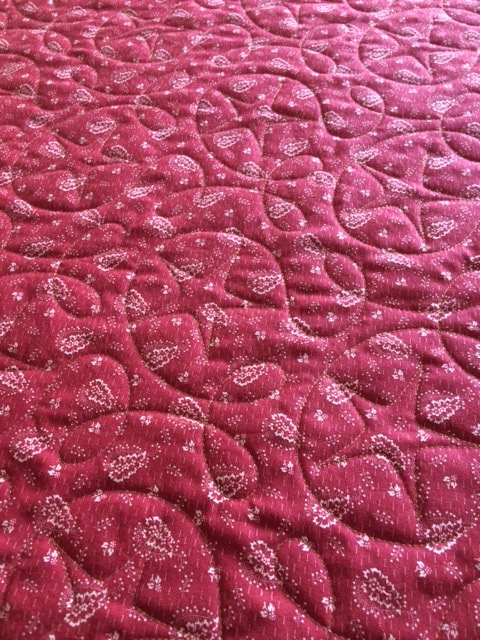
Kathy made this cute Michigan Quilt & I had to take some up close photos of the houses in it. The quilting design is called Damask, batting is Hobbs 80/20 & it’s quilted with a very light teal thread. The backing has lots of stones. It reminds me of the beach at Copper Harbor.

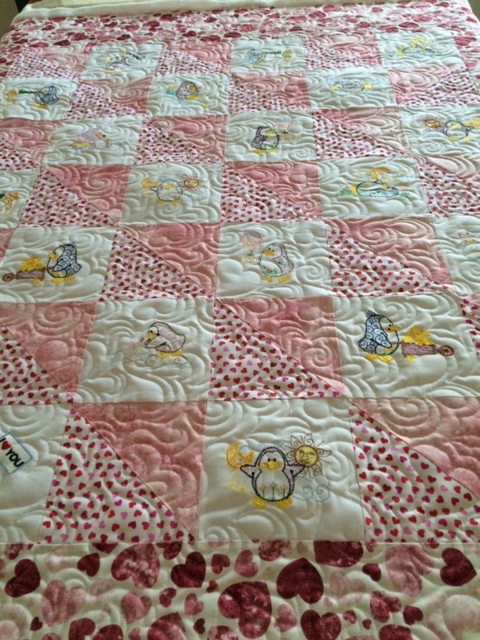
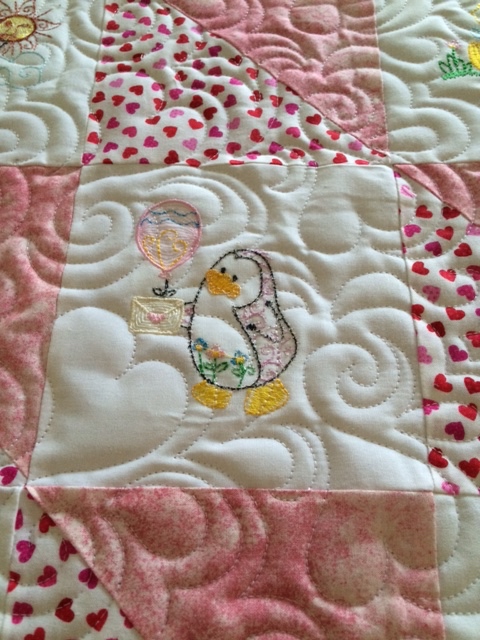
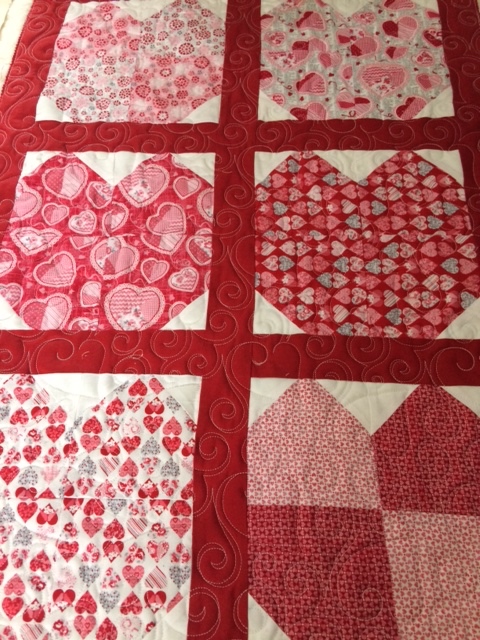
Happy Valentines Day
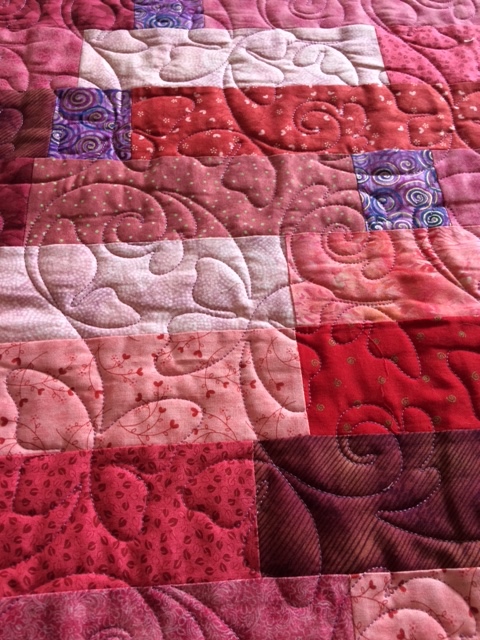
Here’s a flash back to some “sweet” heart quilts.


About Quilt Backings
I get a lot of questions in regard to whats a good backing for my quilt. First I ask that the quilt backs be 4″ larger than the quilt top on each side. The easy way to calculate this is add 8″ or 10″ to the width and length of your quilt top. If your top is 62 x 84 you can do some fast math in your head by adding 10″ = 72 x 94 for your back. The reason I suggest 10″ is because the tops often are a little bit bigger when spread out on batting.
The easiest way to prepare a backing is to purchase wide backing. They come in 108″, 110″ & 116″ and you don’t have to bother sewing any seams. Just square up your piece and you’re ready to go.
There are lots of ways to piece a backing. First are the Do Not’s:
1) Please do not put a border around your backing. They are a pain to try to center and if you are just adding the requested 4″ on each side, the seam can end up in your binding area making it really thick.
2) Please do not put a lot of small piecing at the edges of the backing. They tend to pull apart when clamped.
The most important thing is that your backing is big enough and FLAT. If you piece something in the interior of the quilt make sure the piecework doesn’t droop or it is likely to pleat.
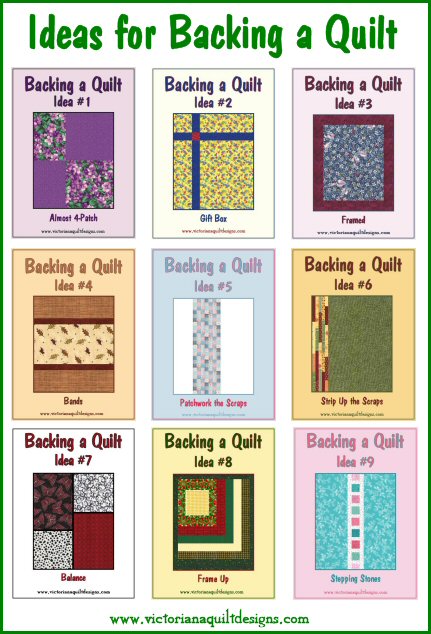 I found this great example of backing ideas at: http://victorianaquiltdesigns.com/VictorianaQuilters/Library/UsefulInfo/VQDInspiration/QuiltBackingIdeas.htm
Would you like a copy of your own? Benita is offering you a free copy of this via email by following the link above. This is a cool example to have handy when you’re ready to prepare a backing.
(Note: Idea #3, is great for laying out at home but not the best option when having your quilt Longarm quilted)
I also get a lot of great ideas that my clients come up with for using their existing fabrics for backs. Instead of adding to the edges of the back, consider slicing & placing it in the interior of the back. Panels work great in a backing. You can make good use of orphan blocks too. Maybe you may have some yardage that you have no plans for or excess from the quilt top. Try putting a few of them together to make a backing. It can be a real surprise how well they look when quilted.


Peace, Love, Quilt Mystery Progress
Just wanted to share the pics of my progress so far on the Peace, Love, Quilt Mystery Quilt I’m making. Its a free mystery quilt offered online. Sharon Blackmore of Love Shack Quilts has generously offered this Mystery for free. Here is a link to the group if you are interested, https://www.facebook.com/groups/1209965062356872/ . She does a lot of cool mystery quilts and supplies her real time support if you have questions along the way.
I’ve learned a lot from her videos and she does some live instruction too. Just when you think maybe you’ve learned all there is, well there are more great ideas to learn. I joined her Prairie Quilt Militia and have access to this private group that are a really fun helpful bunch of ladies. She is in Canada so the current exchange rate is a bonus. I also get access to past mystery patterns. Here’s how far along I am on Peace, Love, Quilt:


Check out the little fox above. That was a happy accident. 😉
