A Michigan Quilt

Kathy made this cute Michigan Quilt & I had to take some up close photos of the houses in it. The quilting design is called Damask, batting is Hobbs 80/20 & it’s quilted with a very light teal thread.  The backing has lots of stones. It reminds me of the beach at Copper Harbor.

IMG_2795 IMG_2796 IMG_2797 IMG_2798 IMG_2799 IMG_2800

About Quilt Backings

I get a lot of questions in regard to whats a good backing for my quilt. First I ask that the quilt backs be 4″ larger than the quilt top on each side. The easy way to calculate this is add 8″ or 10″ to the width and length of your quilt top. If your top is 62 x 84 you can do some fast math in your head by adding 10″ = 72 x 94 for your back. The reason I suggest 10″ is because the tops often are a little bit bigger when spread out on batting.

The easiest way to prepare a backing is to purchase wide backing. They come in 108″, 110″ & 116″ and you don’t have to bother sewing any seams. Just square up your piece and you’re ready to go.

There are lots of ways to piece a backing. First are the Do Not’s:

1) Please do not put a border around your backing. They are a pain to try to center and if you are just adding the requested 4″ on each side, the seam can end up in your binding area making it really thick.

2) Please do not put a lot of small piecing at the edges of the backing. They tend to pull apart when clamped.

The most important thing is that your backing is big enough and FLAT.  If you piece something in the interior of the quilt make sure the piecework doesn’t droop or it is likely to pleat.

VQDIdeasforBackingaQuilt   I found this great example of backing ideas at: http://victorianaquiltdesigns.com/VictorianaQuilters/Library/UsefulInfo/VQDInspiration/QuiltBackingIdeas.htm

Would you like a copy of your own? Benita is offering you a free copy of this via email by following the link above. This is a cool example to have handy when you’re ready to prepare a backing.

(Note: Idea #3, is great for laying out at home but not the best option when having your quilt Longarm quilted)

I also get a lot of great ideas that my clients come up with for using their existing fabrics for backs. Instead of adding to the edges of the back, consider slicing & placing it in the interior of the back.  Panels work great in a backing. You can make good use of orphan blocks too. Maybe you may have some yardage that you have no plans for or excess from the quilt top. Try putting a few of them together to make a backing. It can be a real surprise how well they look when quilted.

IMG_2687  img_2141

IMG_0804  IMG_1698

photo 3  IMG_0381

IMG_1363  IMG_1722

IMG_2644  DSC00006

Peace, Love, Quilt Mystery Progress

Just wanted to share the pics of my progress so far on the Peace, Love, Quilt Mystery Quilt I’m making. Its a free mystery quilt offered online. Sharon Blackmore of Love Shack Quilts has generously offered this Mystery for free.  Here is a link to the group if you are interested, https://www.facebook.com/groups/1209965062356872/ .  She does a lot of cool mystery quilts and supplies her real time support if you have questions along the way.

I’ve learned a lot from her videos and she does some live instruction too. Just when you think maybe you’ve learned all there is, well there are more great ideas to learn. I joined her Prairie Quilt Militia and have access to this private group that are a really fun helpful bunch of ladies. She is in Canada so the current exchange rate is a bonus. I also get access to past mystery patterns. Here’s how far along I am on Peace, Love, Quilt:

IMG_2771 IMG_2772

Check out the little fox above. That was a happy accident. 😉

Vintage Flower Baskets

This is Susan’s Vintage Flower baskets. The embroidered blocks are vintage & she was able to find some nice coordinating fabrics to set them off.  The baskets are stitched around and then framed to keep a simple vintage look. I used my Intelliquilter computer to create an original frame to fit her baskets.  The 36 patch blocks have ‘Continuous Curve’ quilting. I’ve SID’d the blocks and borders. The Red border has a filigree design and the outer border has scalloped swags with flower head cornerstones. She chose a floral backing, if you look closely you can see the bird in the basket.  The batting is Hobbs 80/20. Sweet!

IMG_2756 IMG_2758 IMG_2759 IMG_2760 IMG_2761 IMG_2763 IMG_2764 IMG_2766

Manifestation Quilt

Pam and group of ladies made this Manifestation Quilt for a specific friend. It’s comprised of all the good things that are projected for her future.  The quilting design is Ebb & Flow, I used a clear thread & Hobbs 80/20 batting. The quilt backing is a fun heart print.

IMG_2742 IMG_2743IMG_2744

Pam’s table runner, the quilting design is called Hearts & Ribbons. It will make a really cute Valentines table runner.

IMG_2748  IMG_2747

Just Can’t Cut It Batik Quilt

This is a “Just Can’t Cut It” quilt. The pattern was originally designed to use fabrics in the large blocks that you just don’t want to cut up. Its a great pattern and makes up really fast. I recommend it when you need a quick quilt for a gift or maybe you just have some fabric you don’t want to cut up. This is for her son and so she chose a great masculine quilting design.

Quilting design is Aqua Flame, Golden Orange thread, Hobbs Poly-down batting.

IMG_2723  IMG_2718 IMG_2720 IMG_2721

3 Quilts, 3 Allovers

Here are 3 quilts by Liz. Two are flannel & one is cotton. First the Bears Baby Quilt, Dragon Tails allover design, white thread & Hobbs 80/20 batting.

IMG_2681 IMG_2682 IMG_2683 IMG_2688

Second is Liz’s Carpenter Star quilt with Flight of Fancy allover design, green thread, and Hobbs 80/20 batting.

IMG_2705 IMG_2706 IMG_2707 IMG_2708

Third is a flannel quilt, Variety B2B design, Pink thread & Hobbs batting.

IMG_2709 IMG_2710 IMG_2711

Take a picture it will last longer

Do you remember saying that as a kid?  Now I see that saying not as an insult for staring but as a reminder to record the quilts I make.

I record a lot of clients quilts but I realize now that I don’t have photos of all of my own quilts.  I wish I had a photo of the first quilt I made  but it was back before the digital photo age. I’m trying to keep record now of any I make for my memories sake but am also finding more reasons to use my phone’s camera when making a quilt.

Here is a few ways to use your phone’s camera throughout the quilt making process:

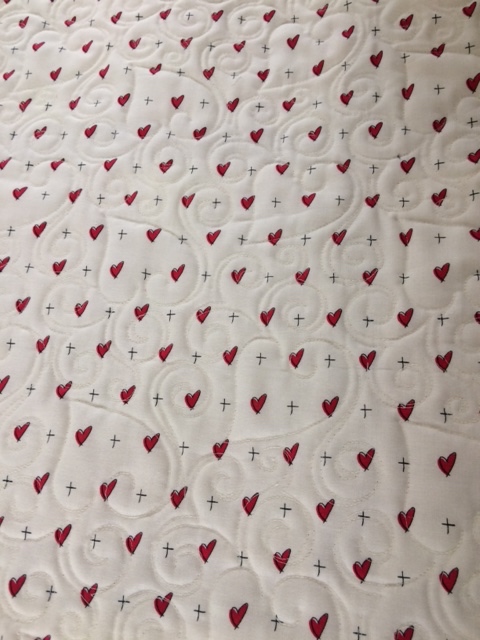
Photo your fabric so you have that with your when shopping for additional fabrics, backings and binding. The accuracy of color and clarity is pretty good and on the smart phone I can enlarge the photo for details and compare to other fabrics.

Photo the fabric requirements. You’ll have them with you & ready when you are to purchase and not have to guess at the yardage or carry that pattern around to shops.

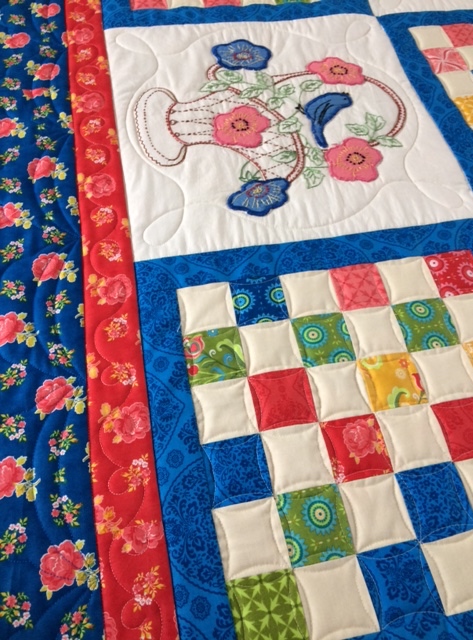
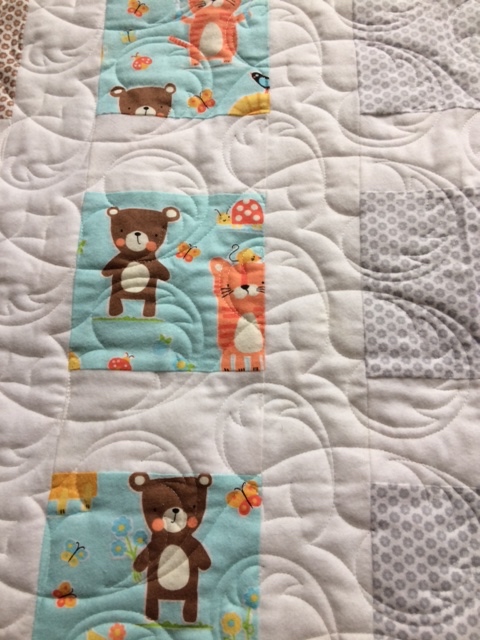
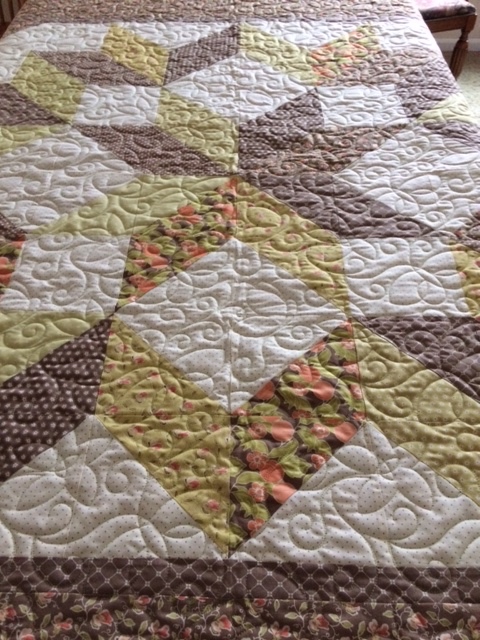
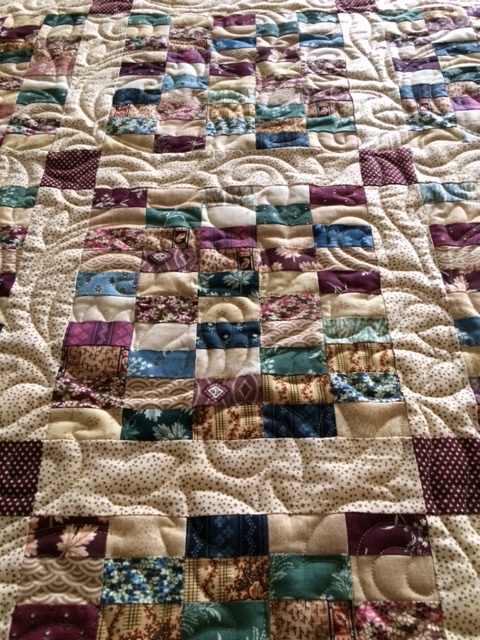
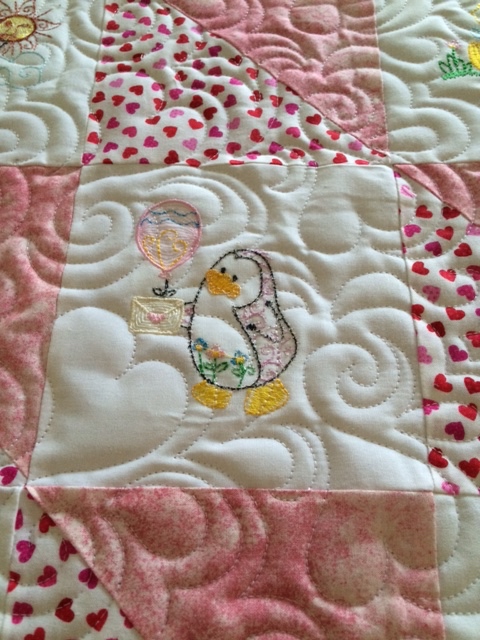
Photo your blocks. When you look at the photo you can see the contrast of colors and prints. You may decide that you need to swap out a fabric to get the impact you want in your quilt. You may also find pieces that you’ve put together wrong.

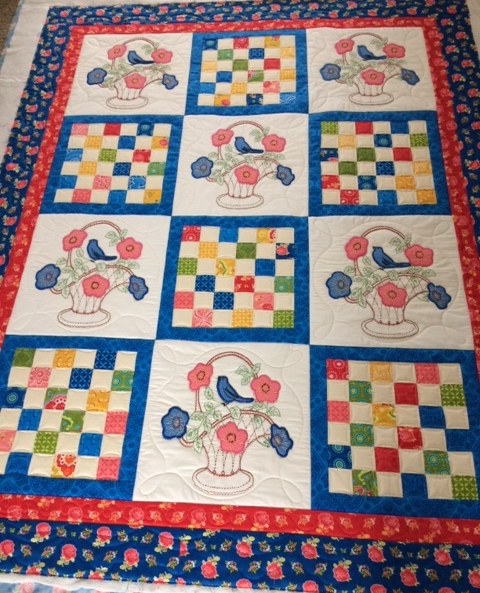
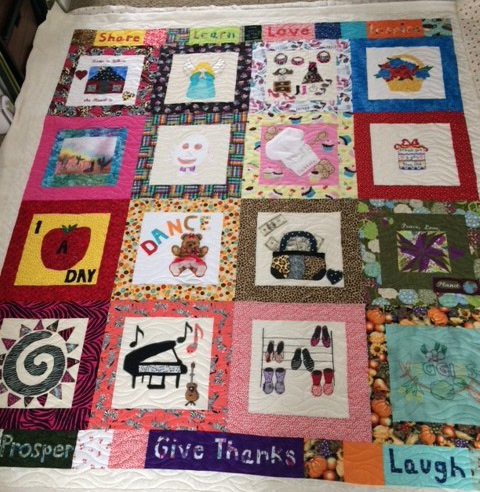
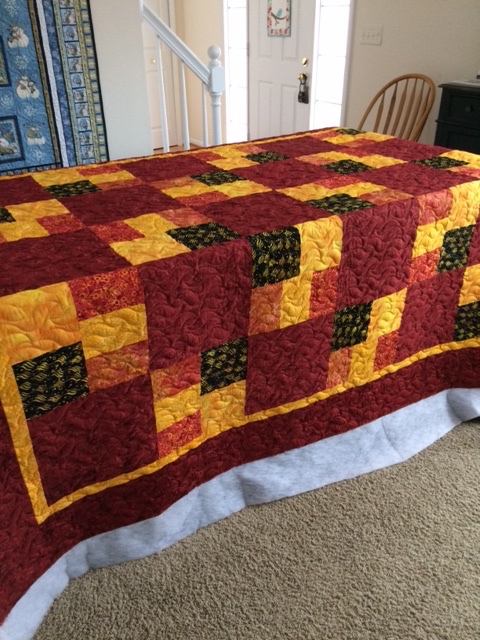
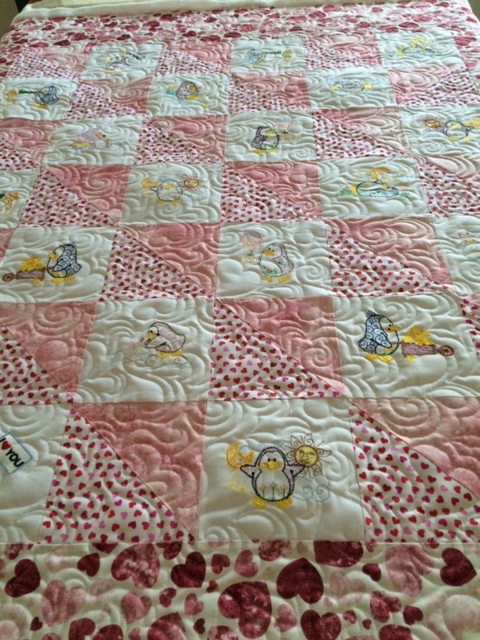
Lay out your blocks and sashing then take a photo. You will have a record of your block placement. You can try laying out several different ways and look at them before sewing the blocks together. You can email the photo to a friend if you need advice. You may also find a flipped block before you sew & then have to rip out.

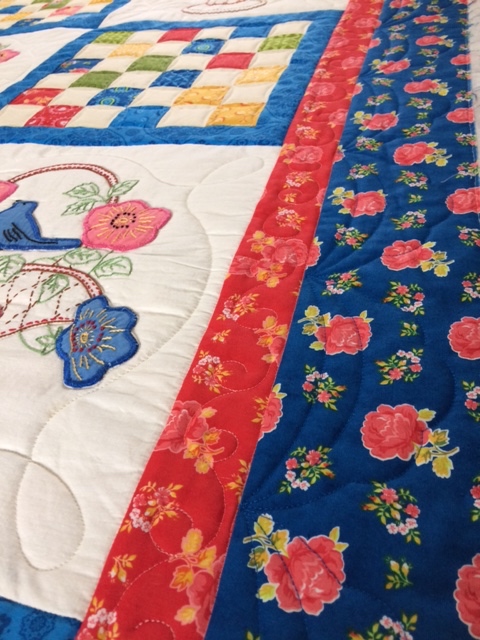
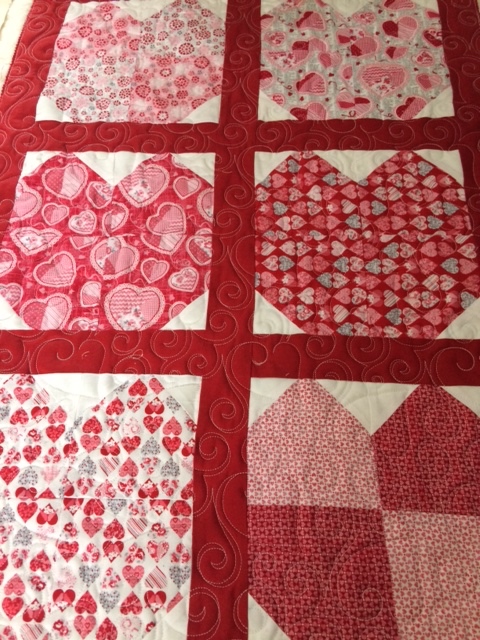
You can also lay out your borders & swap out with other fabrics take a photo and then decide which way you like it best.

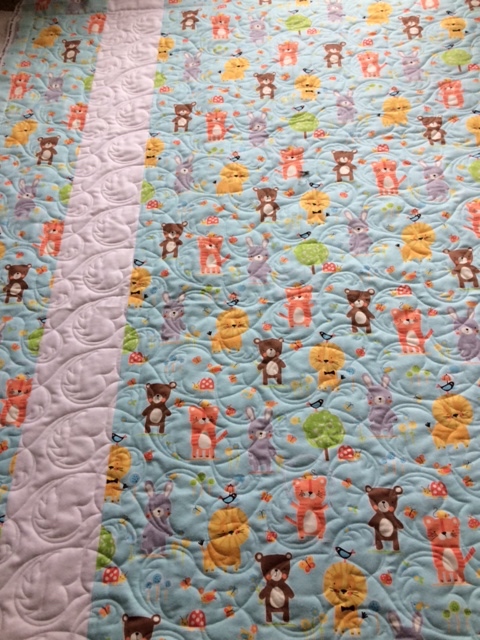
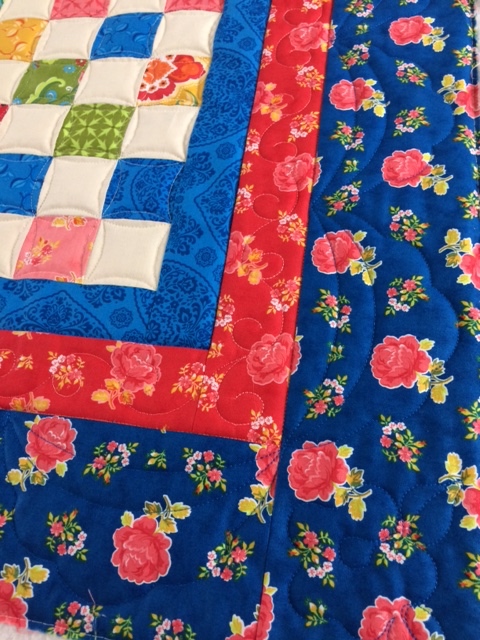
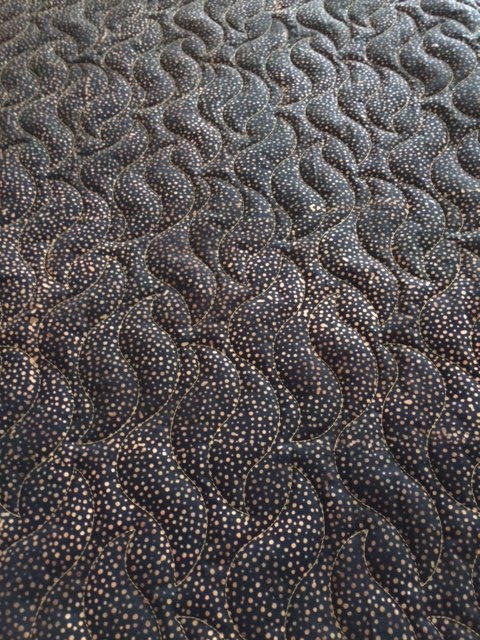
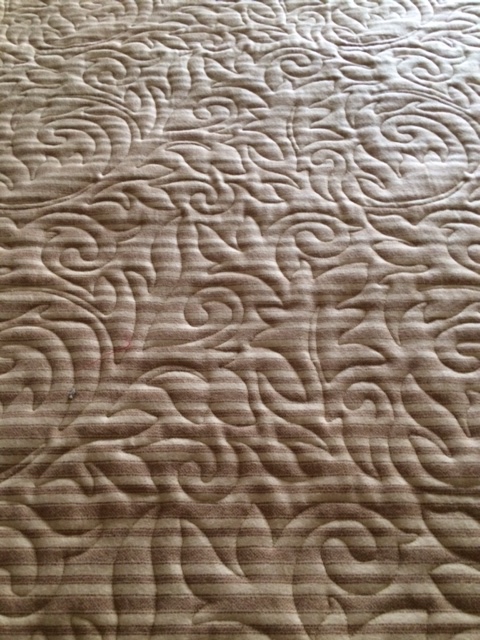
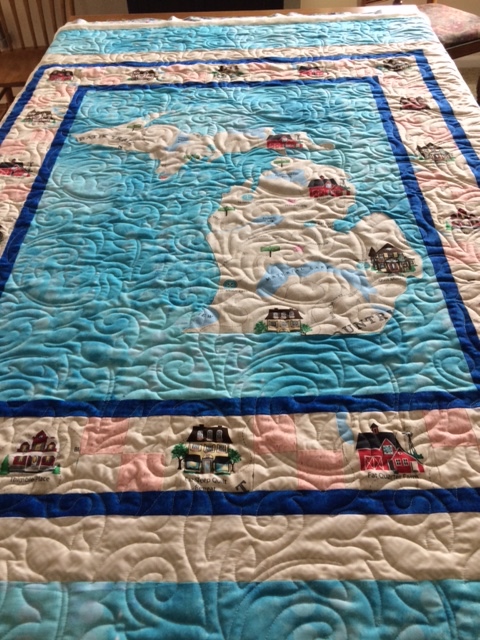
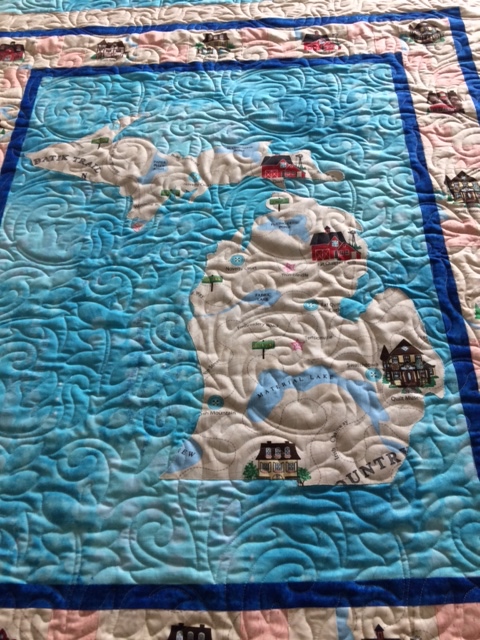
I’m finding a lot of benefits of looking at the quilt photos, it really makes finding errors easier and  what a simple thing to do. I also like taking a photo before & after quilting the layers together.

Now all I need to do is remember to take the pics. So while I’m not into the selfie, I am into the quiltie. 🙂
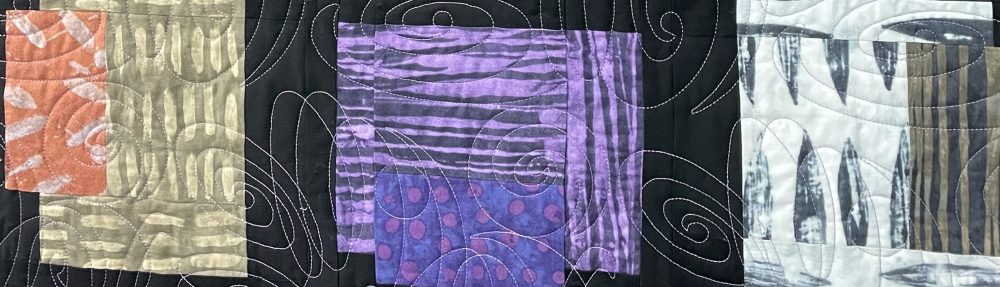
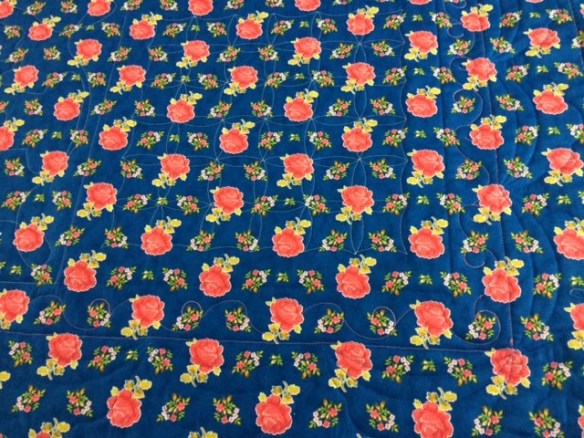
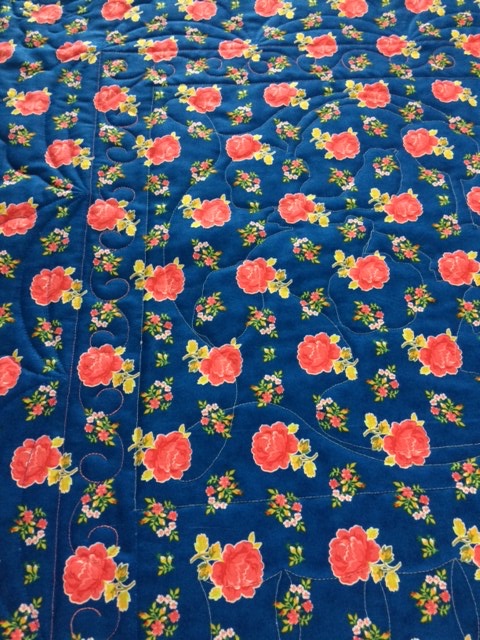
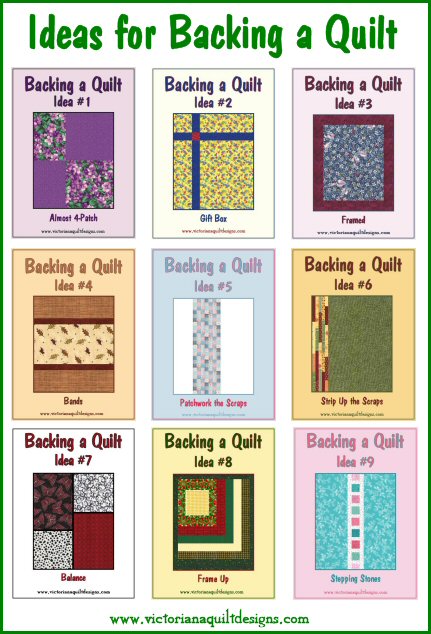