


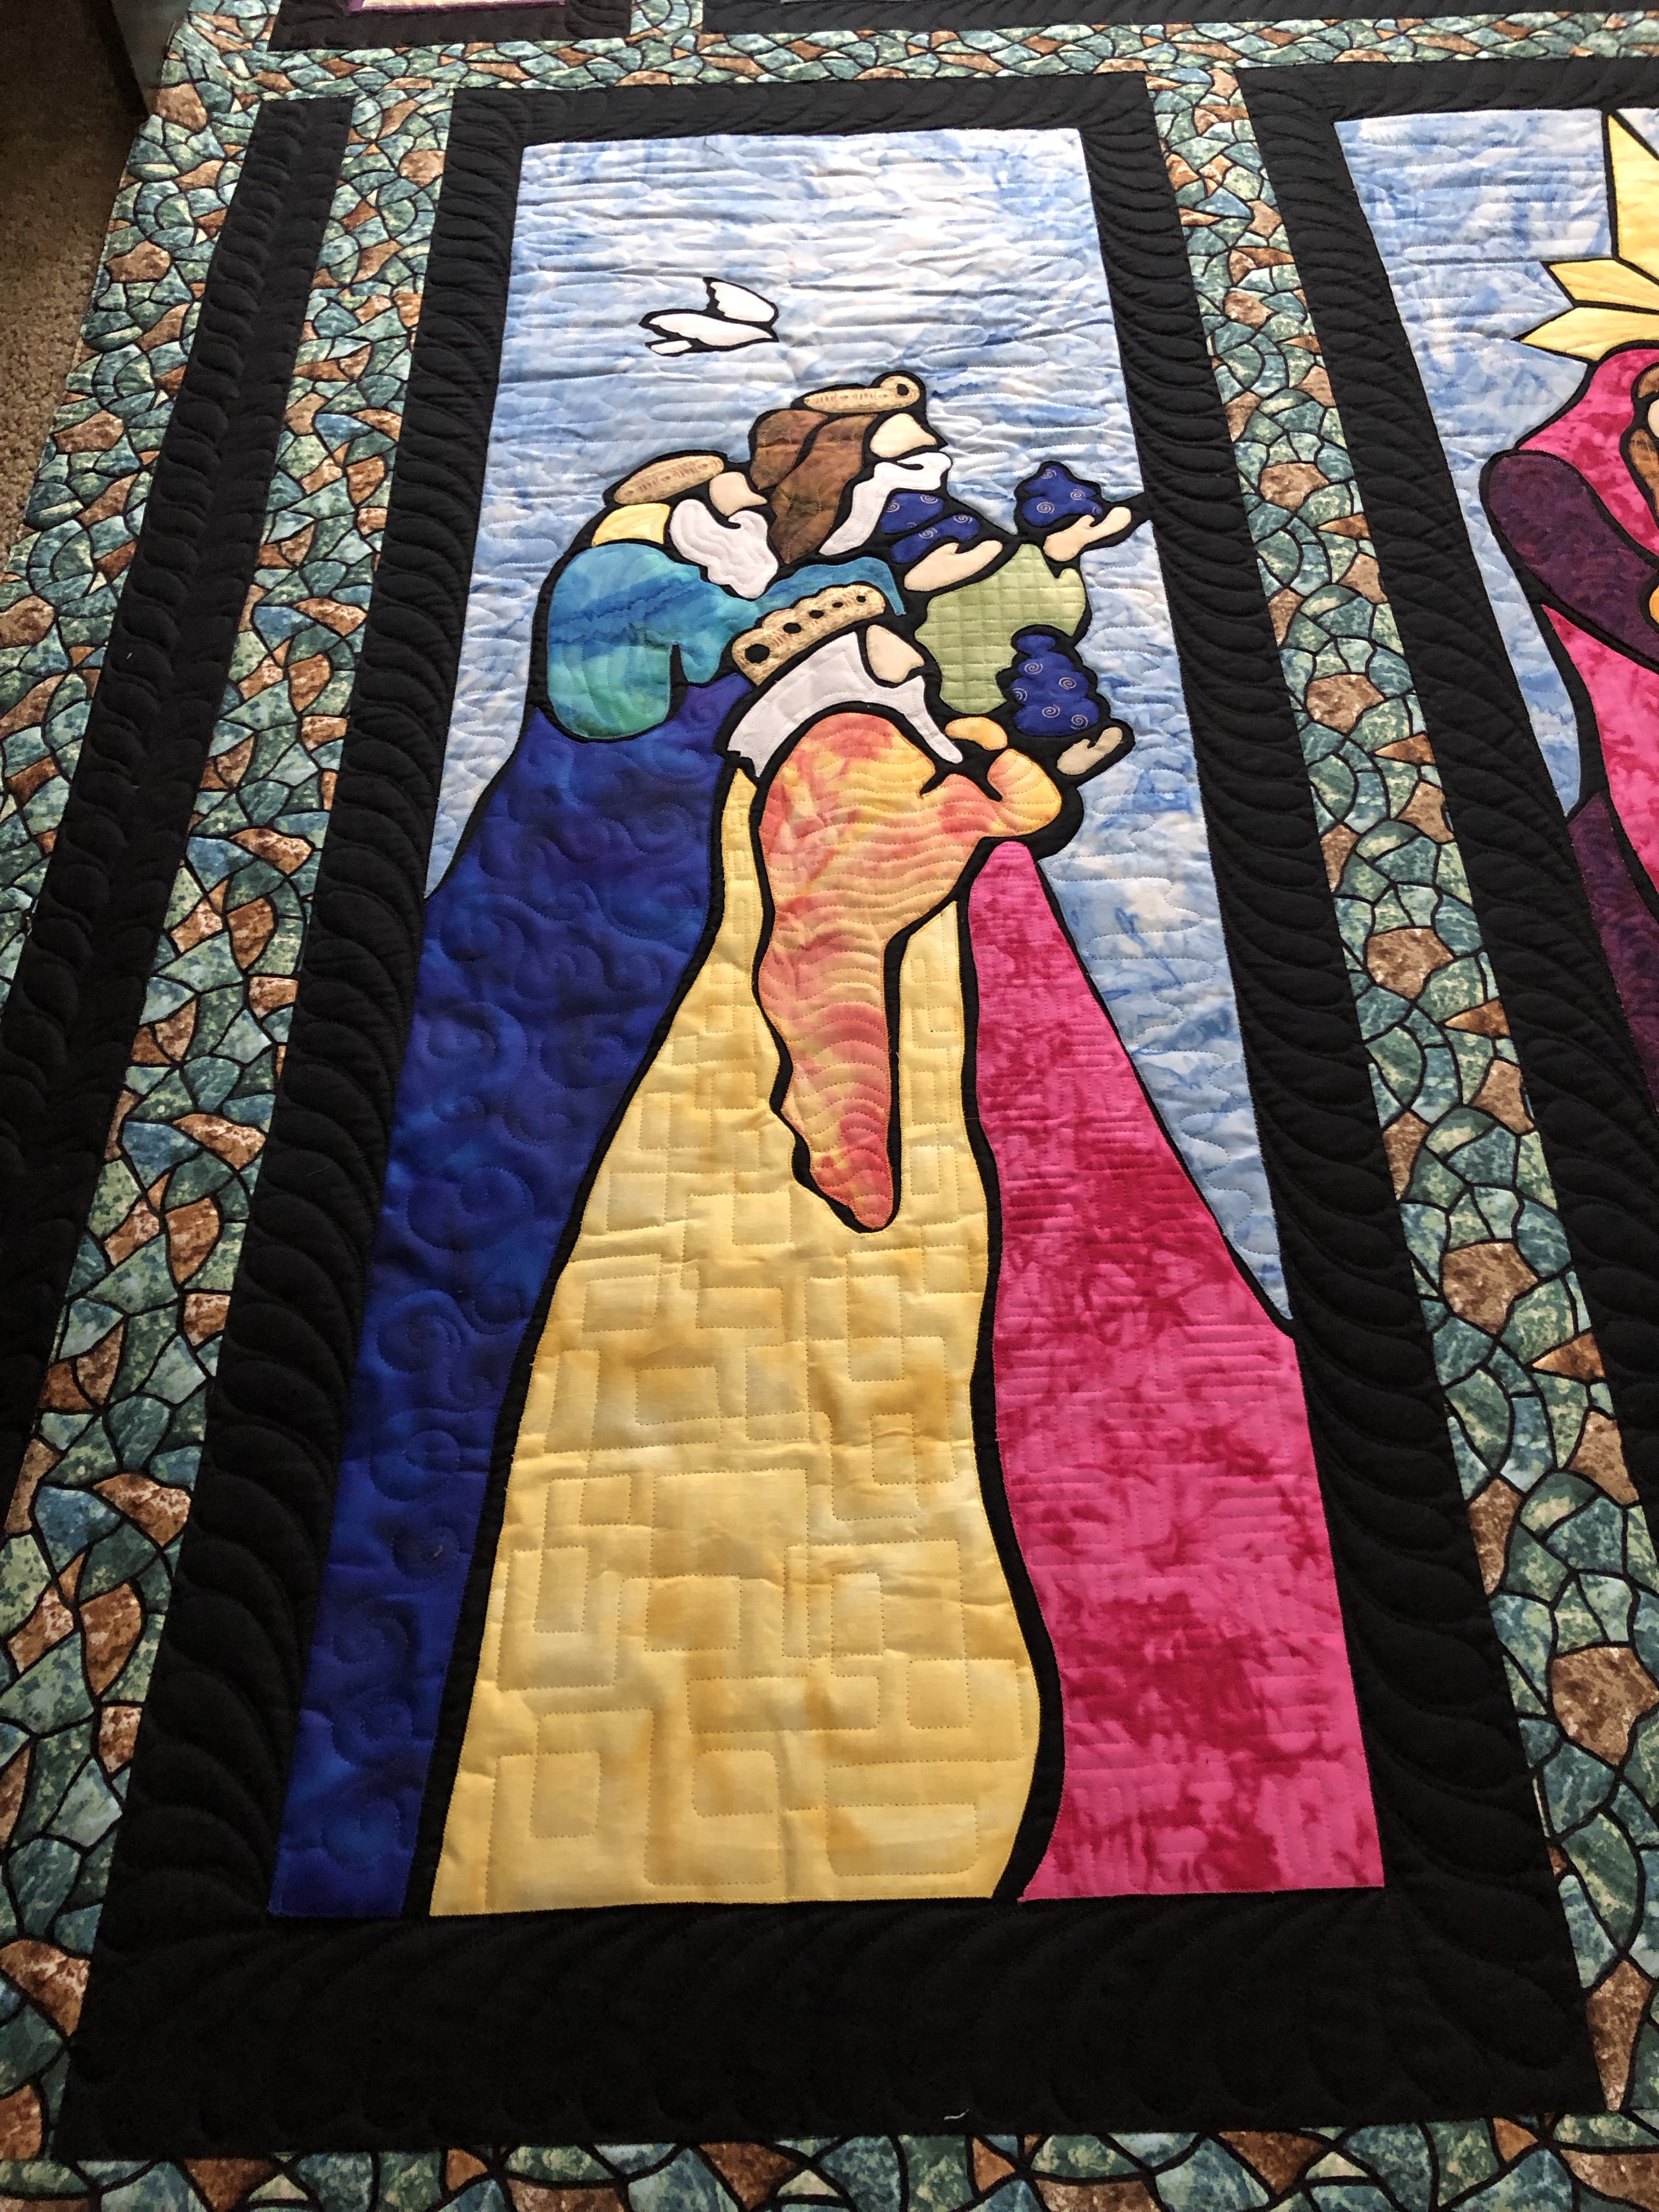
I’m currently working on the second King sized Nativity quilt for my friend Marlene. It’s something I promised her I would do for her years ago, 3 to be exact. She gave me 10 years to finish them since they are heirloom quilts for her grand kids so I’m feeling a bit ahead of schedule.
They take some time to do because there’s a lot of outlining involved. She put a lot of work into these. They are truly a labor of love. I was nearly on the ceiling to take this photo and get the whole quilt into the pic. On the first quilt I thought I should outline all the cracks in the stone print. It looks great but took hours and hours with a ruler. On the next one I will not be doing that. lol


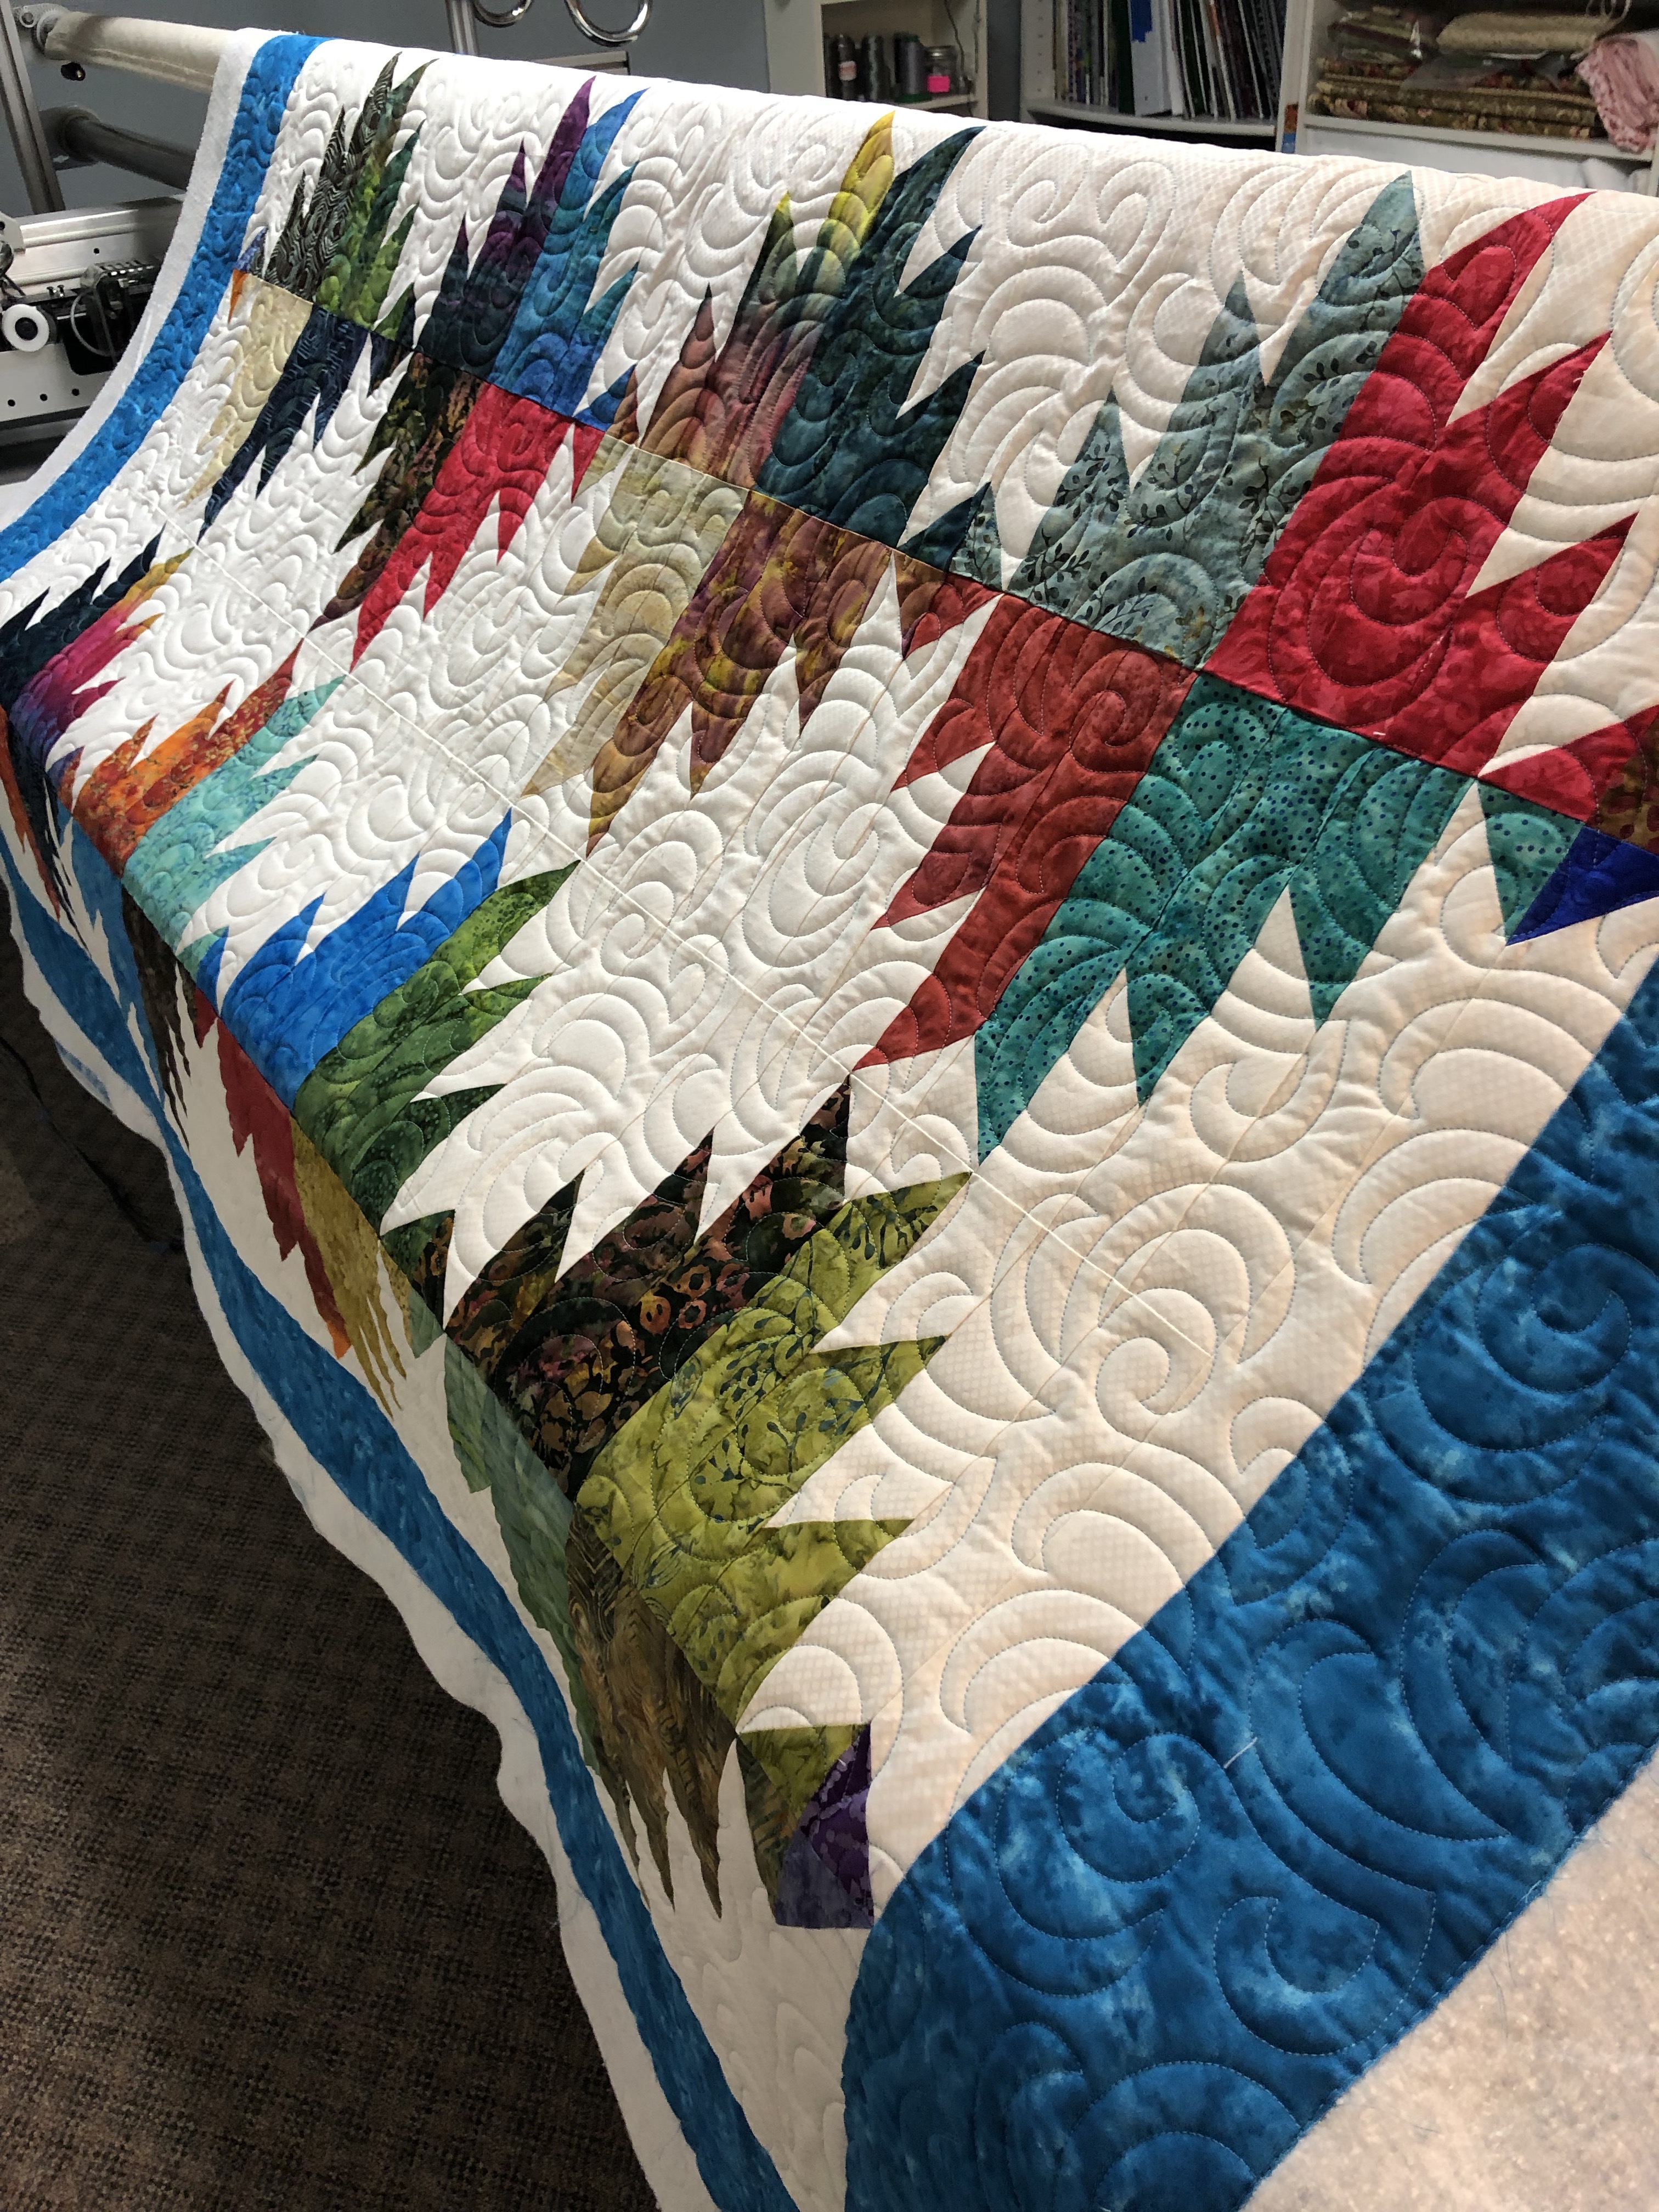
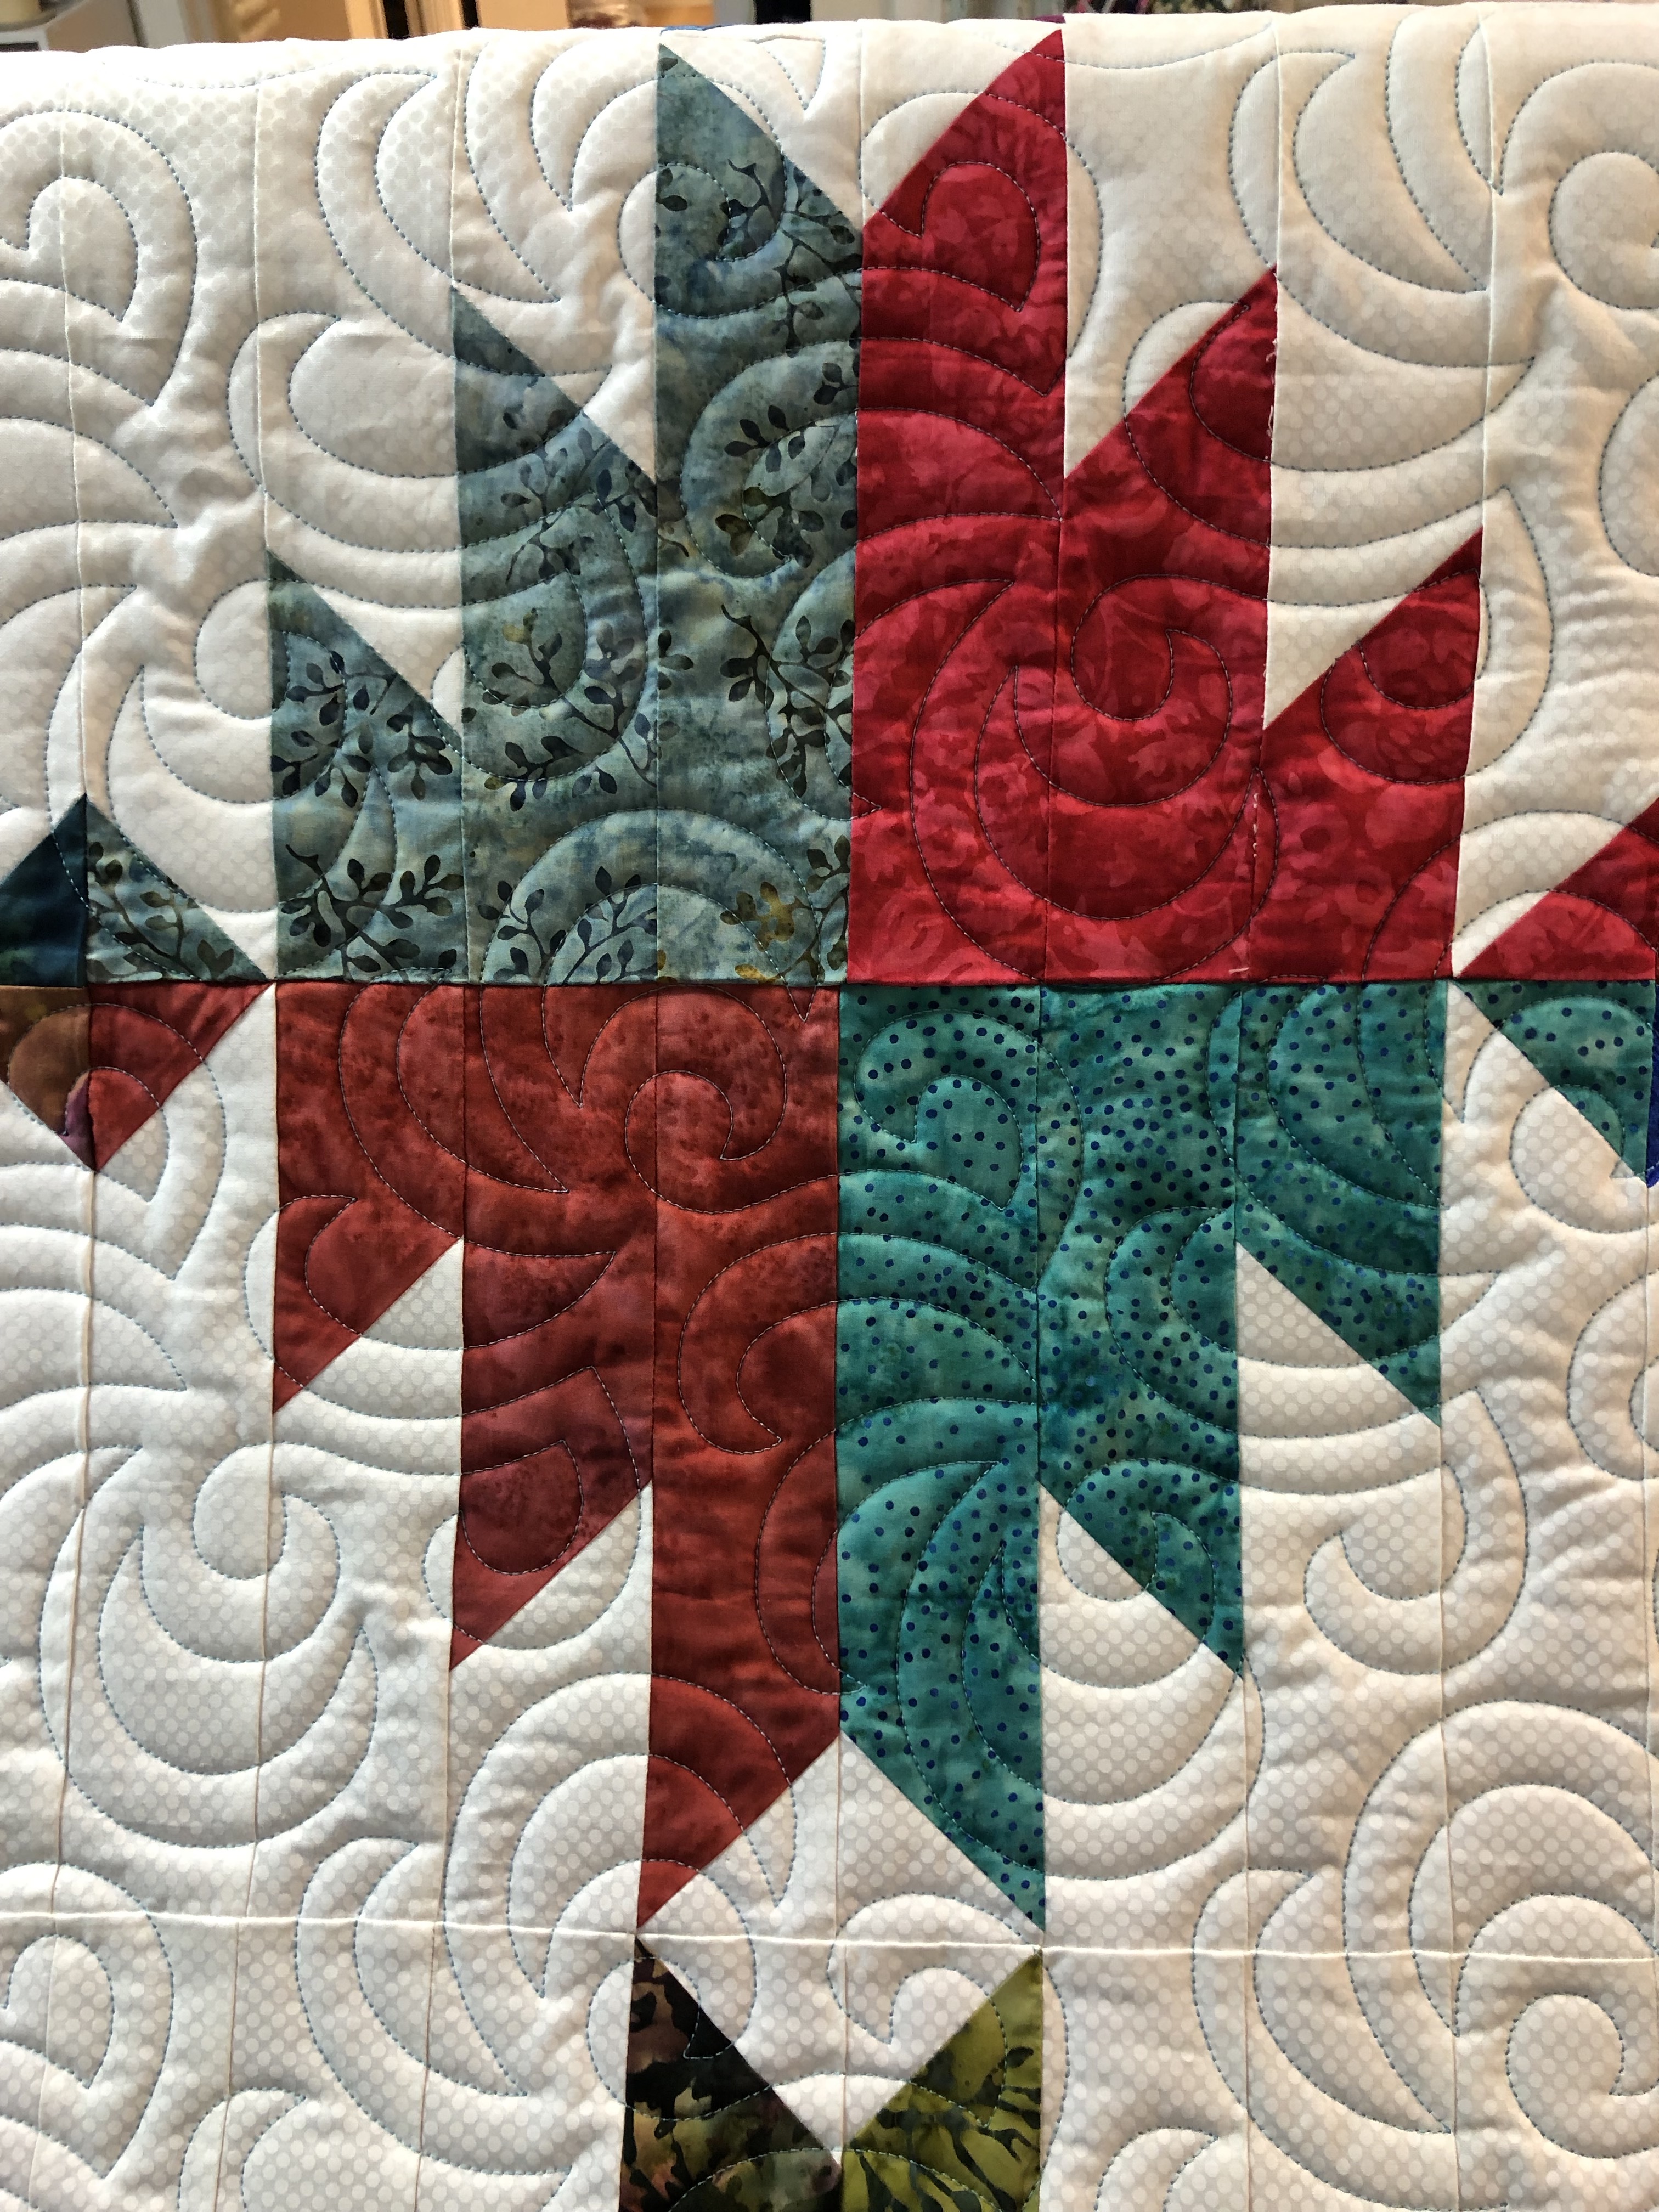
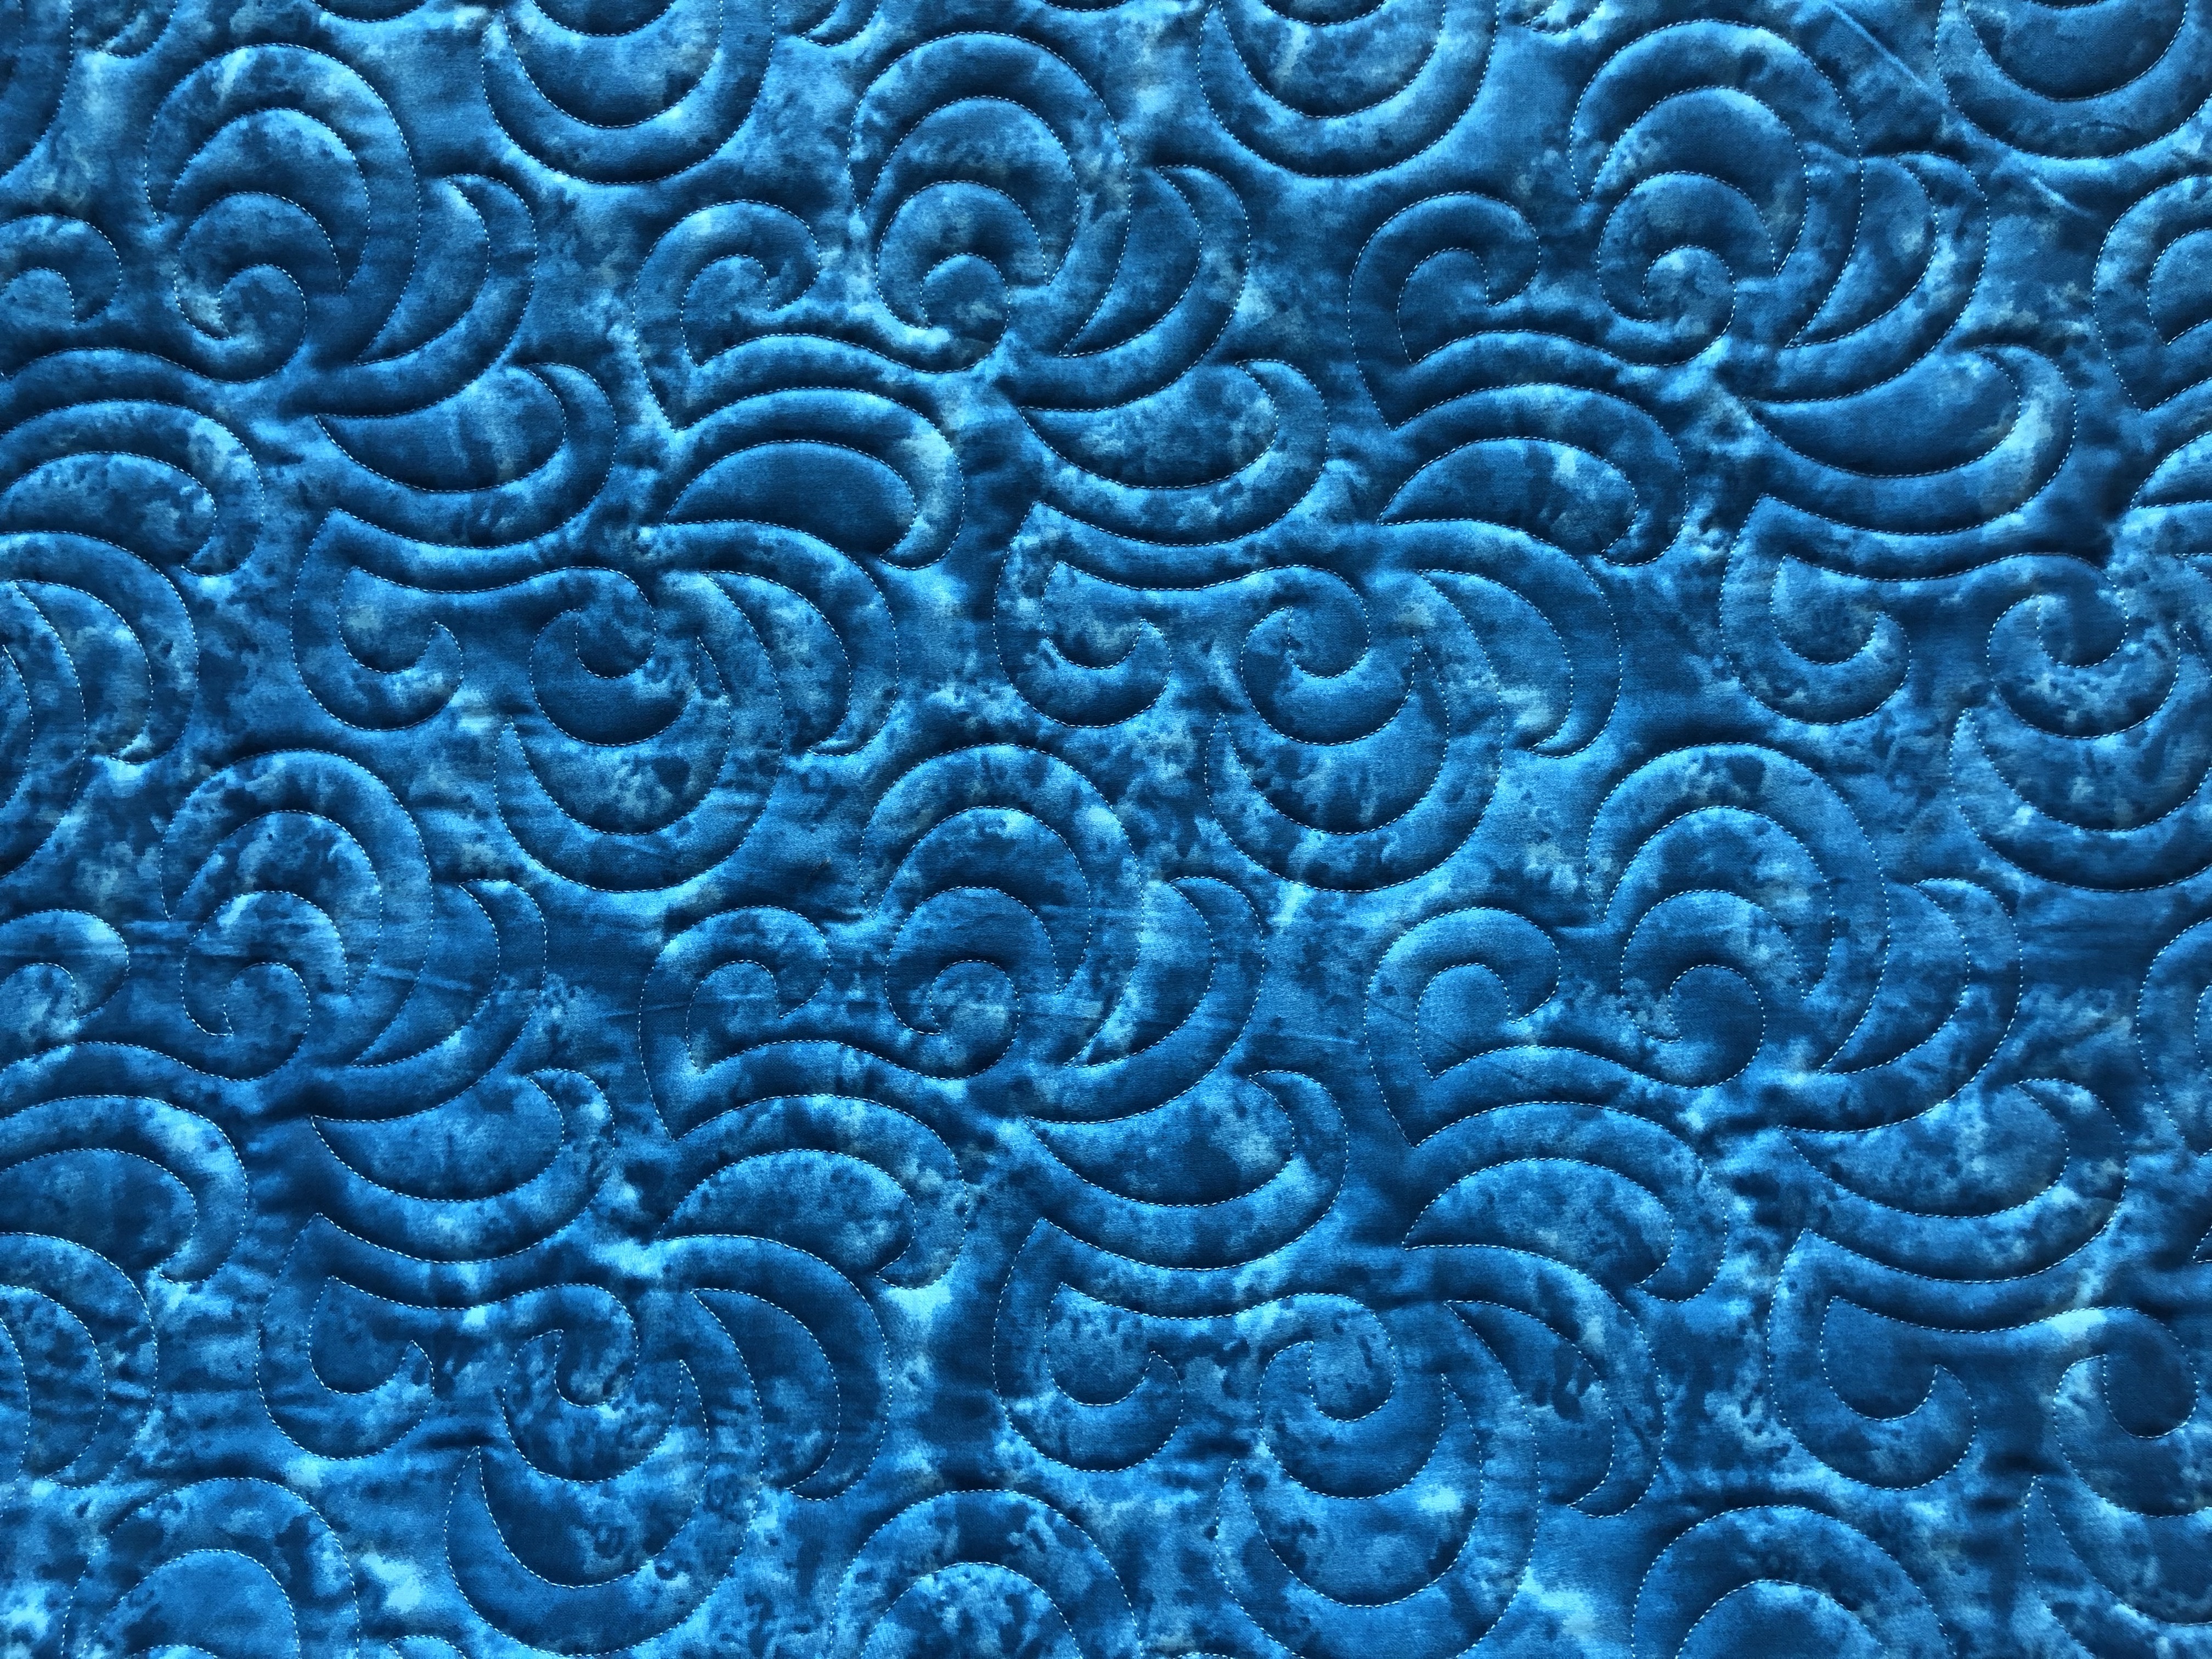
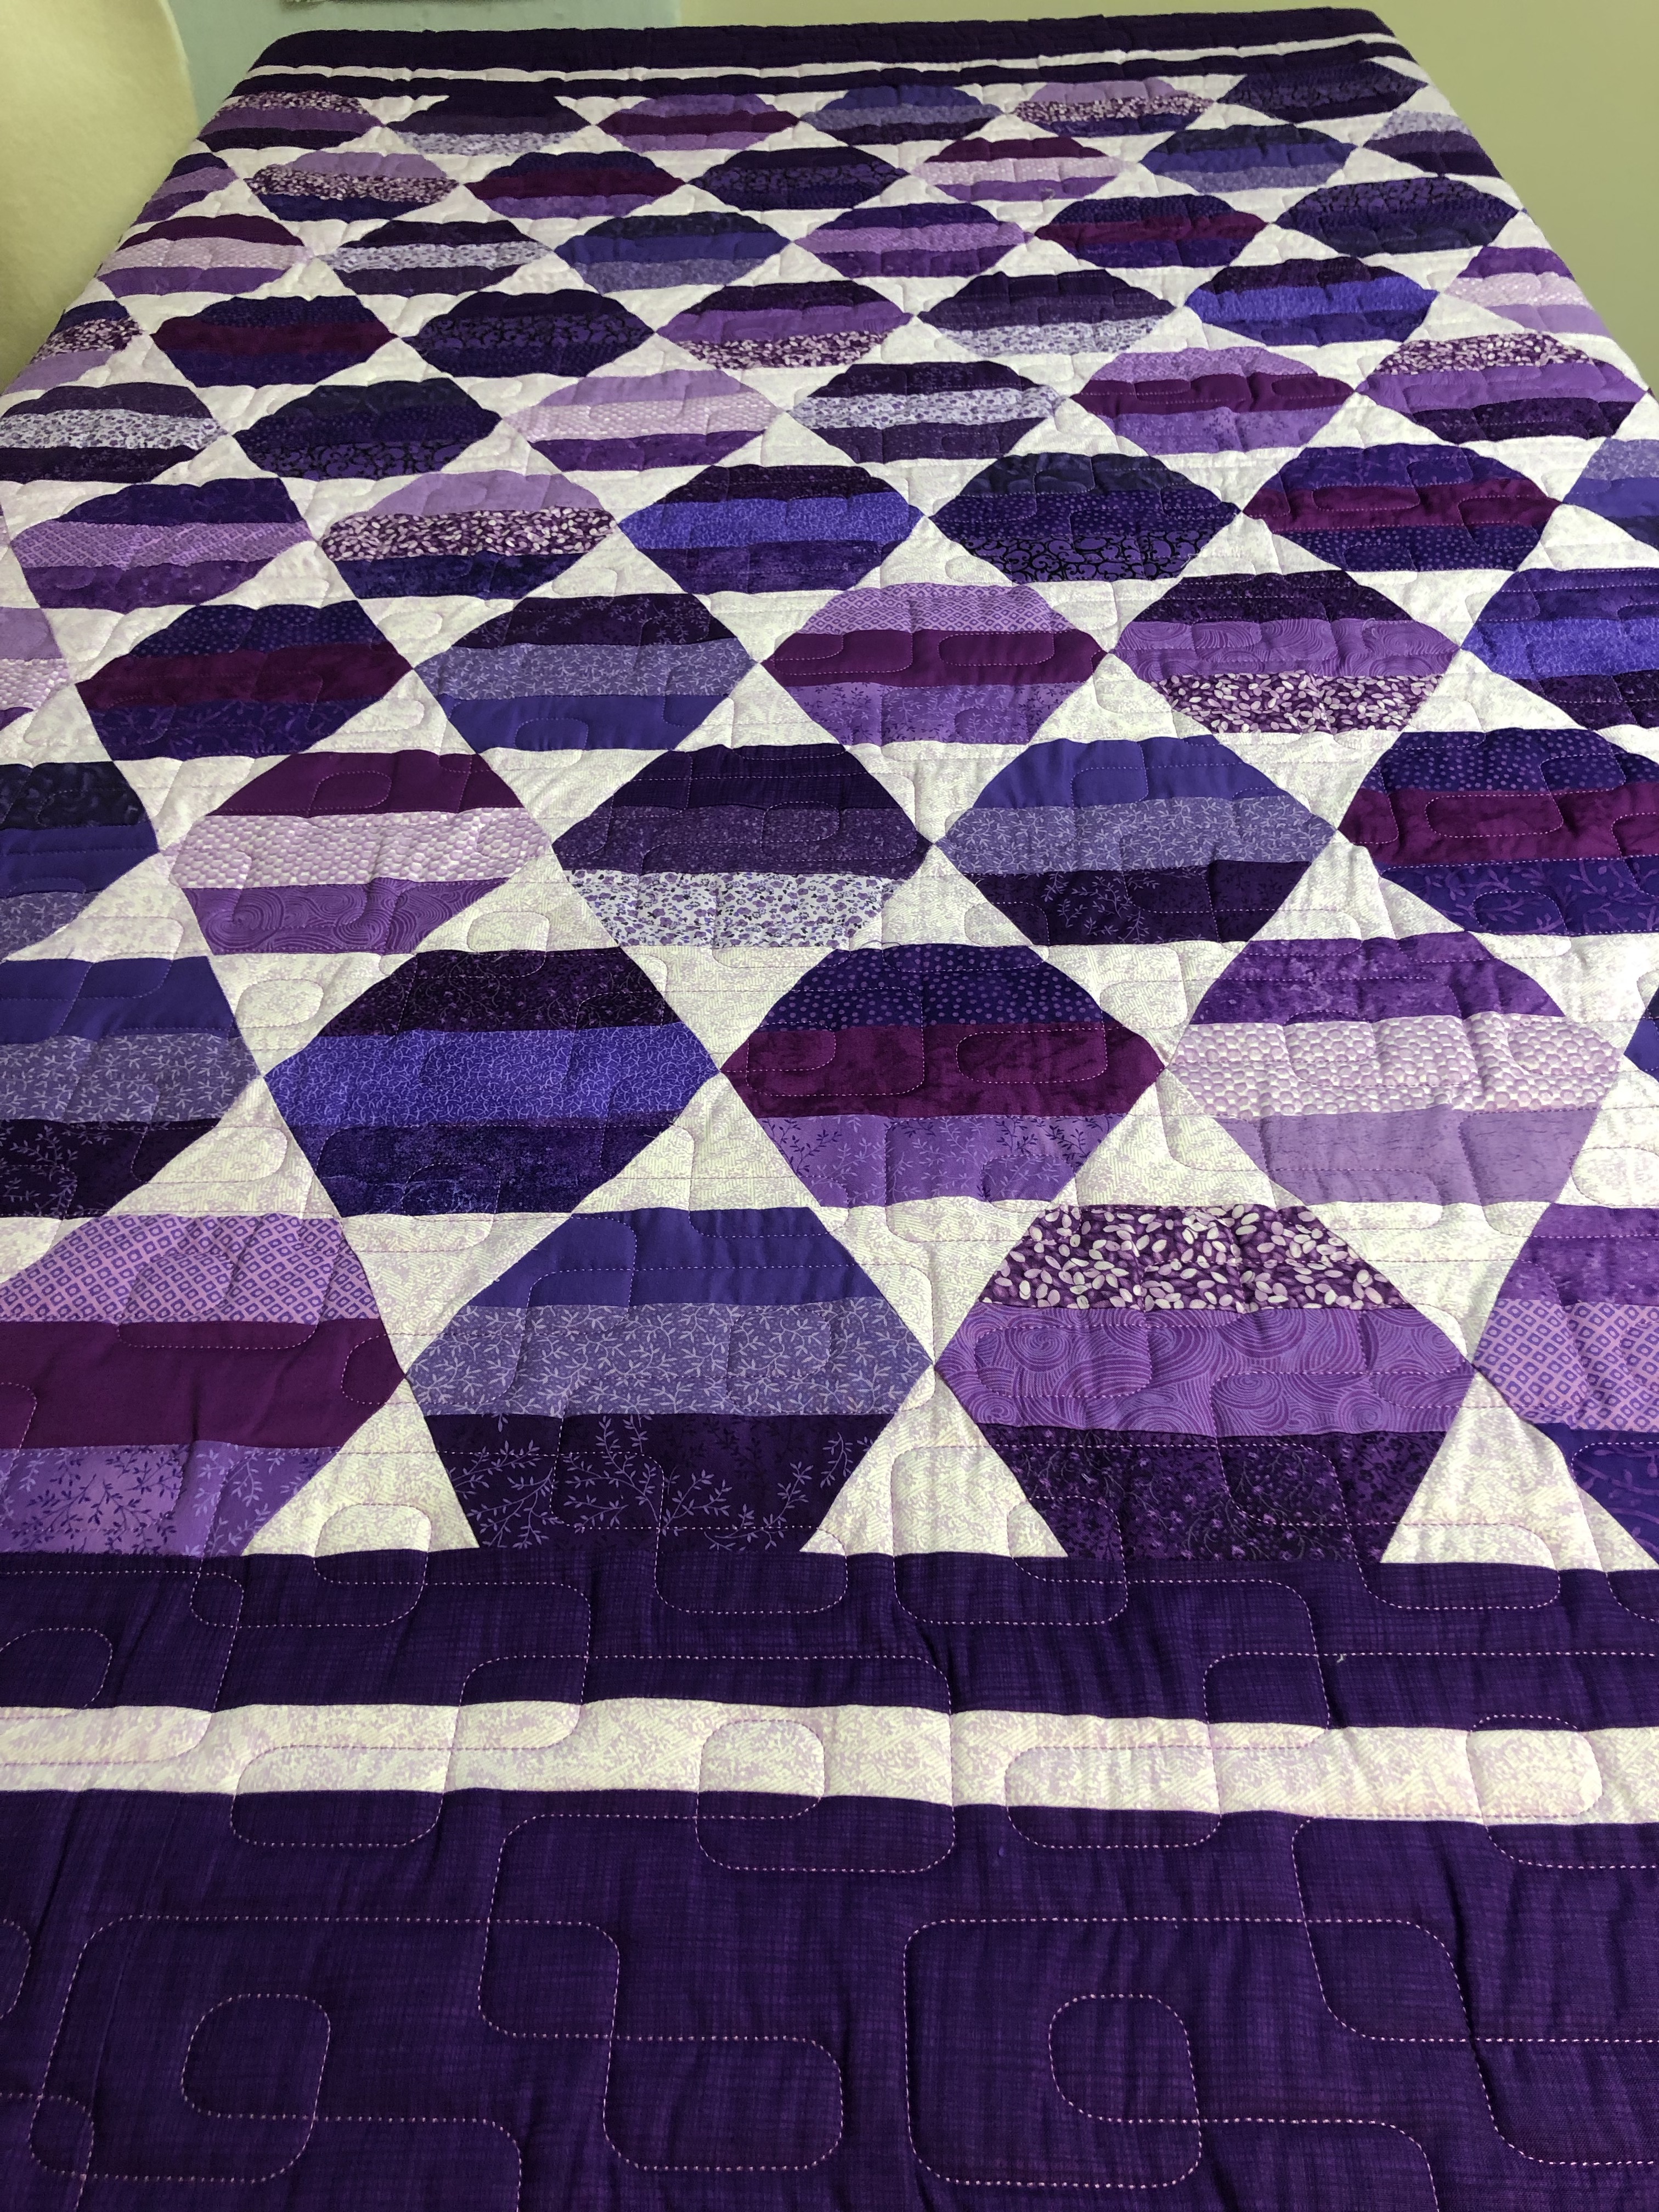
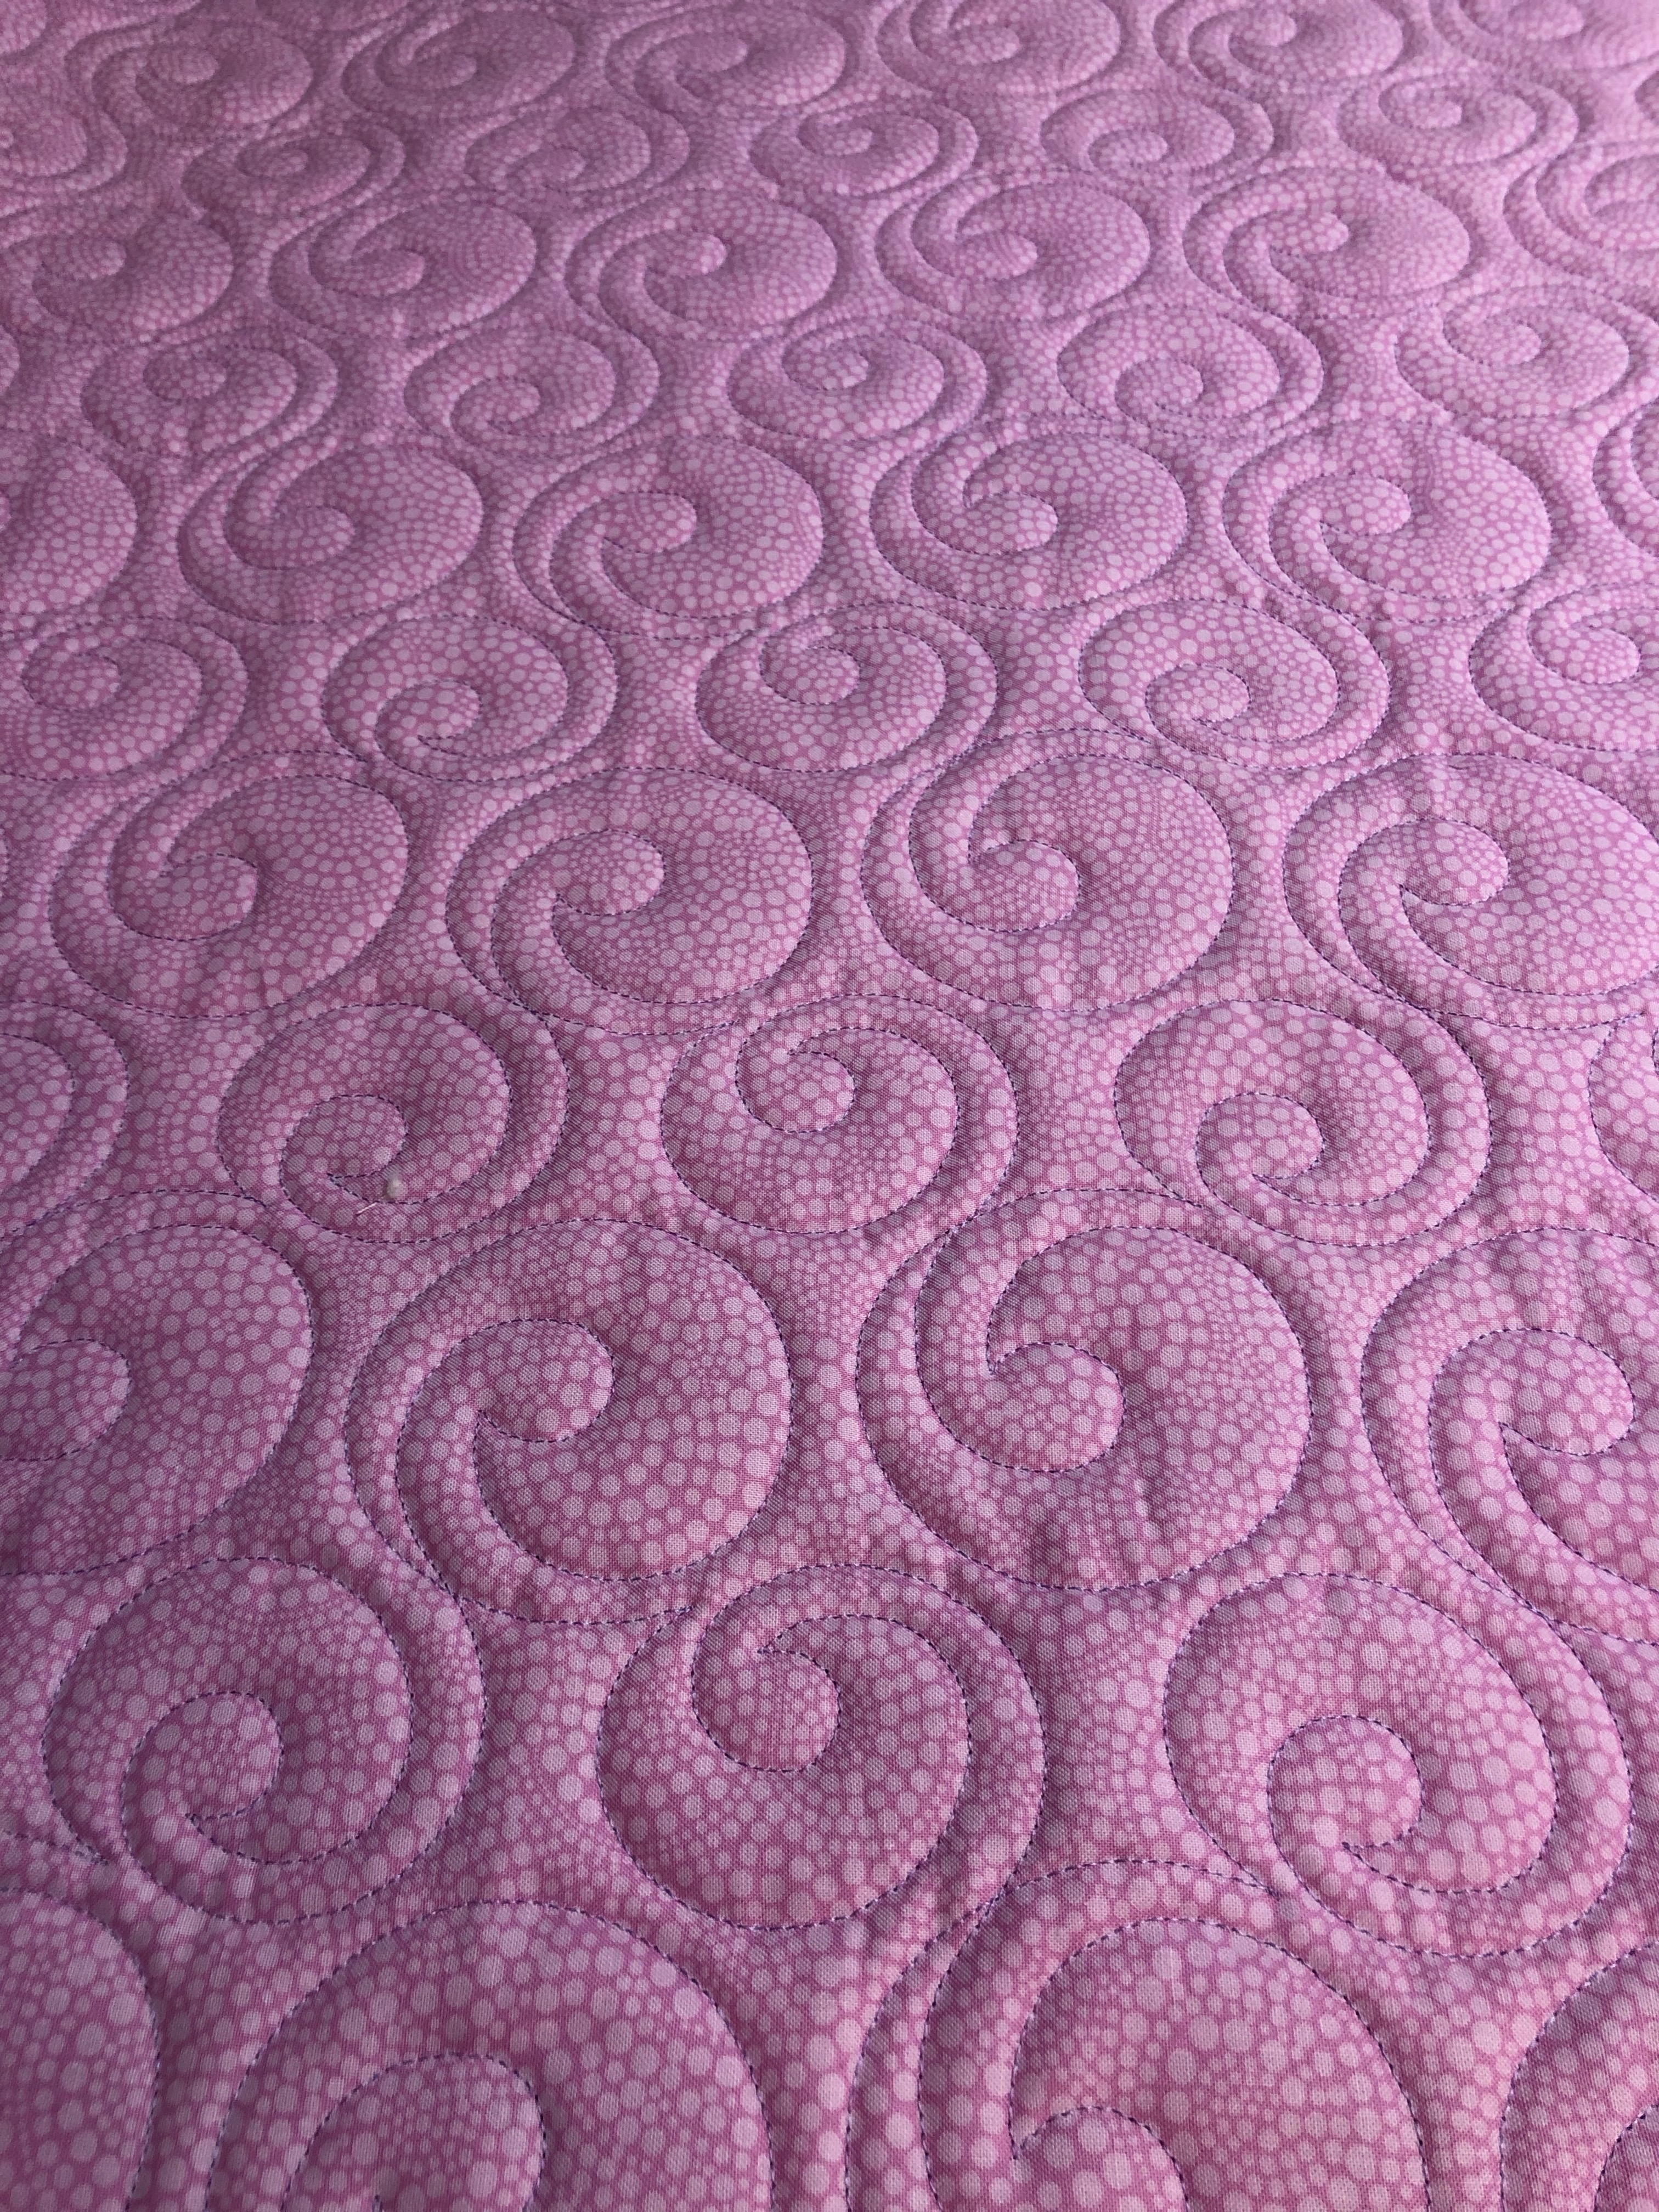
Donna’s lovely Hunters Star quilt. Photos do not show the true color. The quilting design is African Maze, the batting is Quilters Dream and thread is red.


The backing fabric is shown below
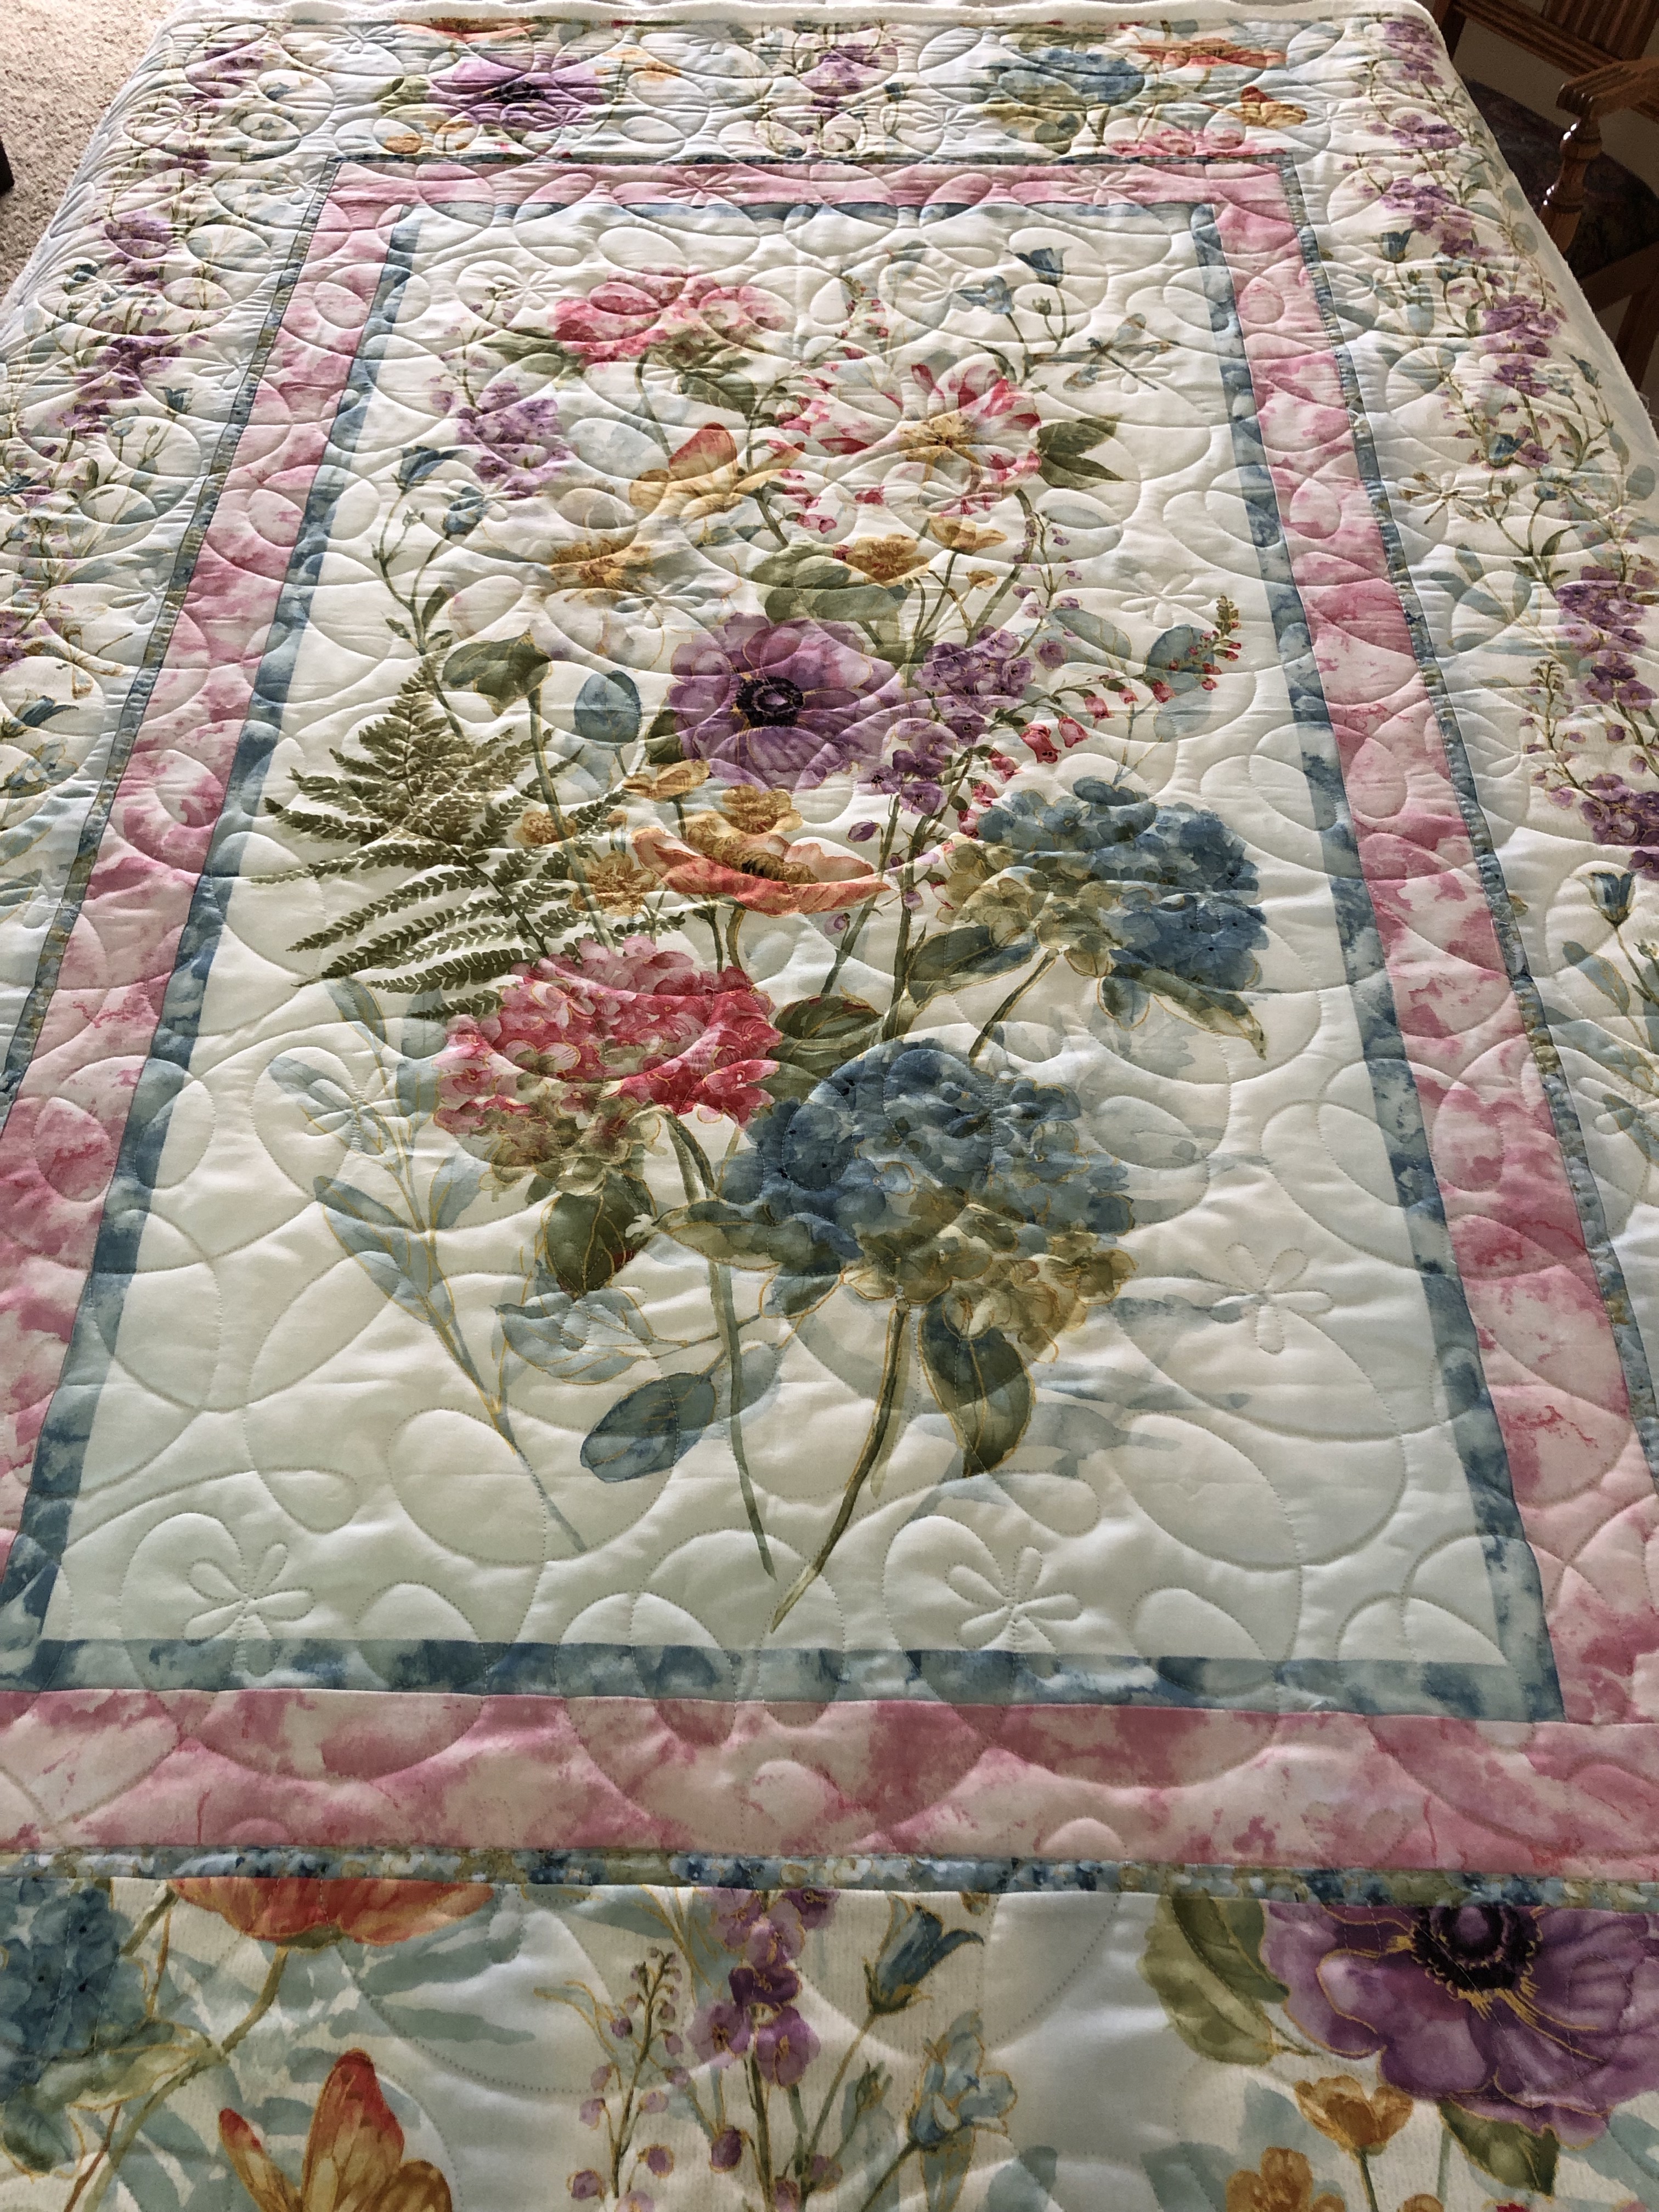
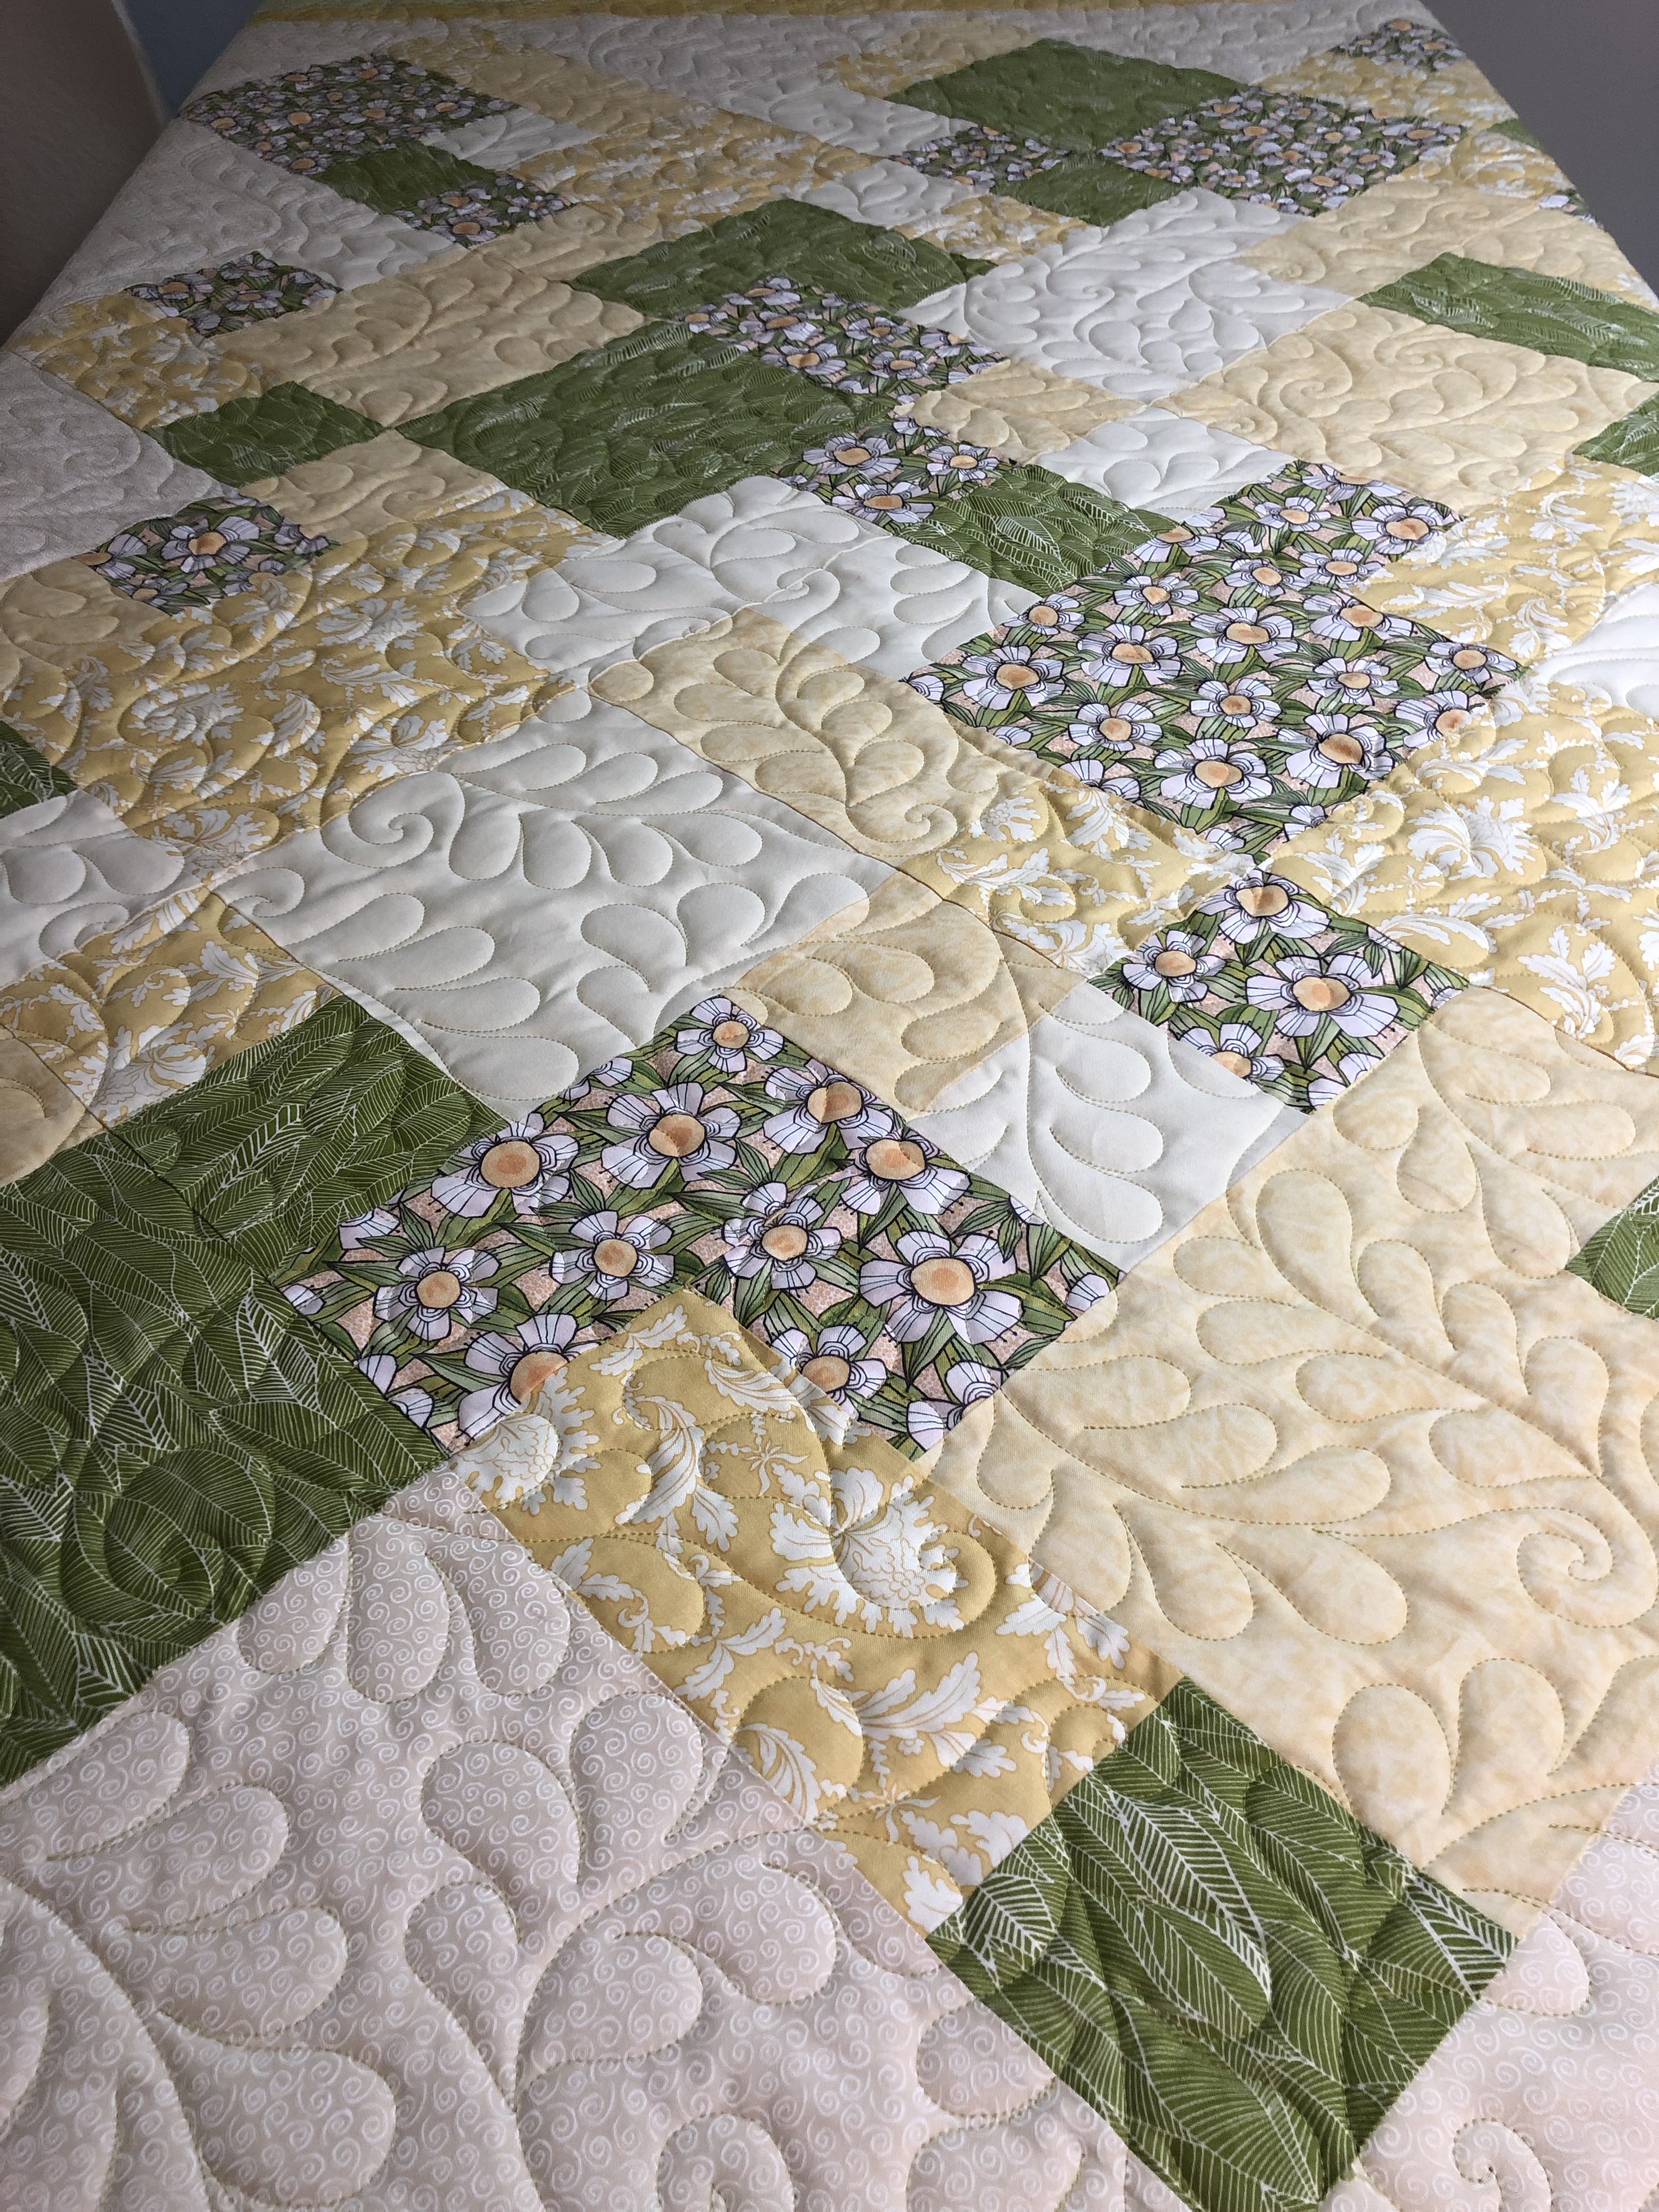
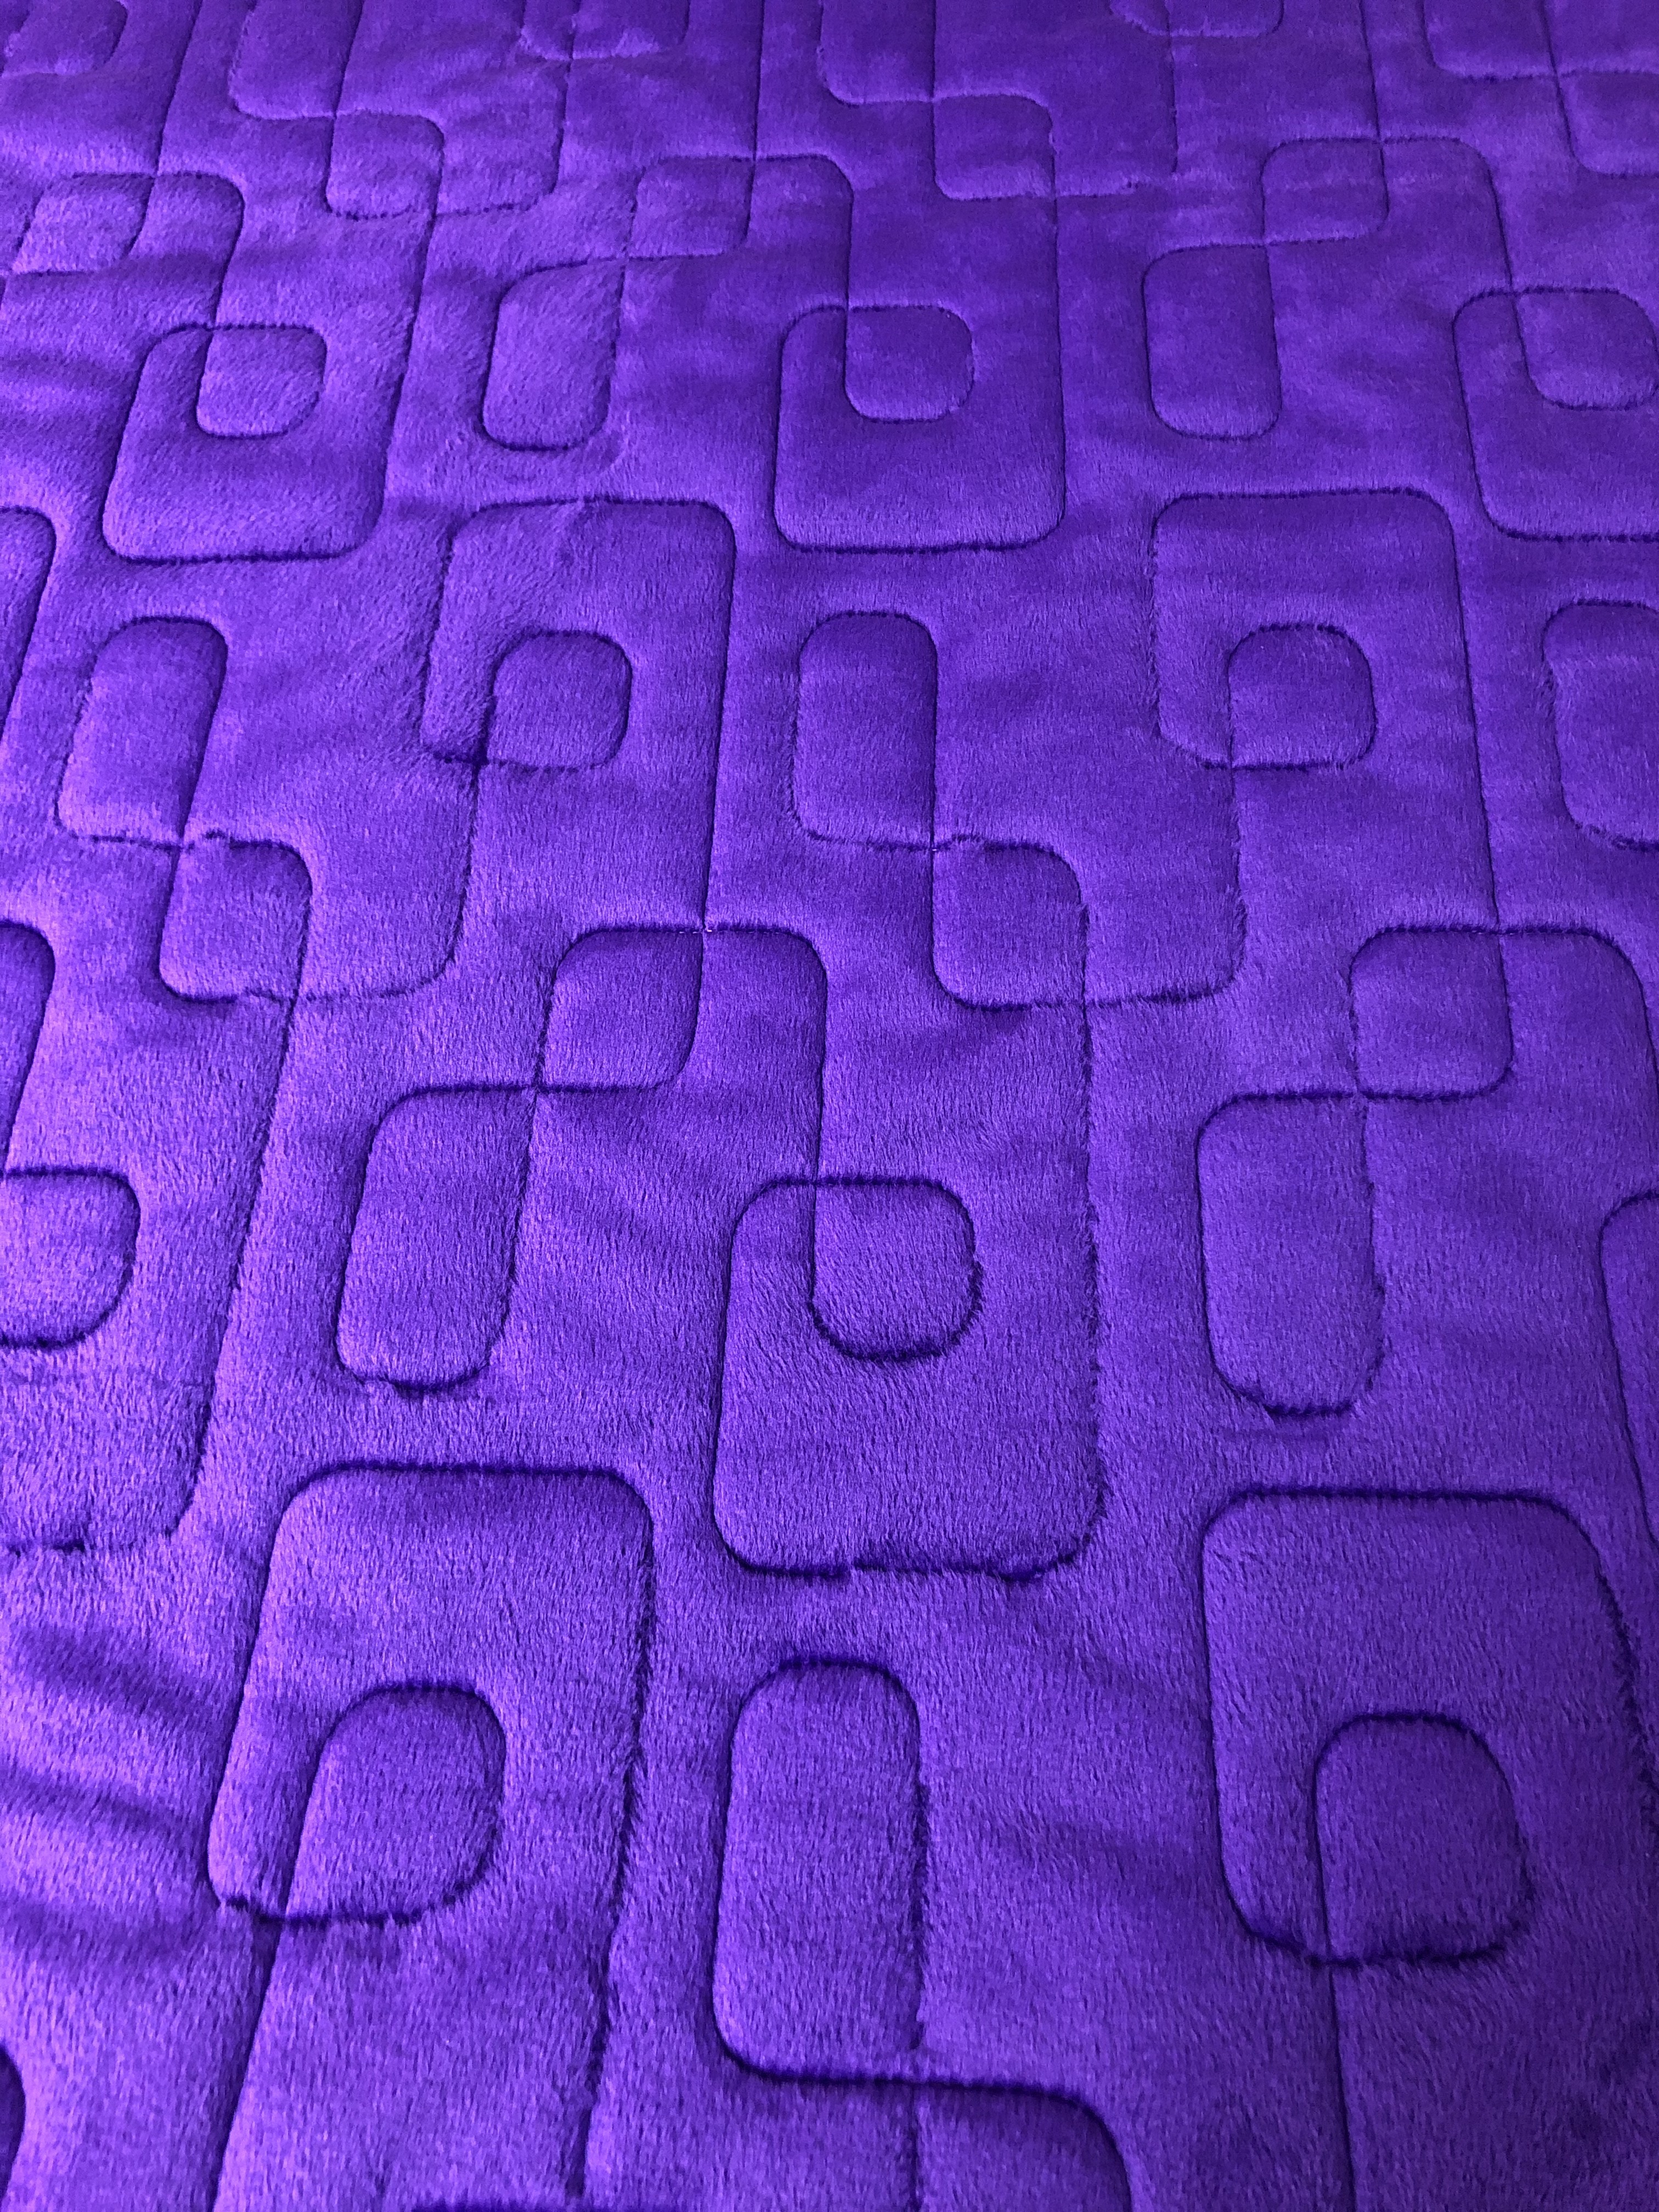
How about a mini quilt show today. Here are 3 quilts made by Kathy. 1st is Grand Adventure with quilting design Airborne. The second is a Take 5 with Feathered Curls allover. Then last is Jambalaya quilted with Cool Beans. The last has a Minky/cuddle backing. They all have Hobbs 80/20 batting inside. Kathy, I will be in touch to schedule your pick up.

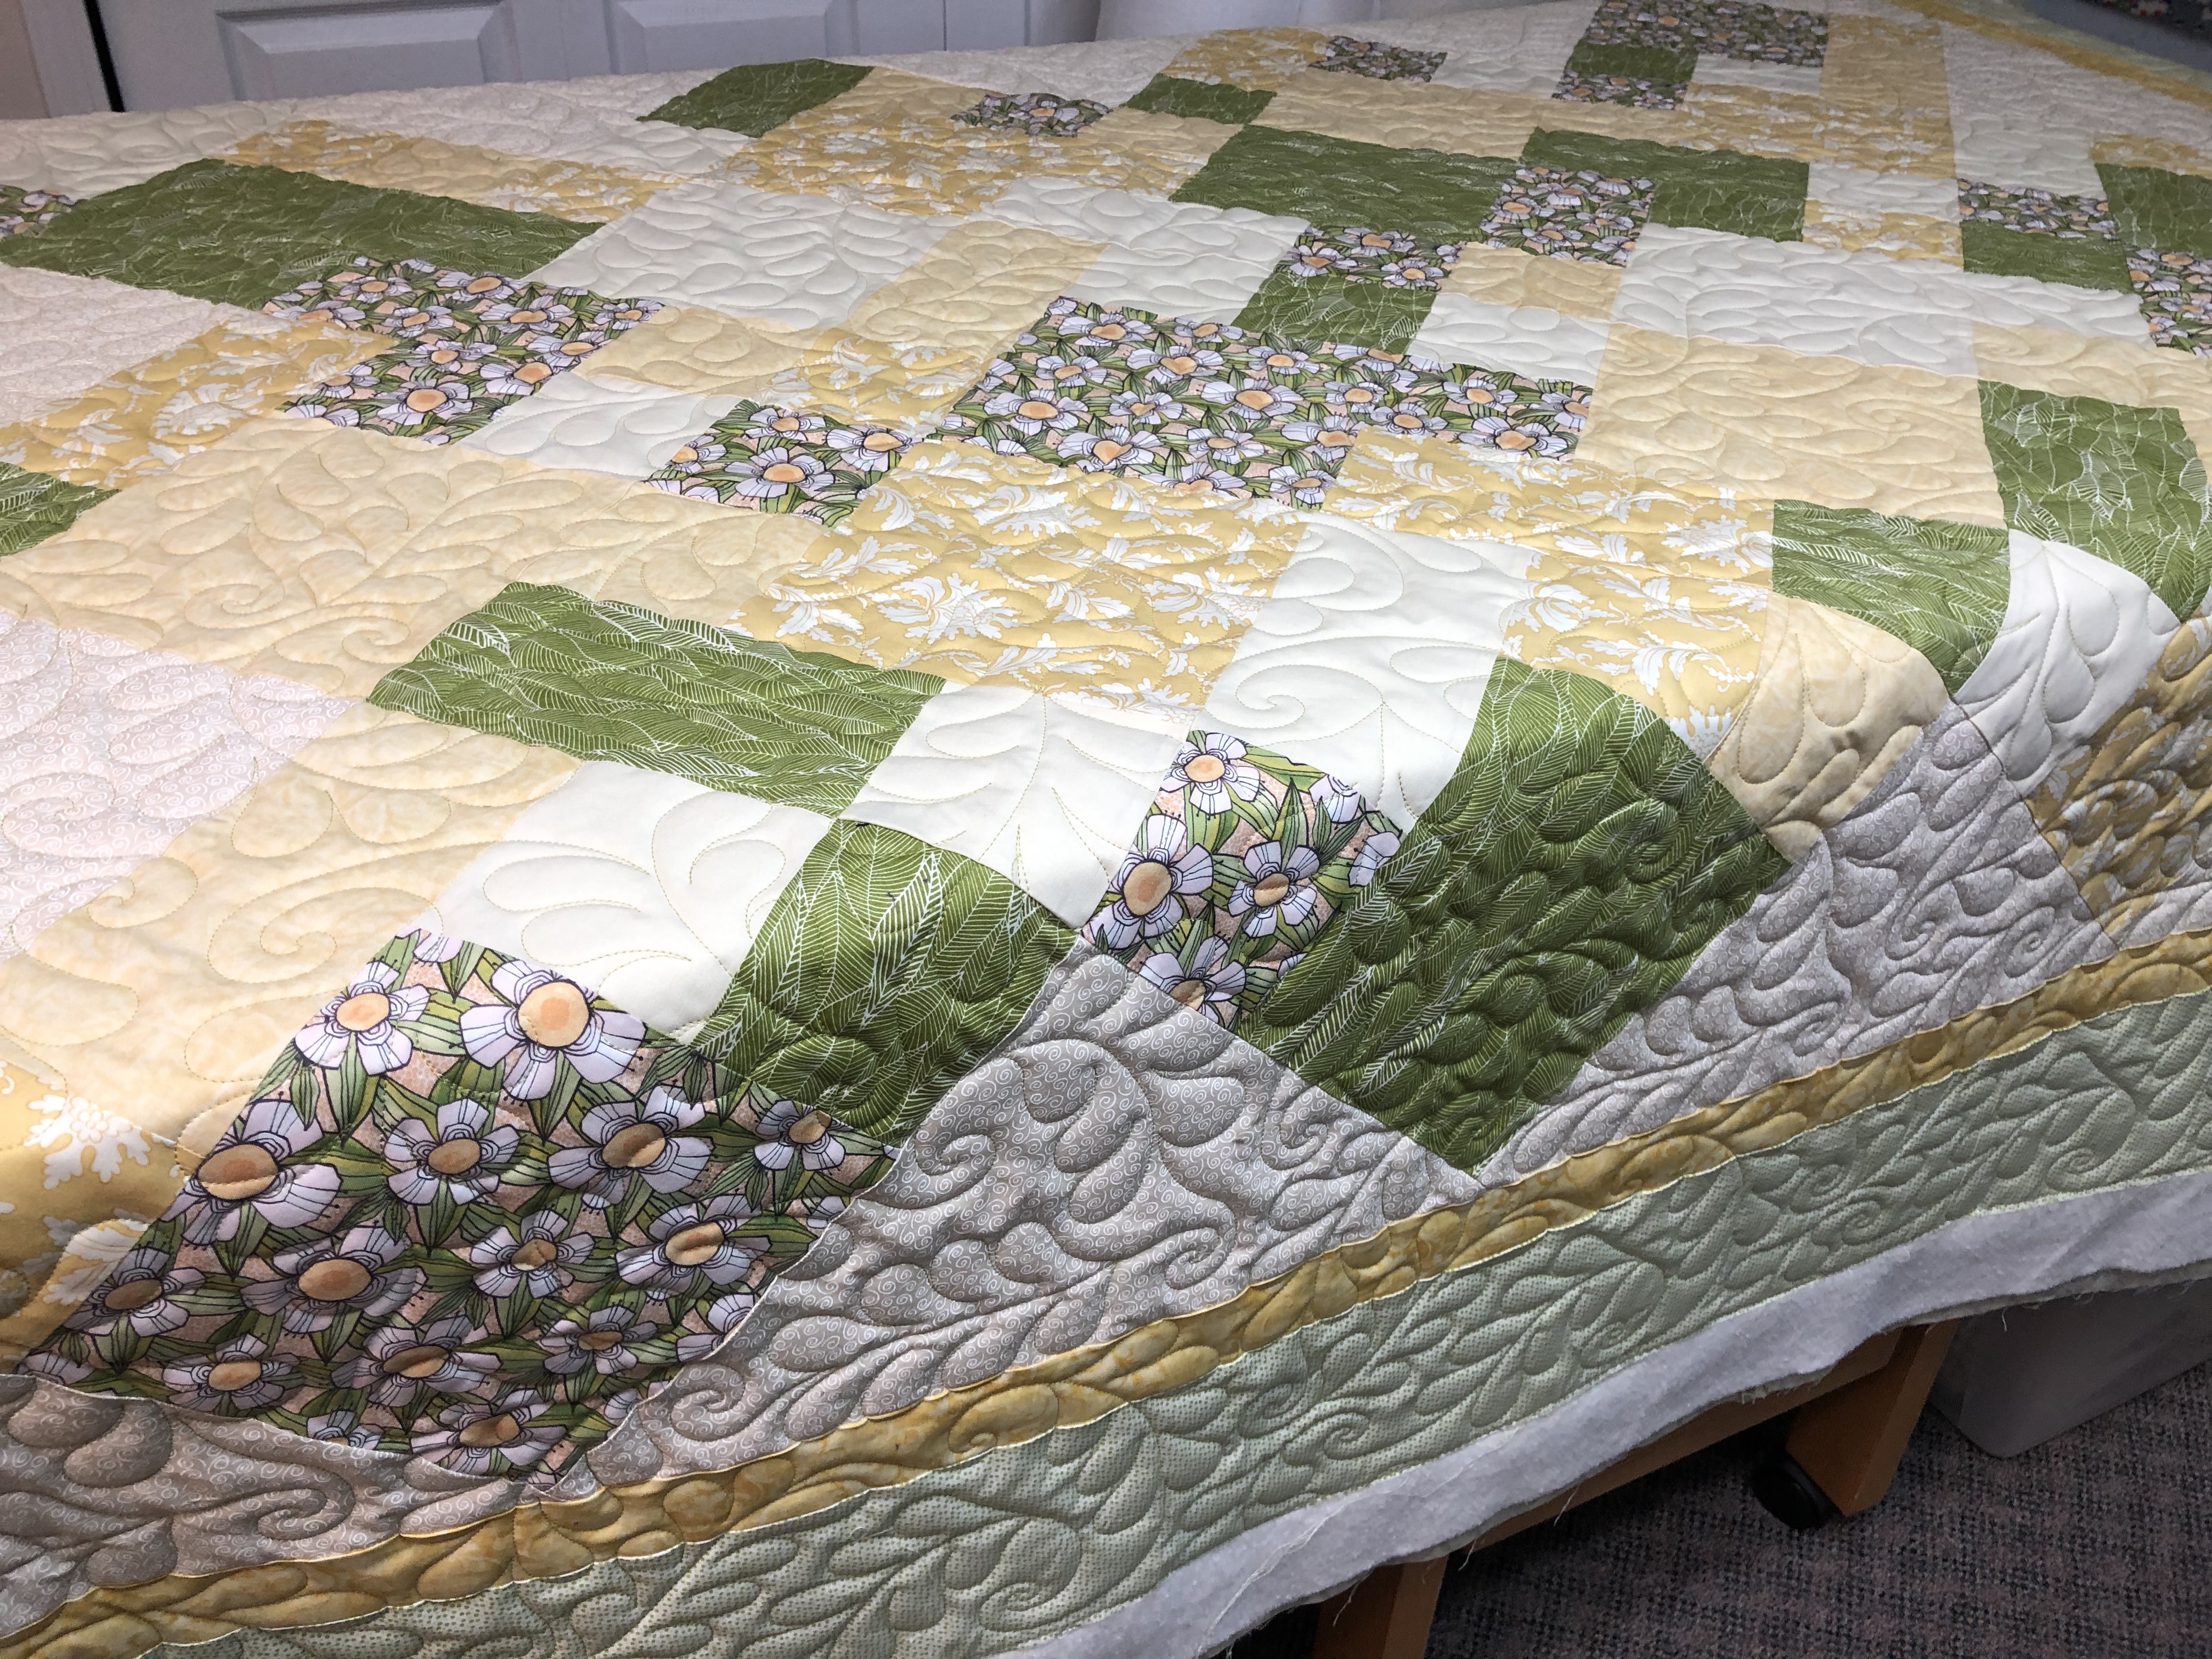


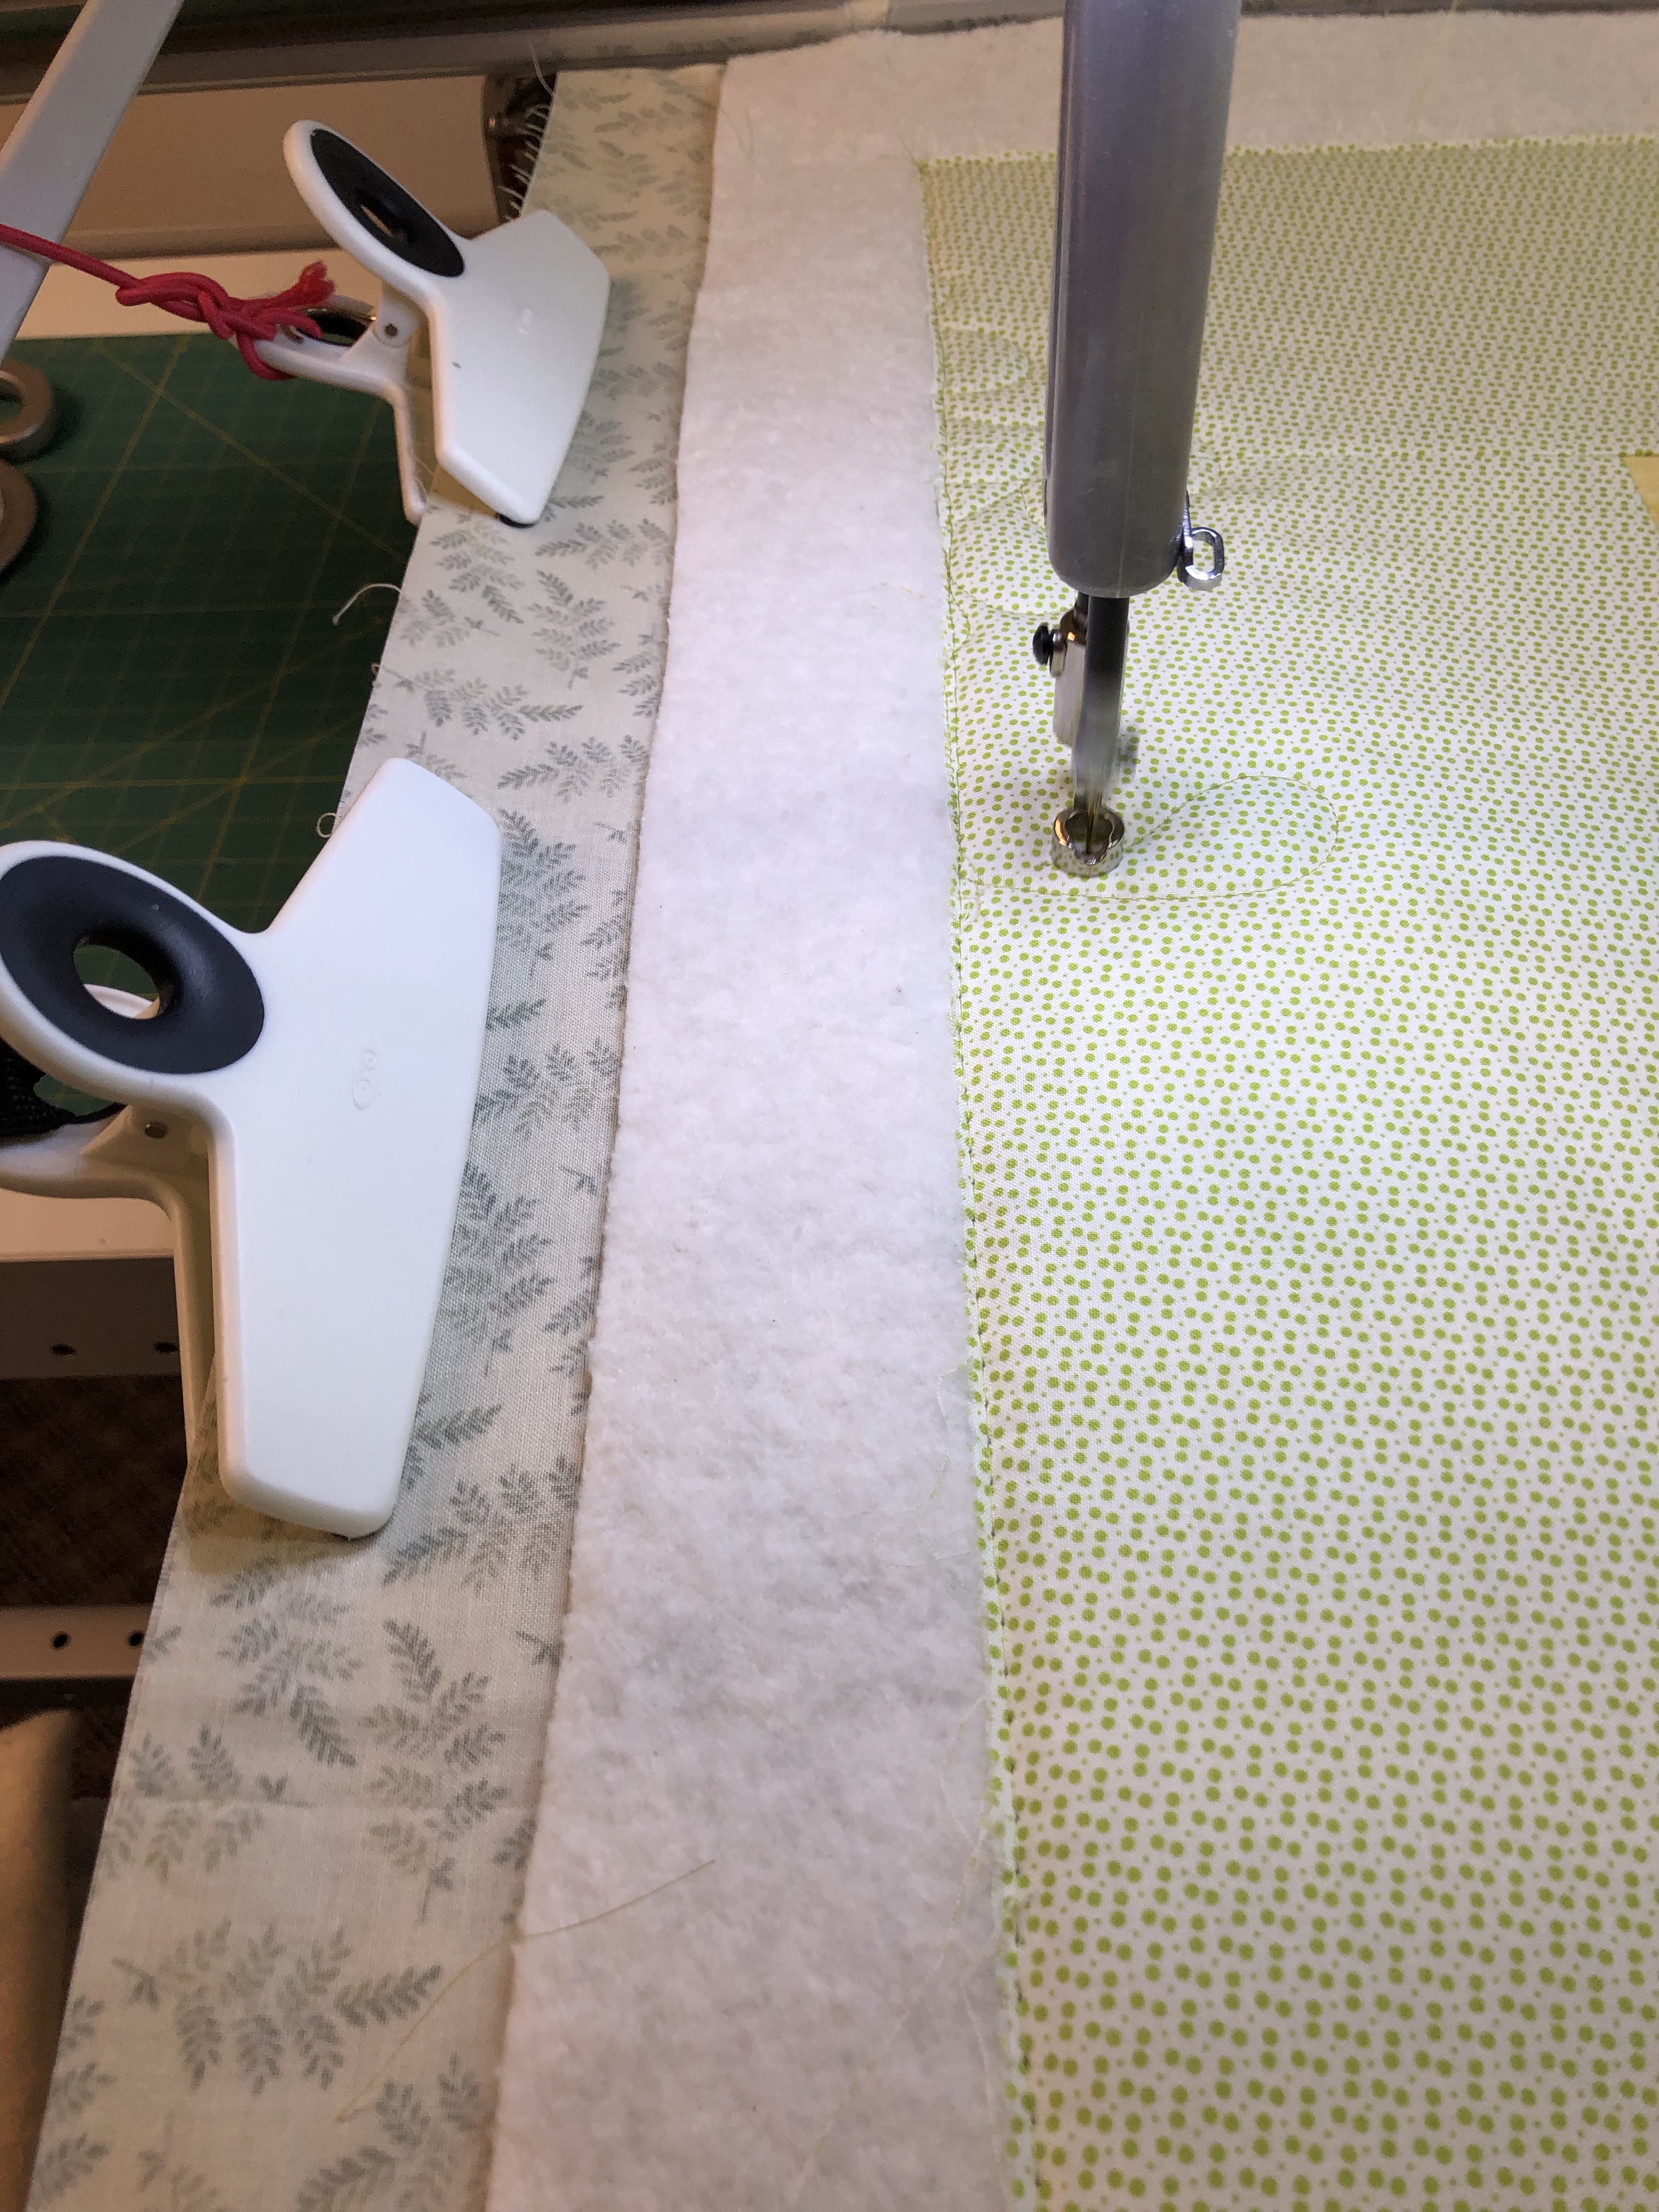
Here’s some photos of how a backing should look when loaded on the longarm machine. I’m using Kathy’s Take 5 Quilt as an example today. Note the fabric is right side down. To make the back the correct size for the quilt top she took primarily horizontal seams. I prefer working with horizontal seams whenever they can be done because they do not draw up and pull like vertical ones. There’s a small vertical seam but it lays nice and flat. I’m using leader grips an snapping the fabric onto my leader edge.
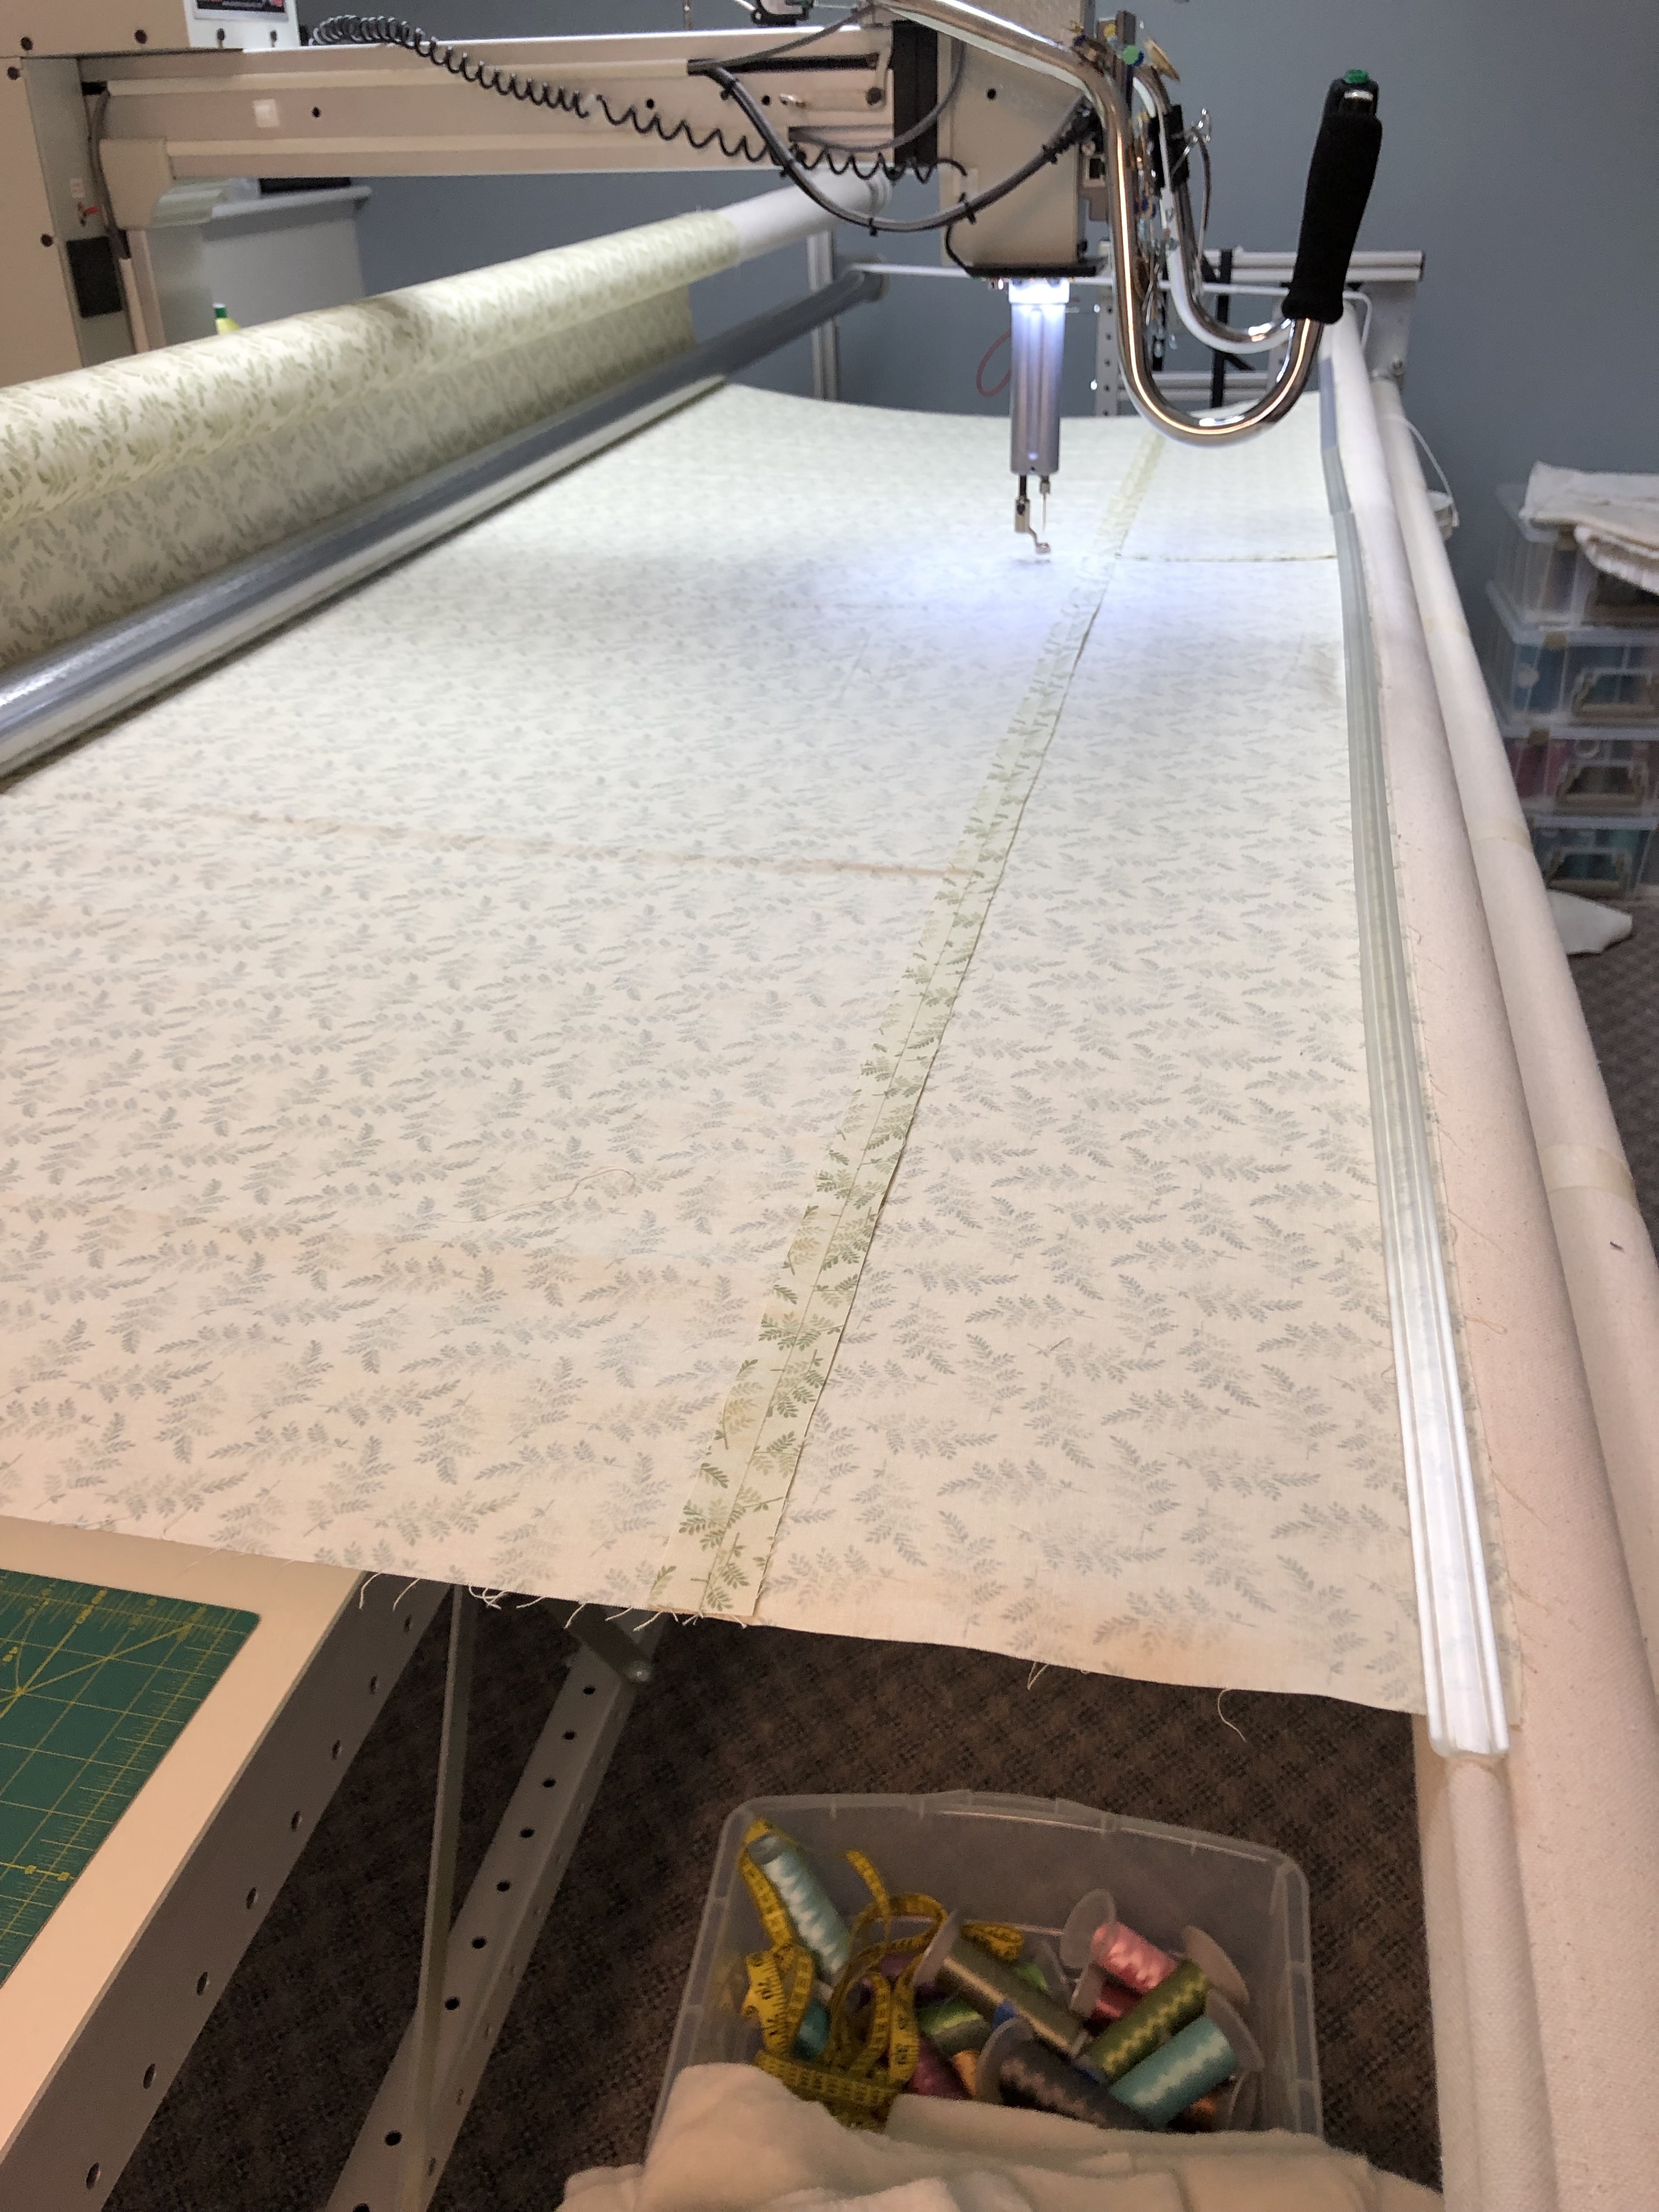
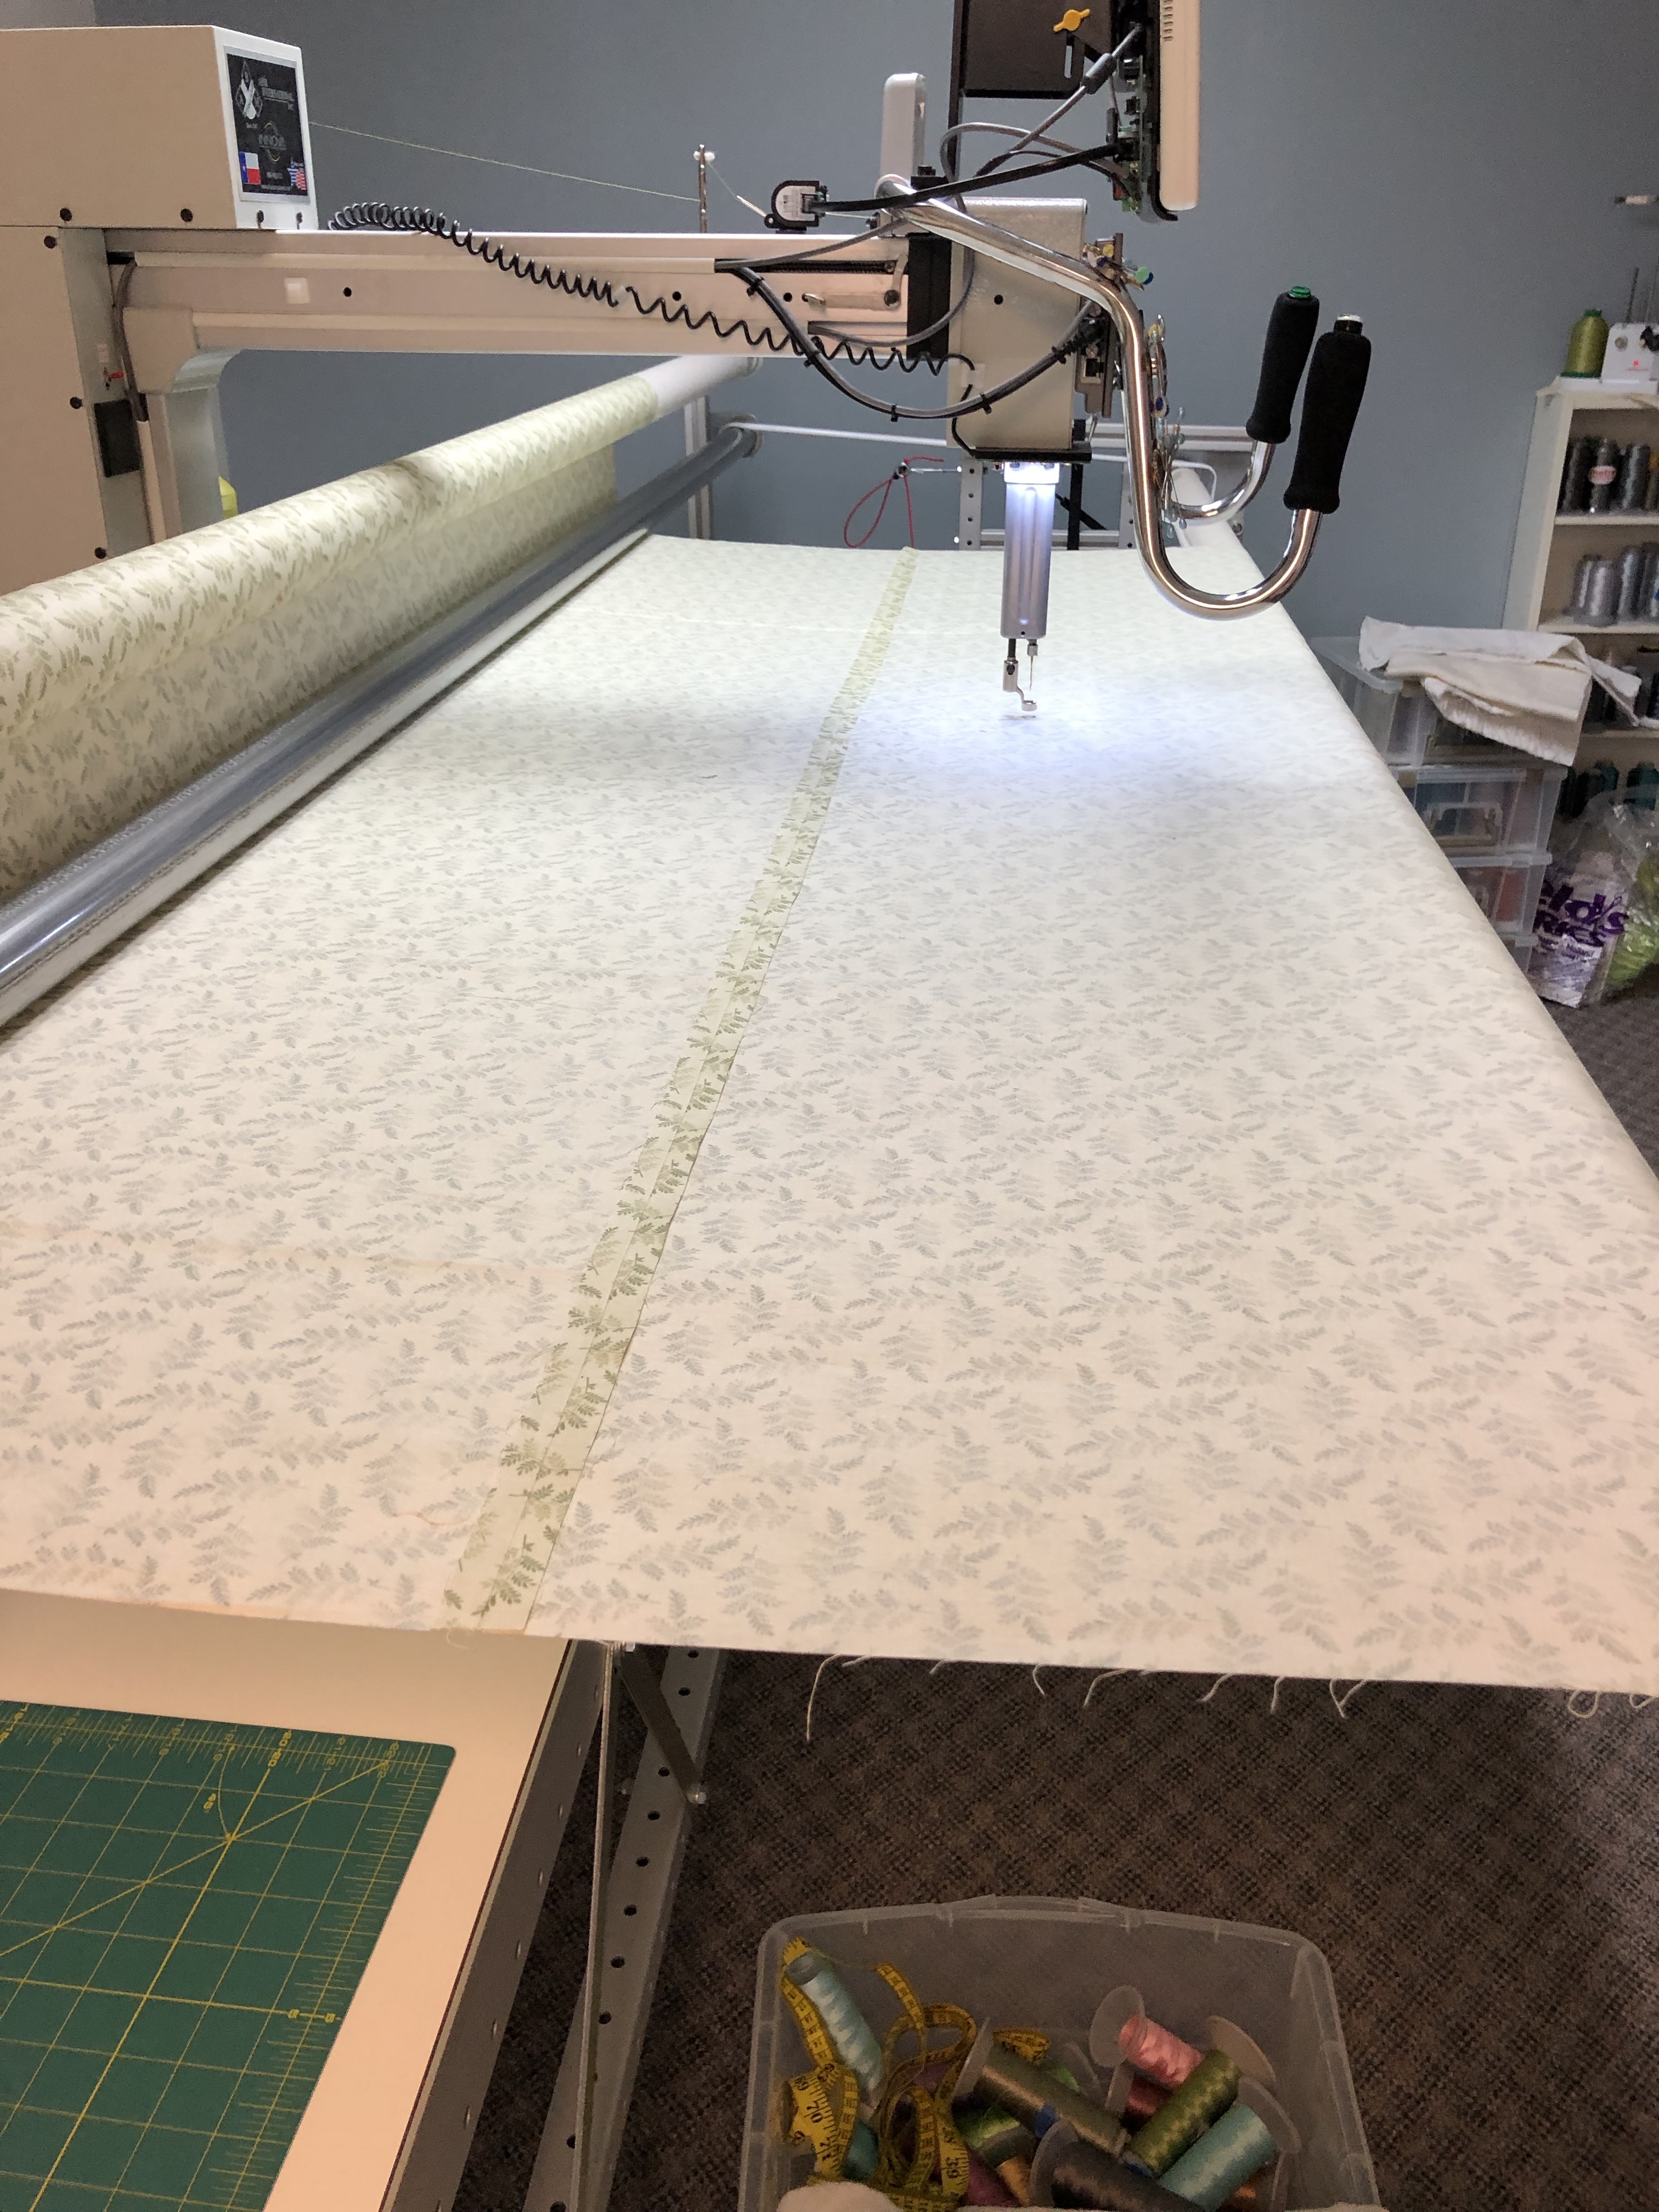
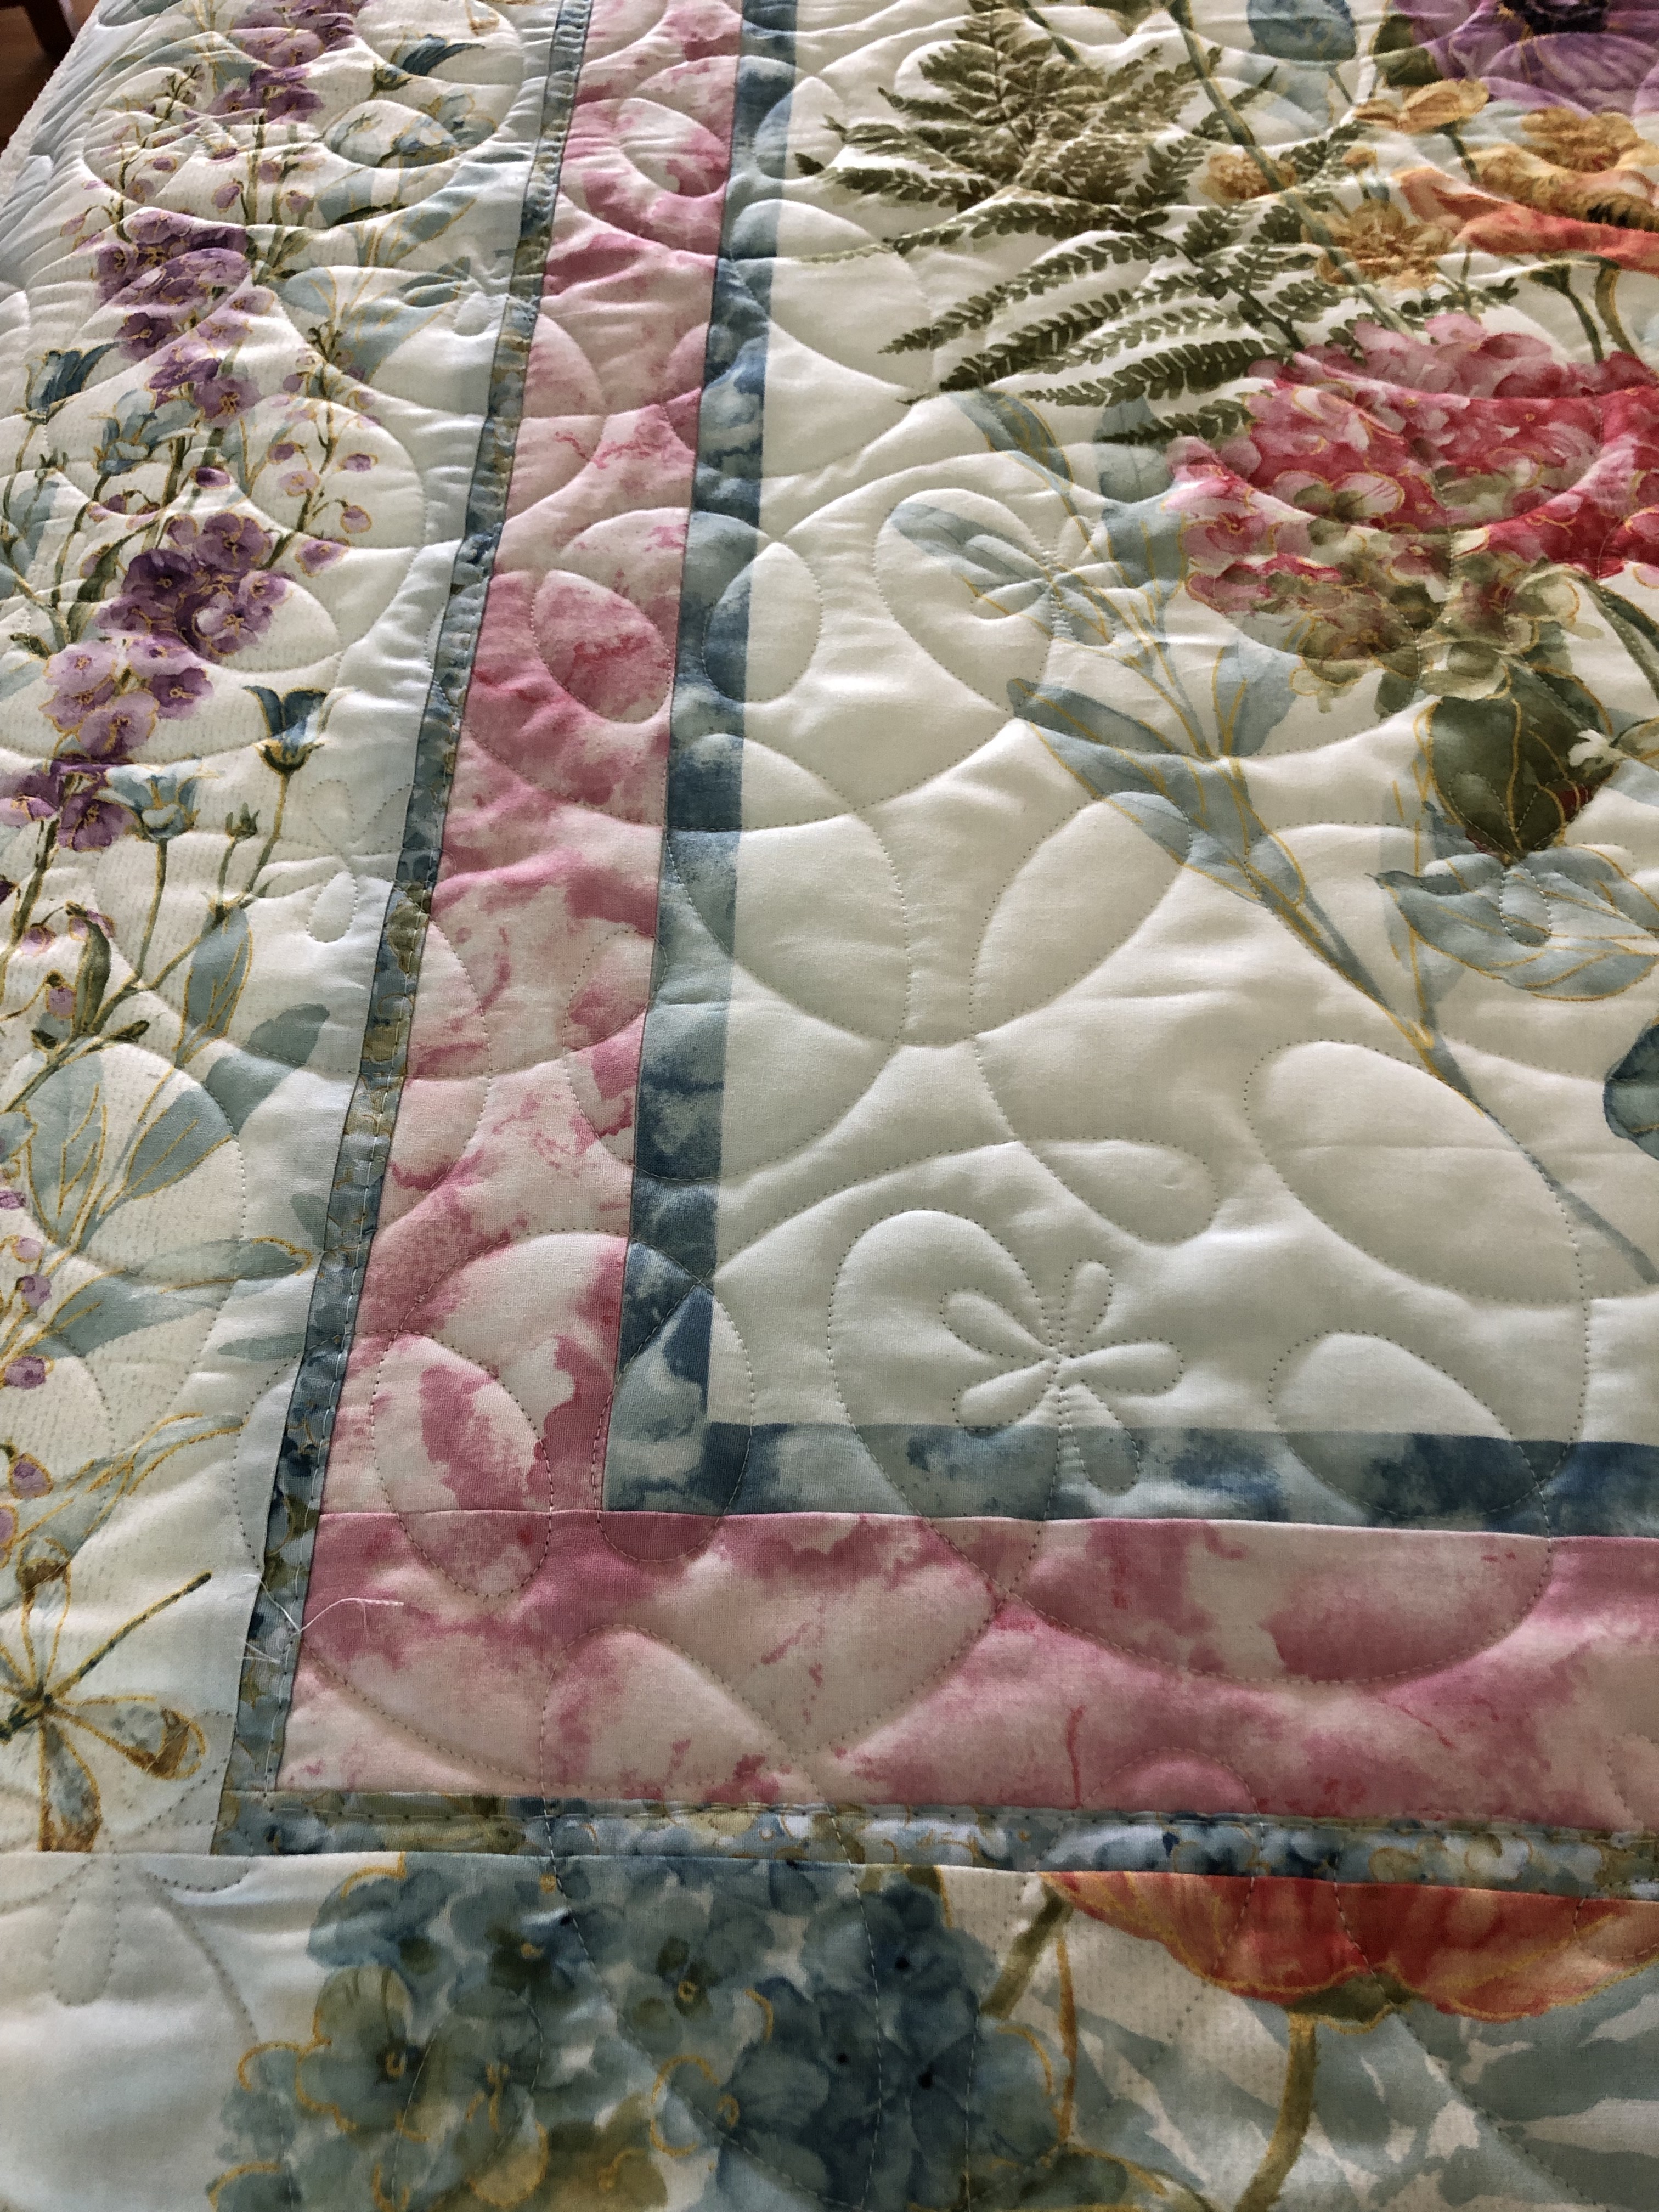
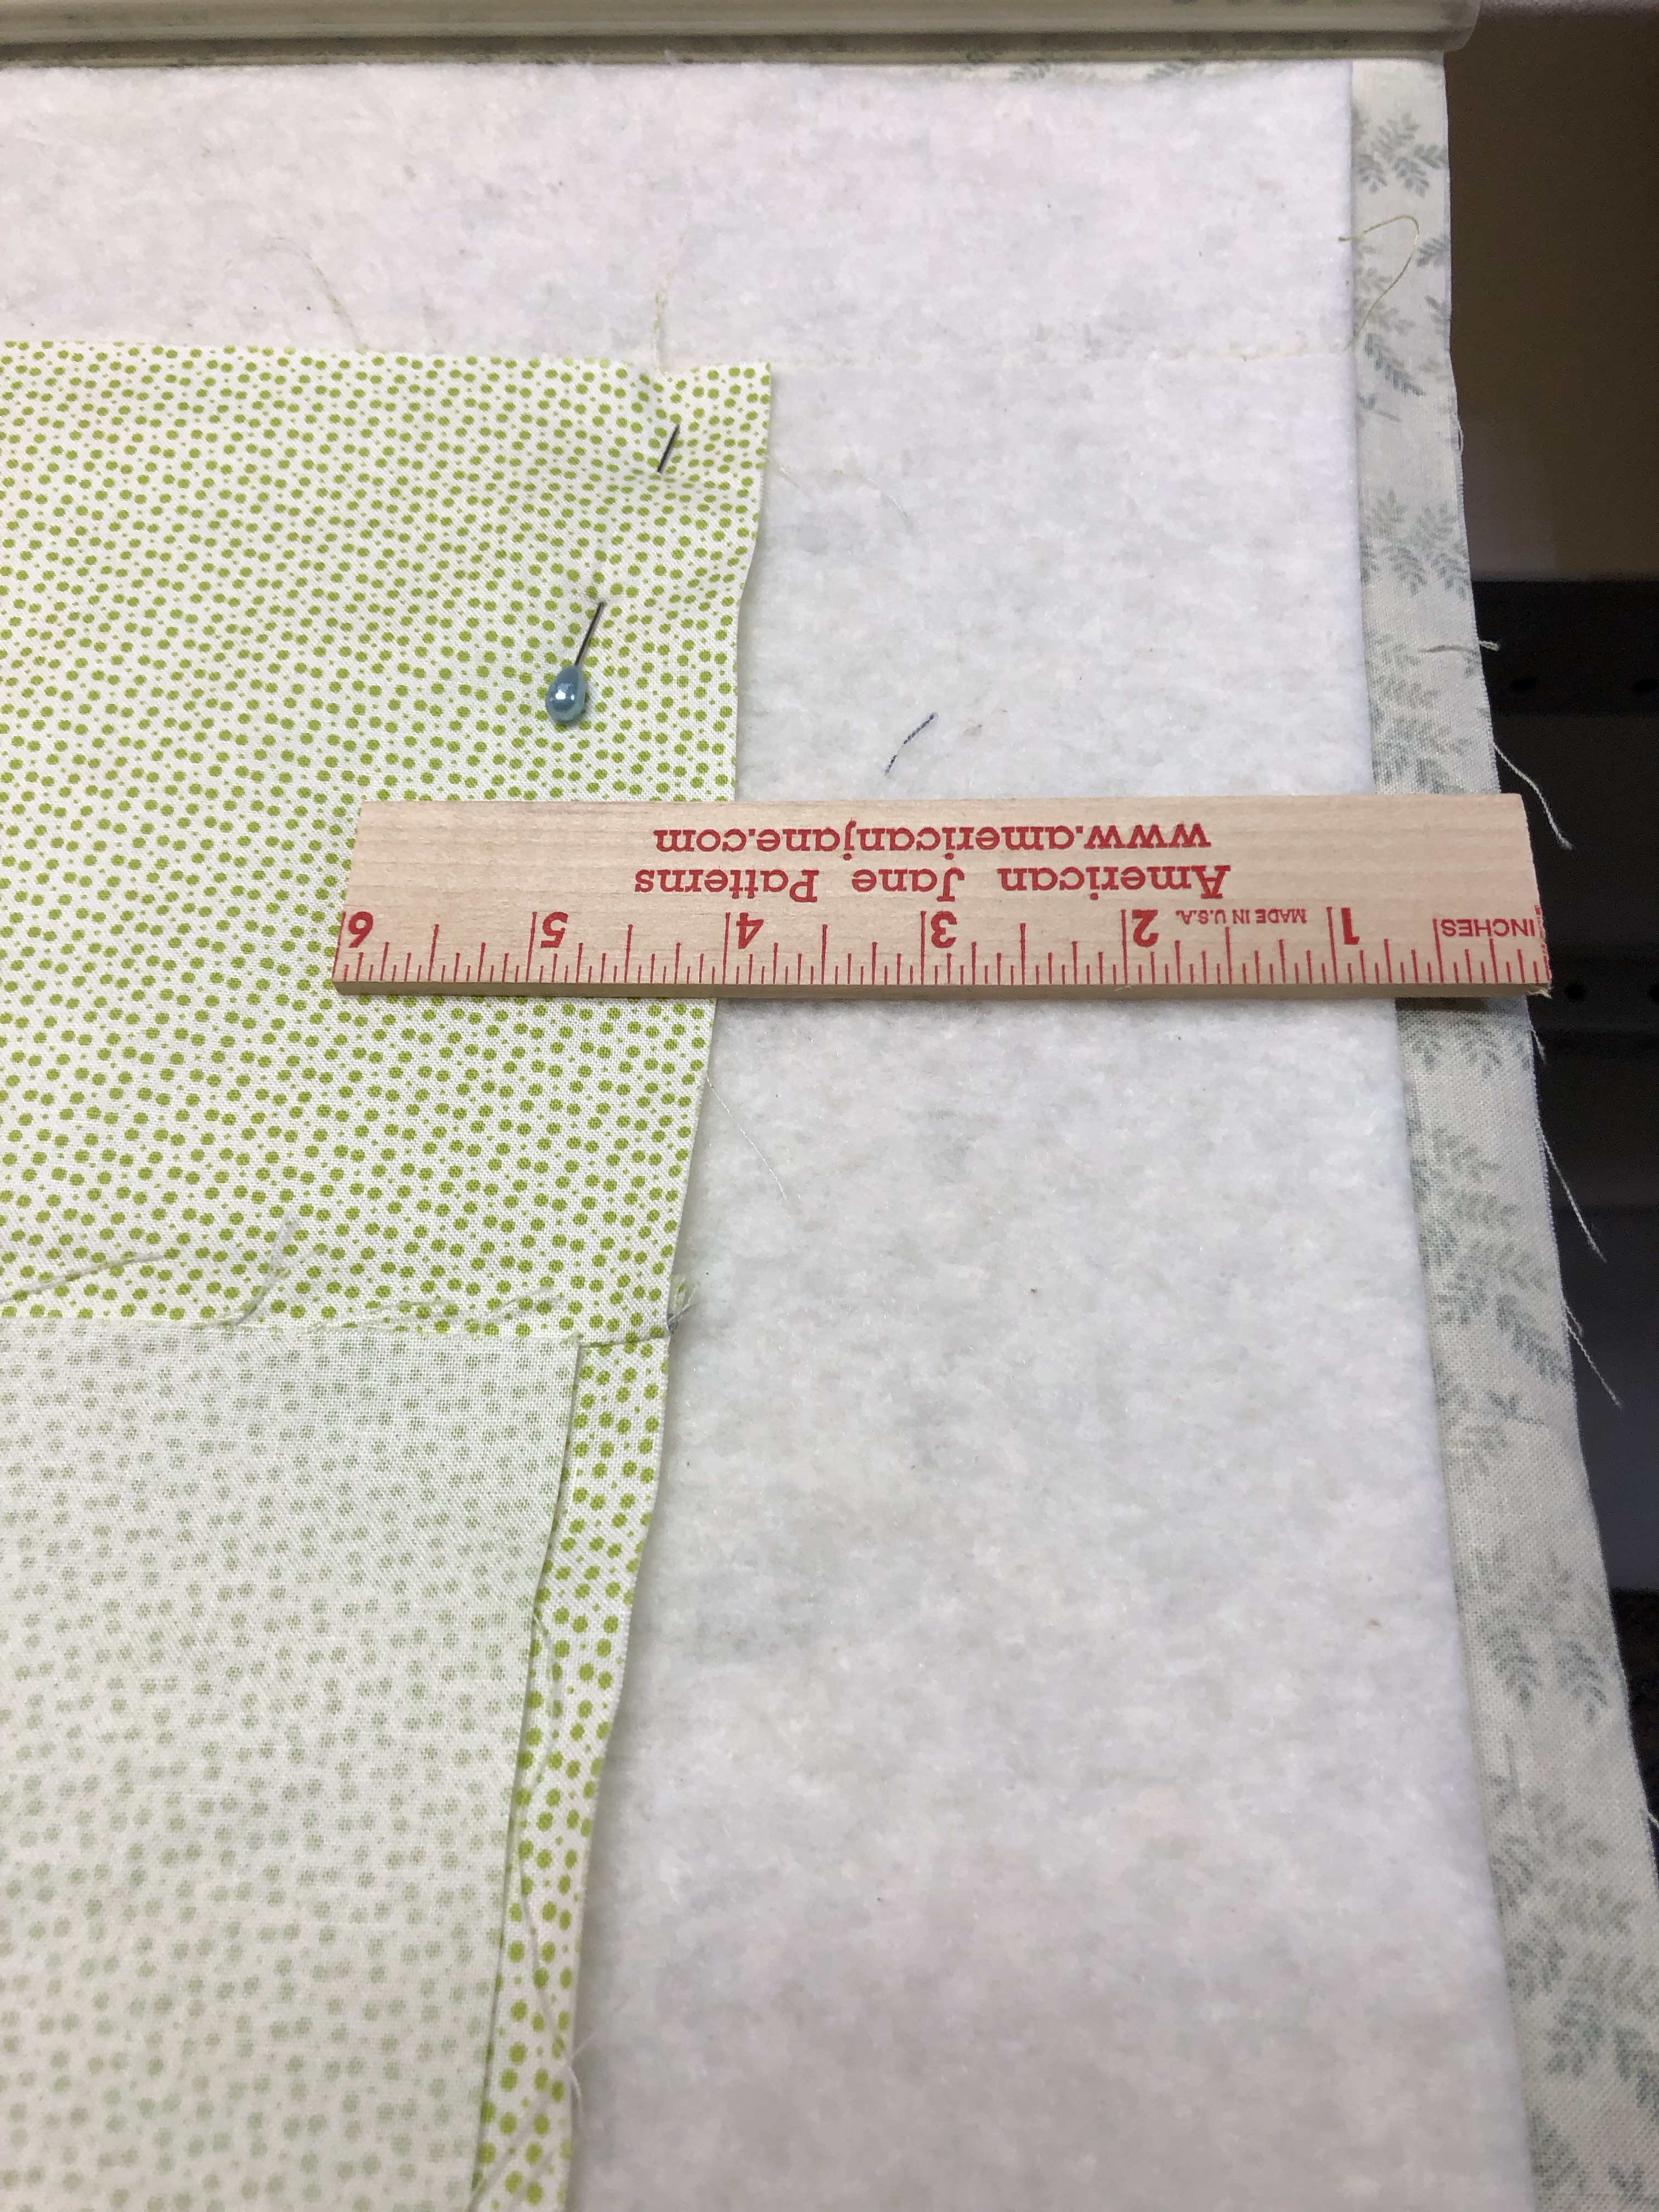
Next I lay the batting on the quilt back. When I measure batting I make it about an inch smaller than the quilt back so I can see the edge of the backing fabric when clamping and advancing the quilt. Notice she has given me the 4″ I asked for. I prefer the backs be no less than 4″ and no greater than 6″ on each side. This helps me know how you want the quilt centered. If you prepare it this way there is less a chance for error in centering or having the back turned. I baste the batting with a horizontal line which should be about 3″ down from the leader now because 1″ is wrapped into the leader grip.
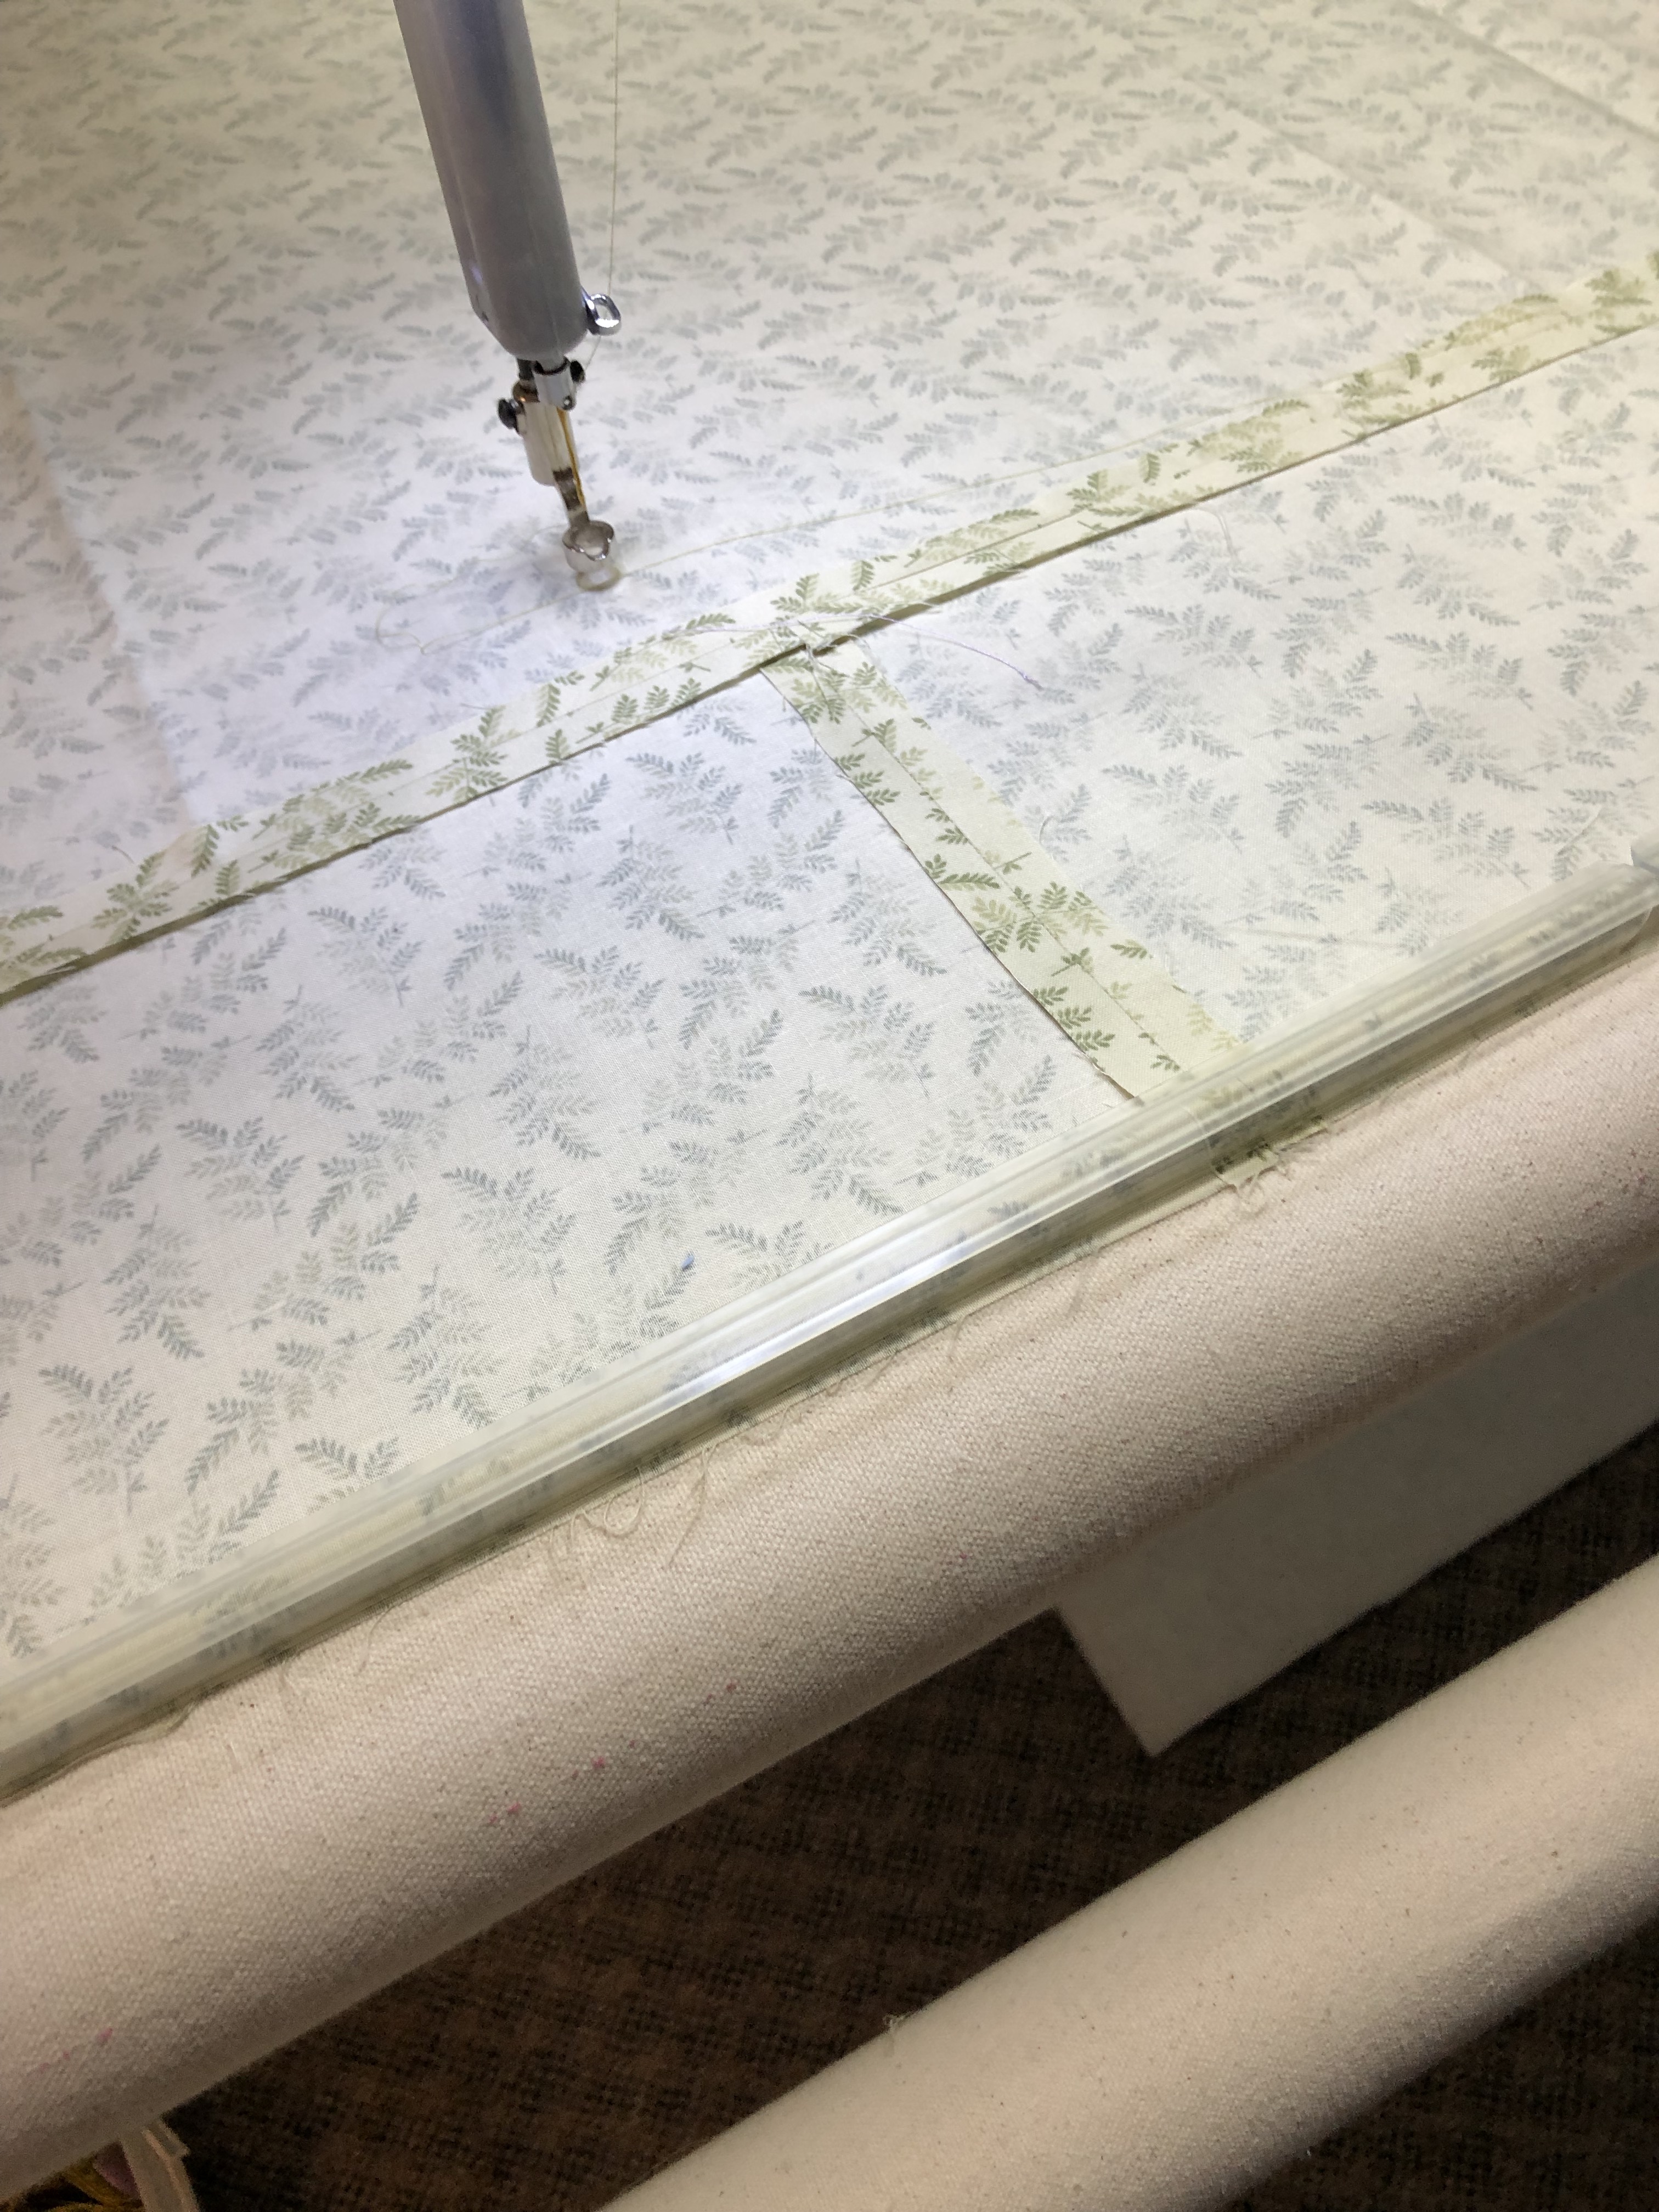
Next I lay the quilt top over the batting right side up. I can easily line up the top edge of the border to the stitched line and make sure its centered properly. I should have at least 4″ of quilt back on both sides now. Once in place I pin it and baste the top. I’ll advance the quilt, smooth and position it then baste along the sides. I full float the quilt top and fold up the bottom portion to get it off the floor and keep it pressed.
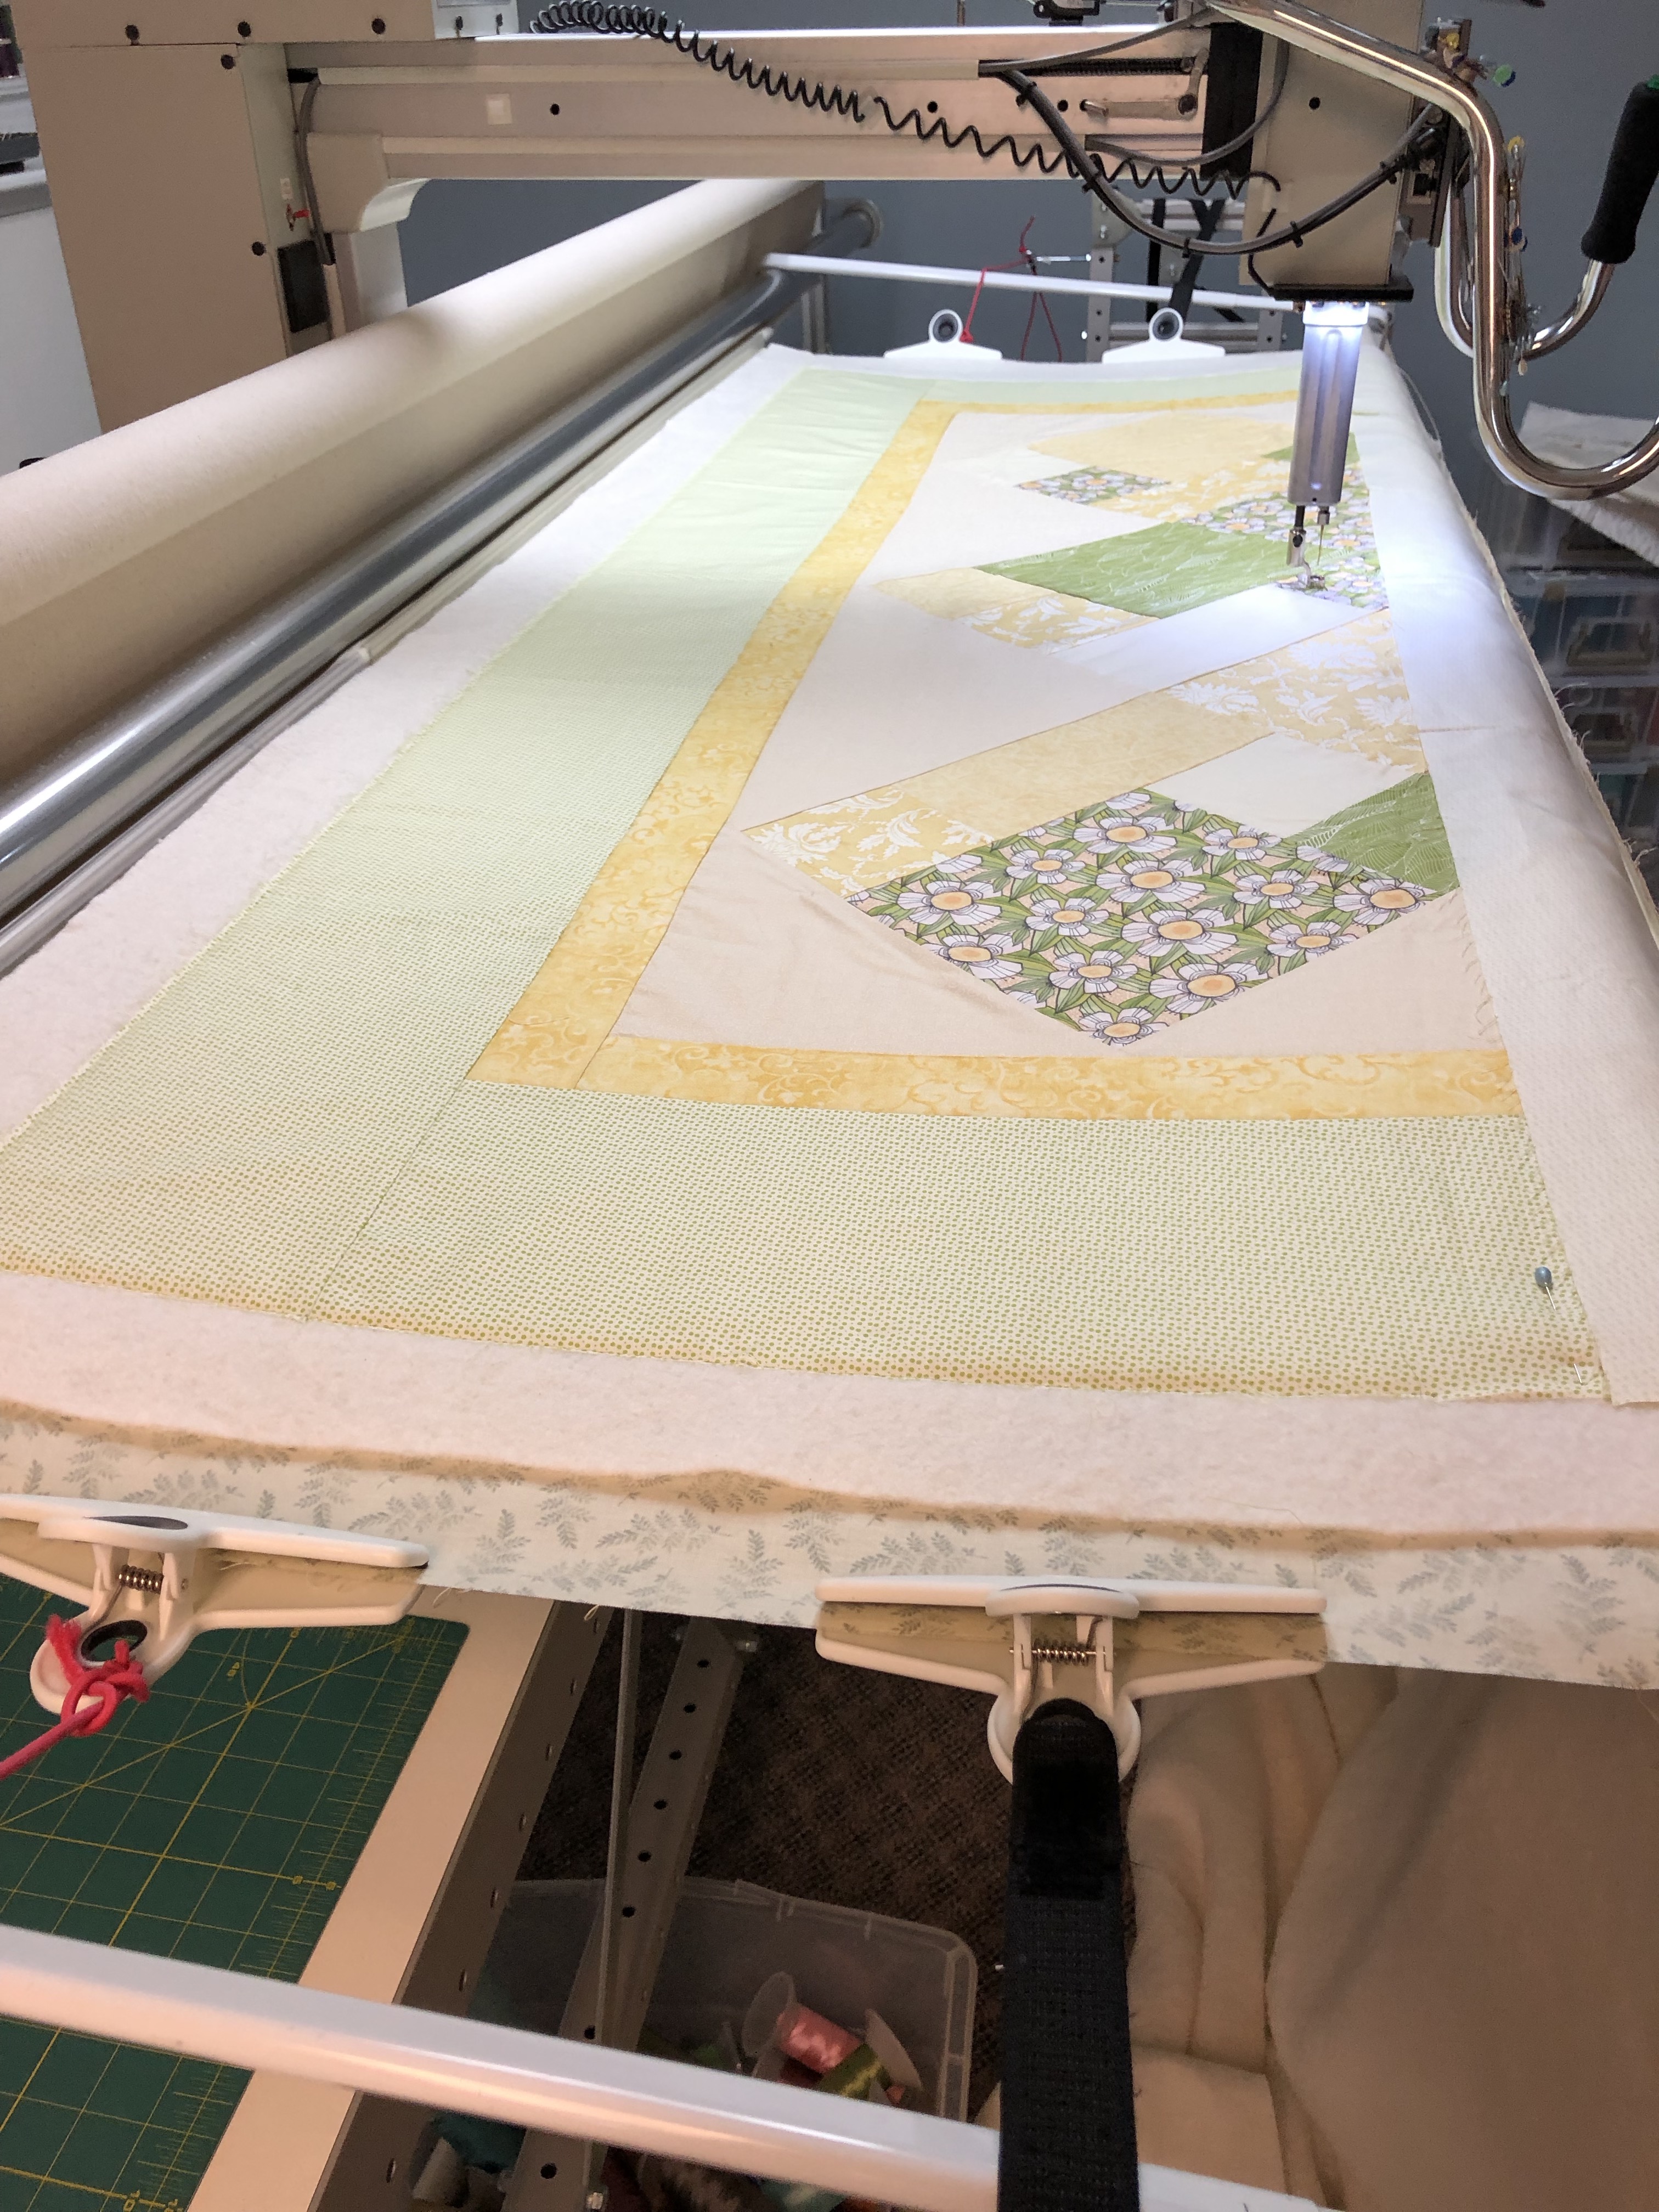
This is a nicely pressed, flat top and back which is how they all should look when I load them but alas….many don’t. Extra work by a quilter takes more time therefore special care fees are applied. The quilt is folded in half and you can see that it hangs nice and straight. If it had fullness issues you would see wavys and it would not lay flat.
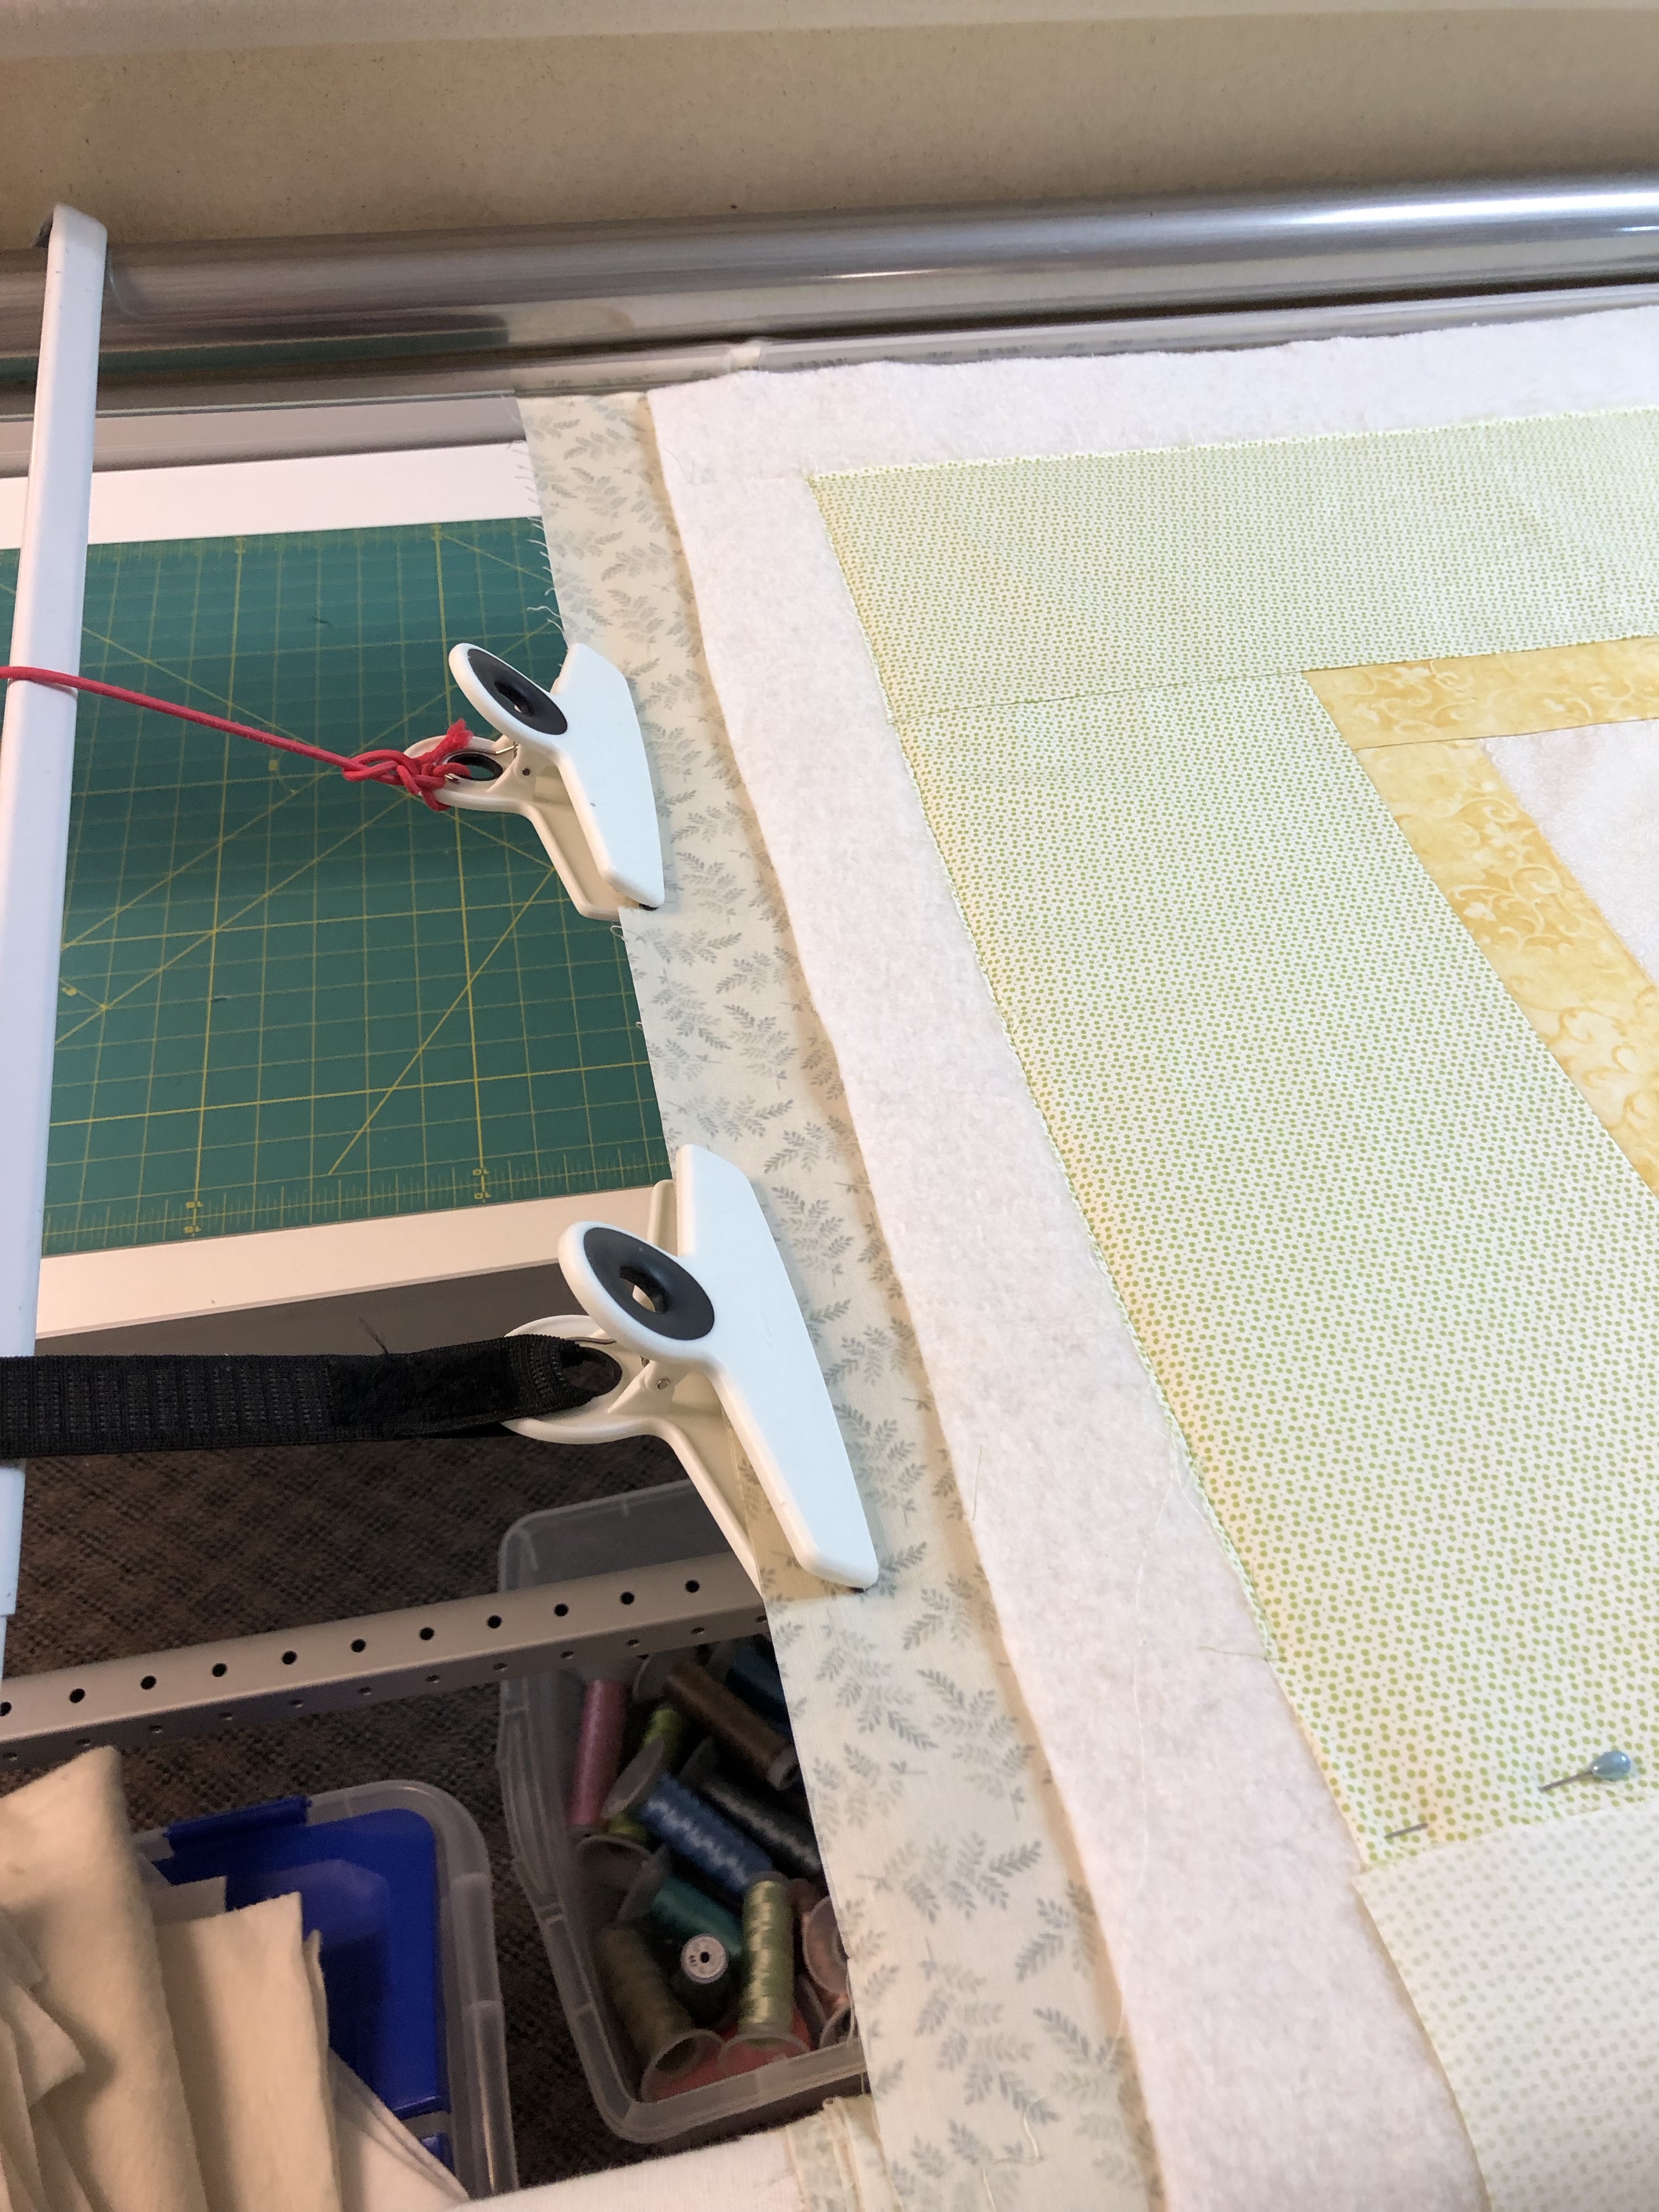
In the bottom photo you can see I clamp the back to keep it from pleating in the center but do not pull it tight. Your quilter cannot see what’s going on very well underneith. We try to keep an eye out for things with mirrors but the best option is sending them a flat back.
The curtain hangers keep the clamps from pulling down on the sides. The extra fabric on the sides allows my machine to move to the edge without getting hung up on the clamps. Thats why I need 4″ and no less. This is how a quilt should look when loaded.


There is a check list on how to prepare a quilt for your quilter and other details under the ‘Quilt Prep’ tab.
Here are a couple more quilts by Rosanne. First is her One Block Wonder Quilt.
Next is her Block of the Month quilt.

Rosannes Kaffe fabrics Quilt, the quilting design is Apex.


I spent the day reworking the Digital Design page. You should see more designs now and they area in categories. Look for the Design Tab near the top of the website. You’ll see headings before each category now.
I’ll try to get more listed to make it easier for you to look for a design prior to appointment time. It’s a slow process but my goal is to get all of the designs listed.
The squares are small but represent about 10″ to 12″ design size. If there are 2 rows in the square you can figure they are 5″-6″ in size. I hope this is helpful when you’re planning your quilts.
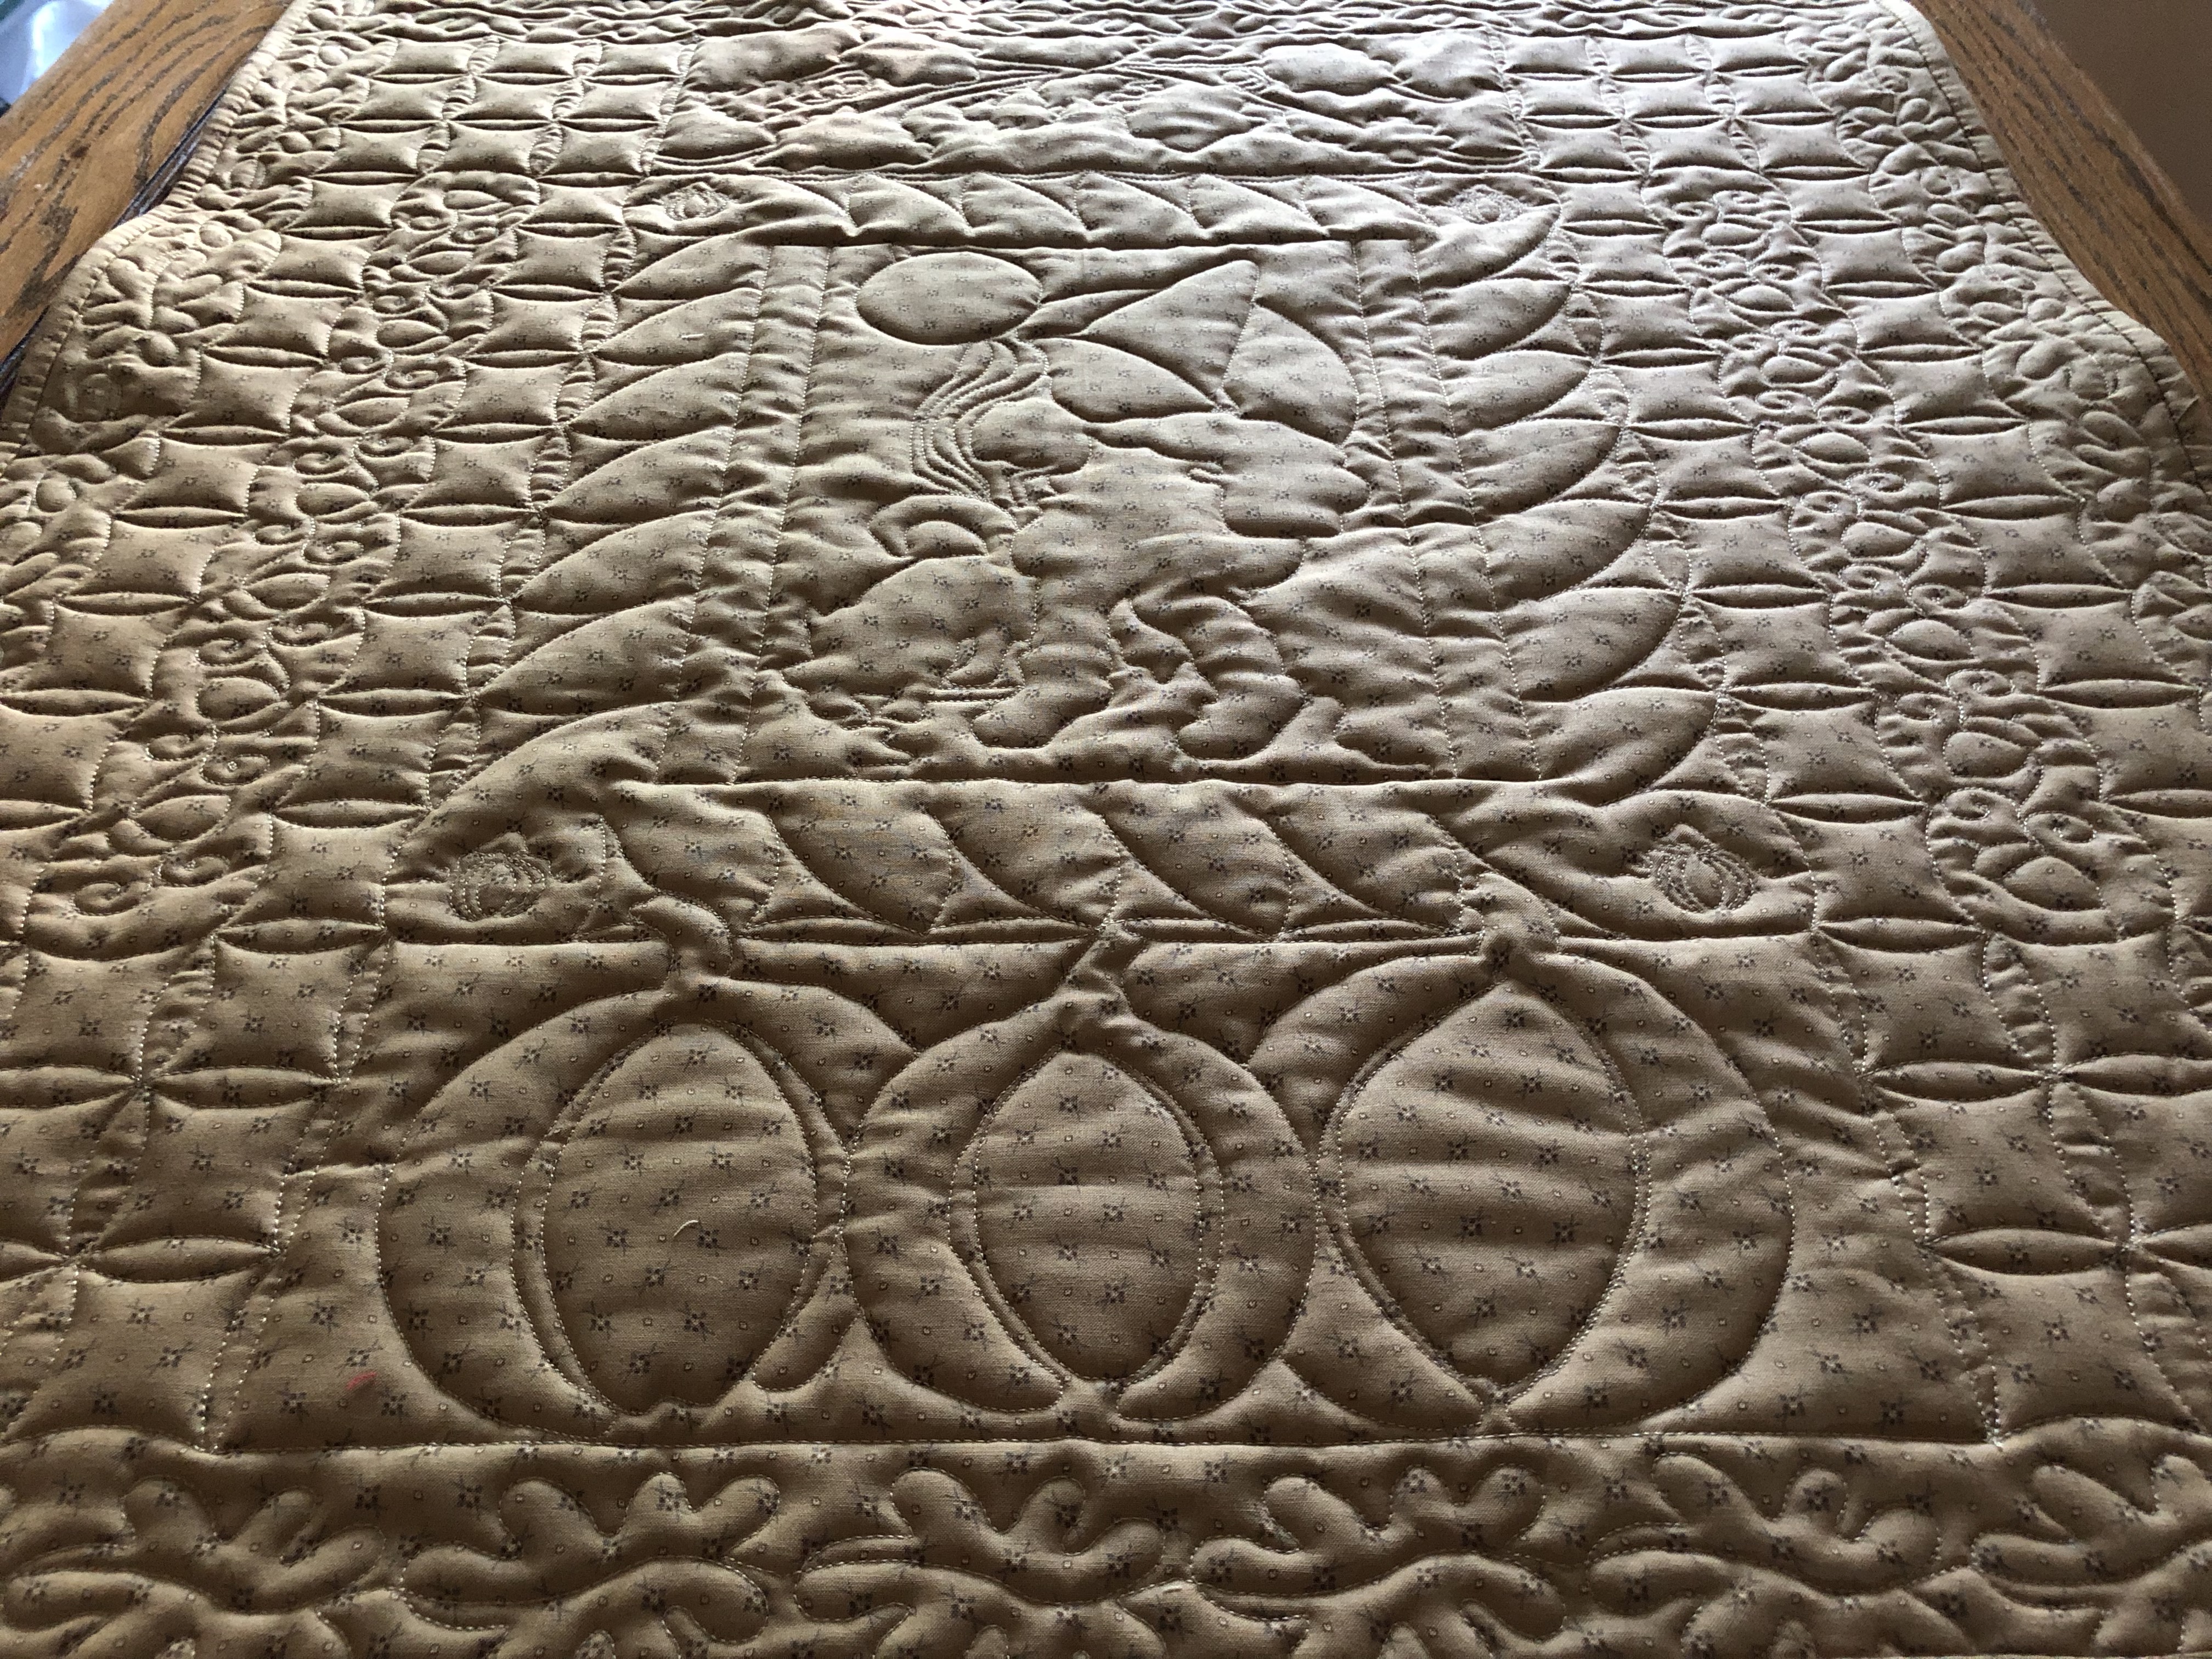
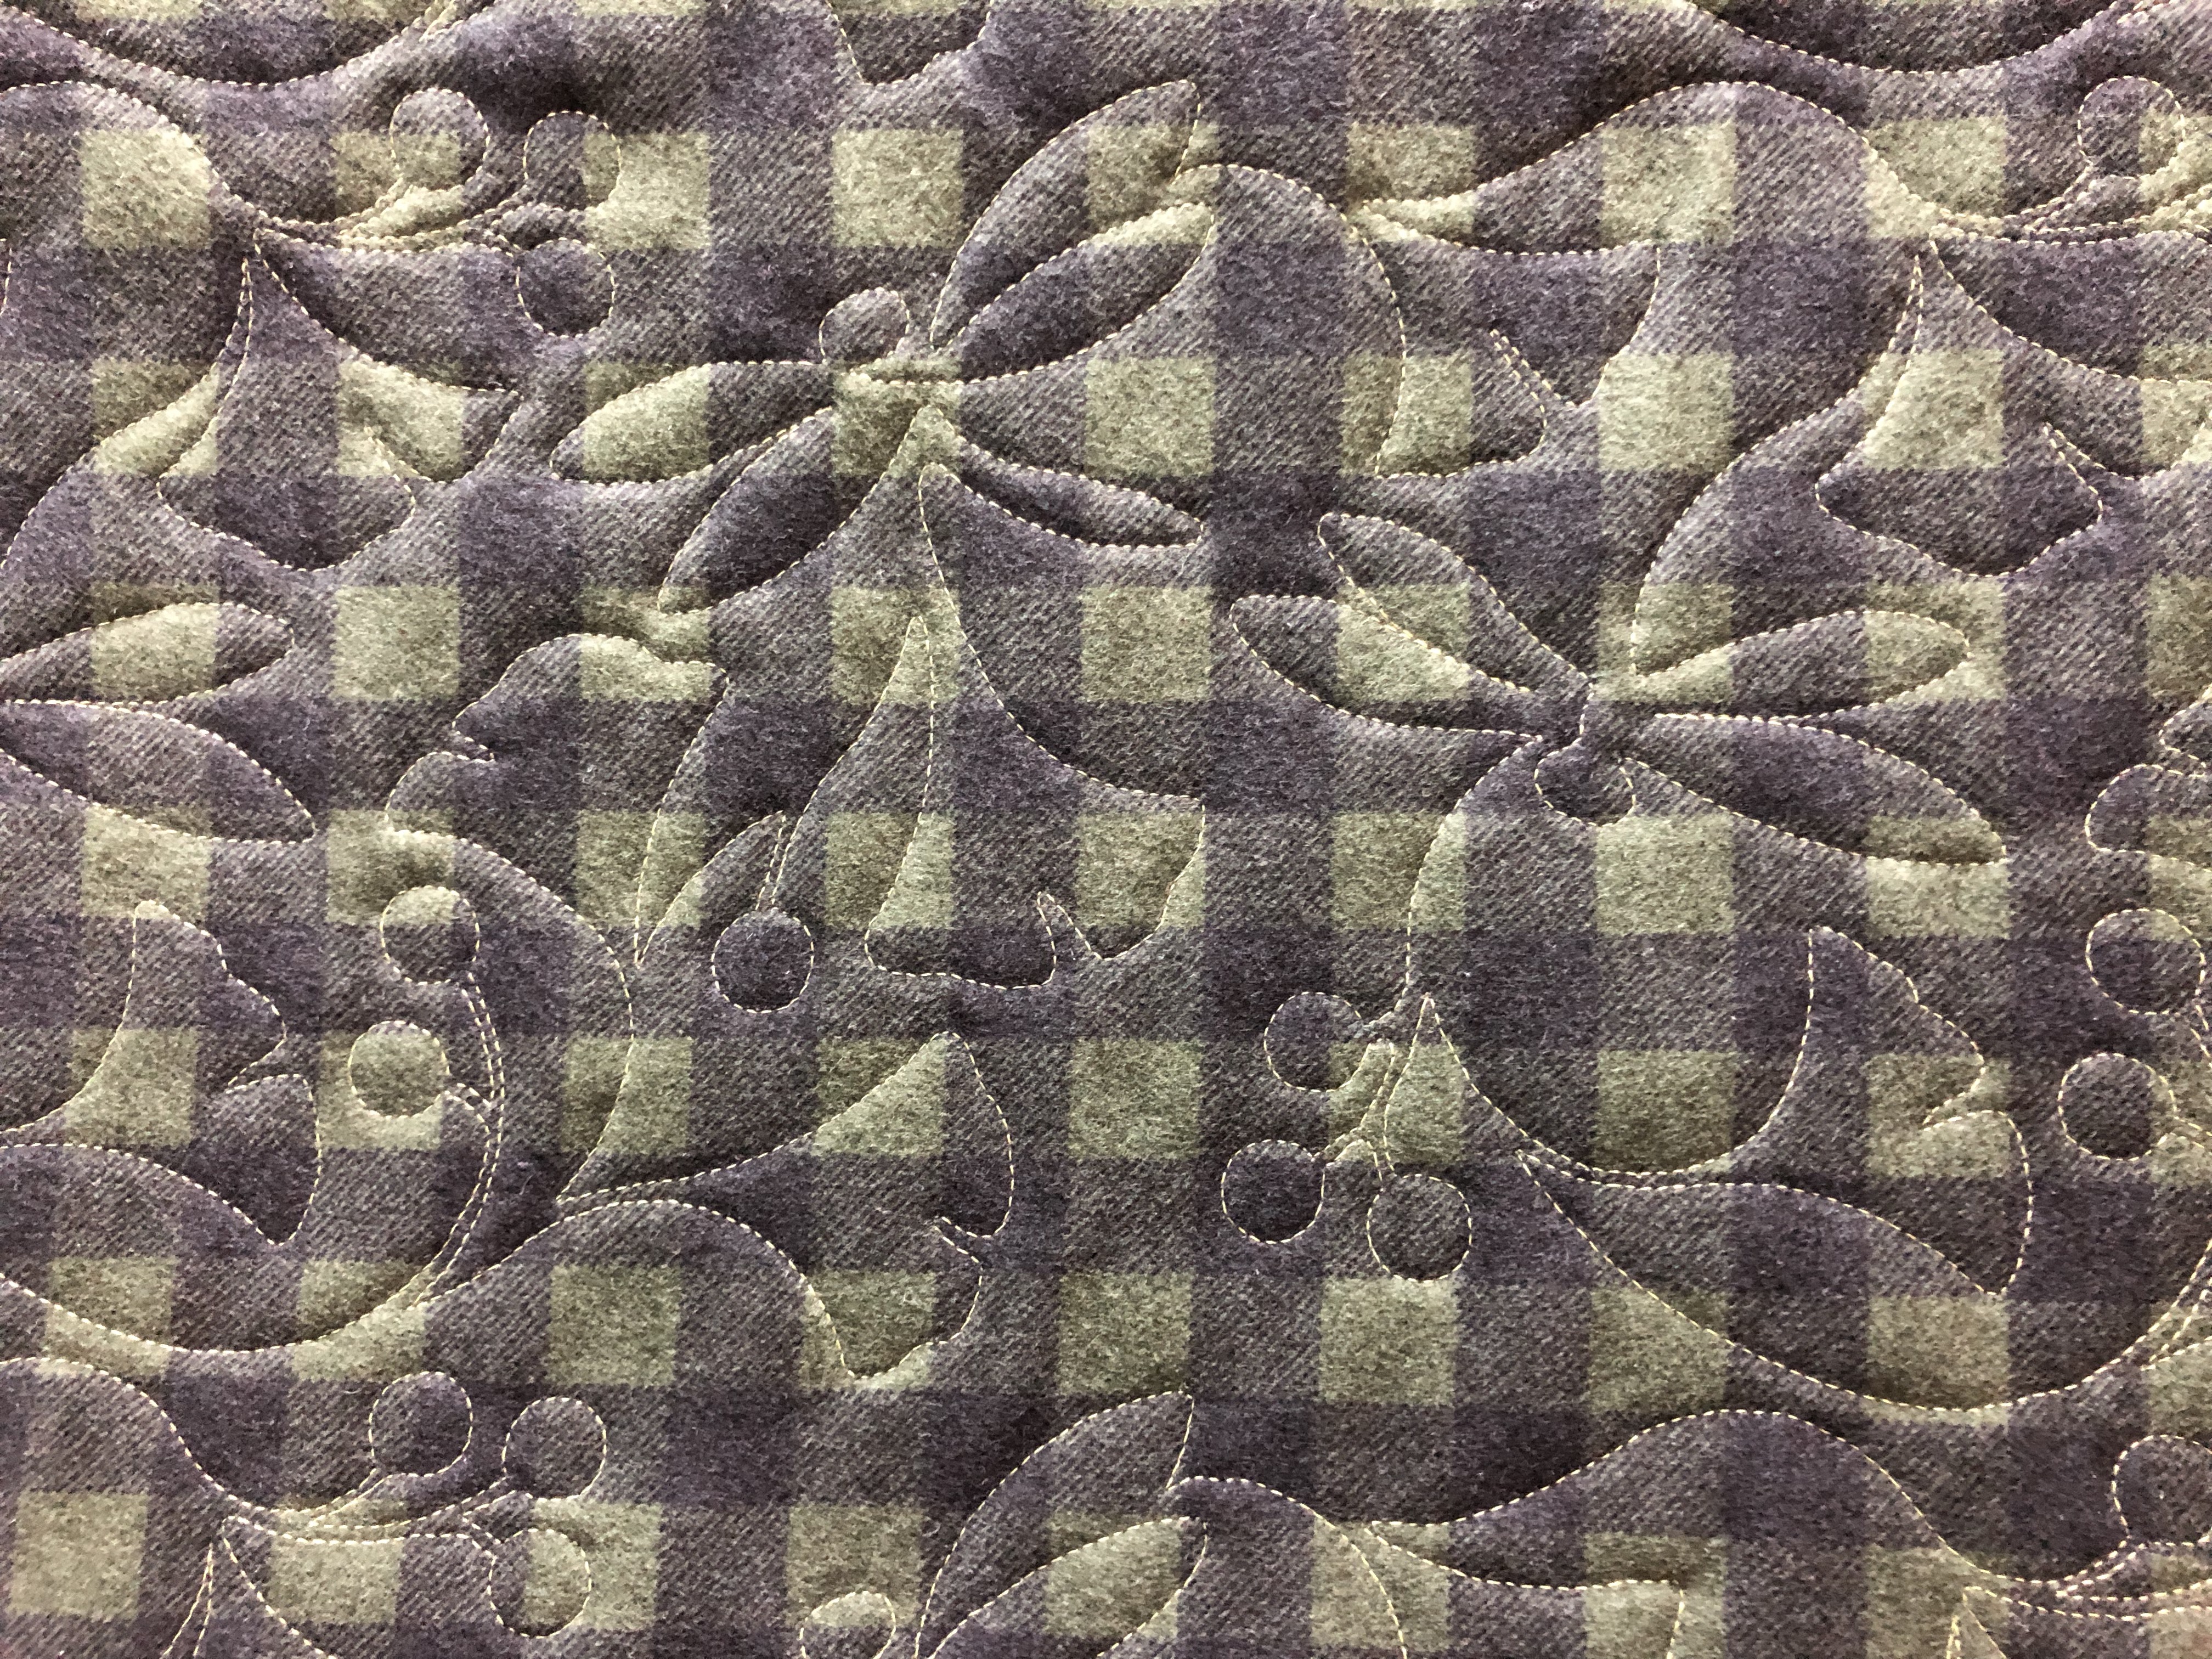
I have had this panel in my closet for years. I decided to finally get it out and quilt it. I didn’t take the time to press the edges so they are a little twisted from just finishing the binding. Its actually very flat I just didn’t take any time reshaping before taking the pics. I decided to custom quilt it with some wool batting to give it a little more depth.
I did some outlining, continuous curves, put some acorns into the orange sashes, pumpkins in the orange cornerstones, and leaves in the border. I think it’s a sweet little Halloween quilt.