My small stitch group decided to do a Round Robin. Here’s how it worked: Each of us made a quilt block. This block would become the center of our own Round Robin Quilt. We decided on a rotation and planned to swap at our meetings. Since there were 5 of us participating we decided to allow 2 months between swaps. This was quickly changed to one month unless you found you needed more time. That turned out to be a guideline, as many of us finished sooner than expected each month.
We agreed early on to collusion, if you needed help call anyone in the group for ideas or fabric other than the owner of the quilt. This became the fun part, plotting and planning behind the scenes. We included Shirley from our group as an advisor since she always has some great ideas and really was helpful. As we added sections to each quilt we would send photos to each other, keeping it a secret from the owner of the quilt. We also found ourselves swapping fabrics & ideas.
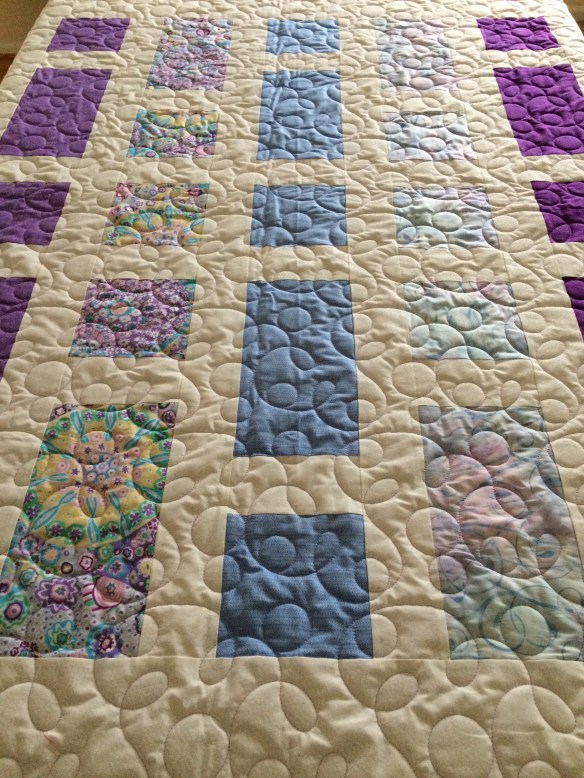
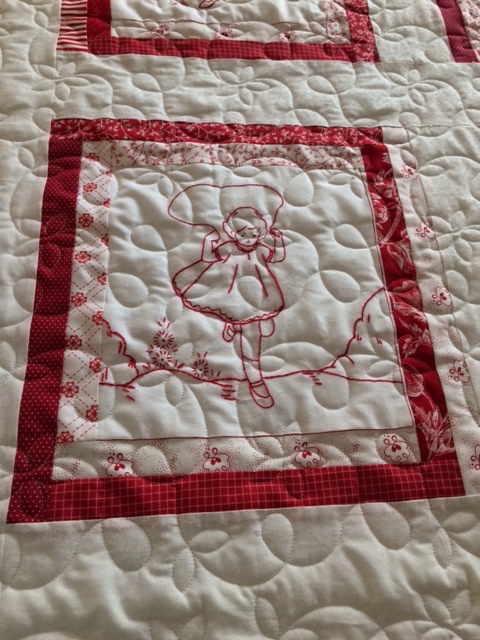
We were surprised how nice they all turned out & revealed the finished tops at one of our meetings. Here is the first one I received, Rosanne’s block. It was 12″ x 12″. I wanted her center star to be a bigger focal point and recalled a Swoon Block pattern that I had. It worked perfectly to emphasize her star.
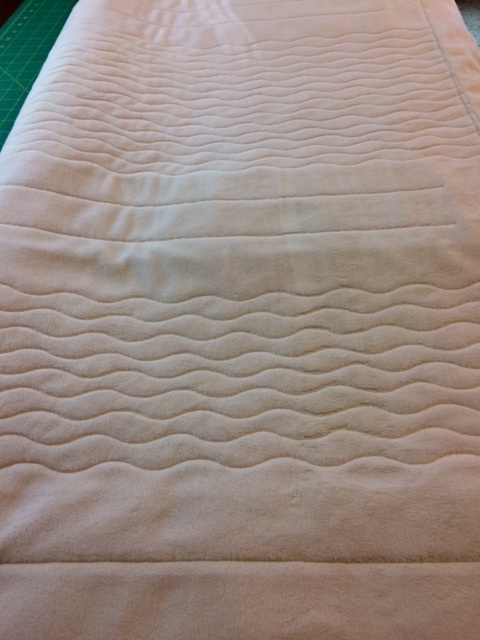
This is her final quilt after quilting.

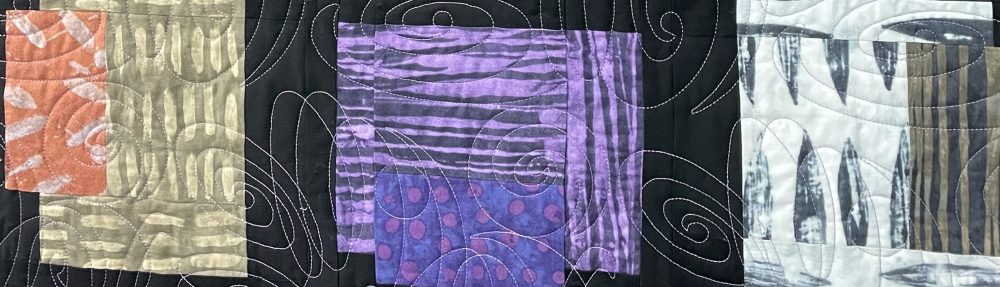
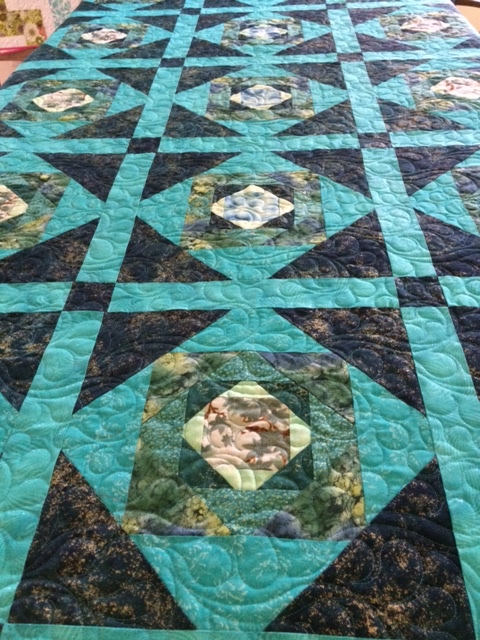
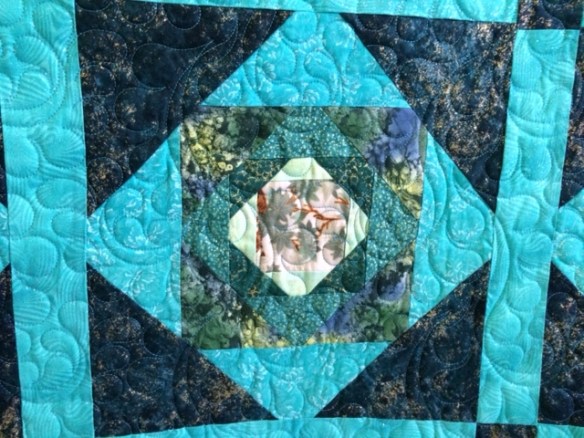
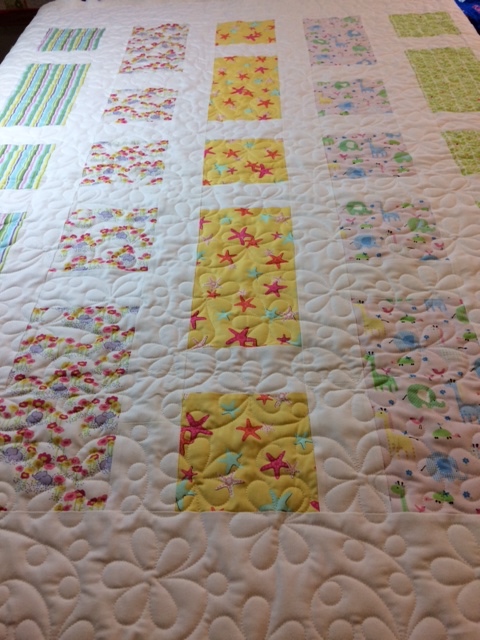
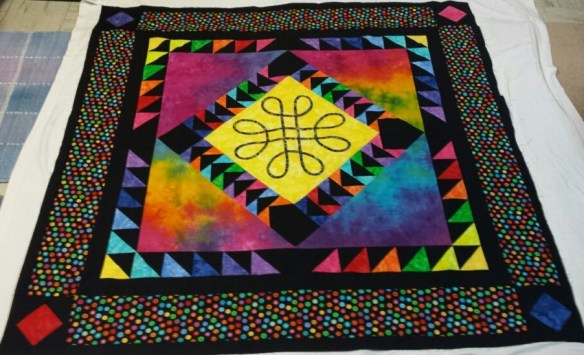
The Second quilt I received was Amy’s. She had a celtic center and Rosanne added the flying geese. I added cornerstones to her flying geese and put it on point using a cool multi hand dyed fabric I’d have had in my stash.
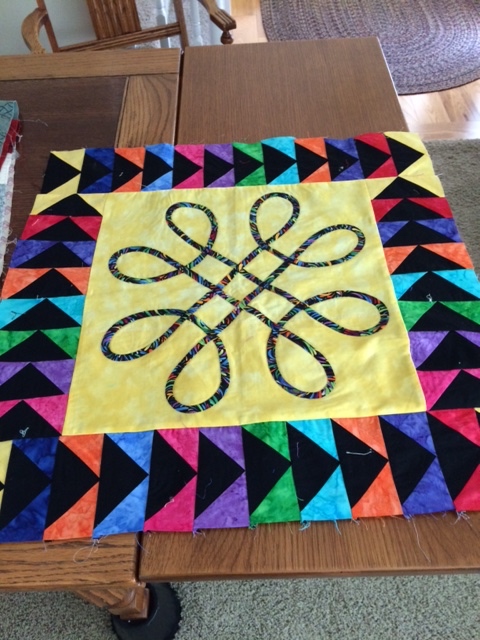

This is Amy’s quilt after the finished quilting.
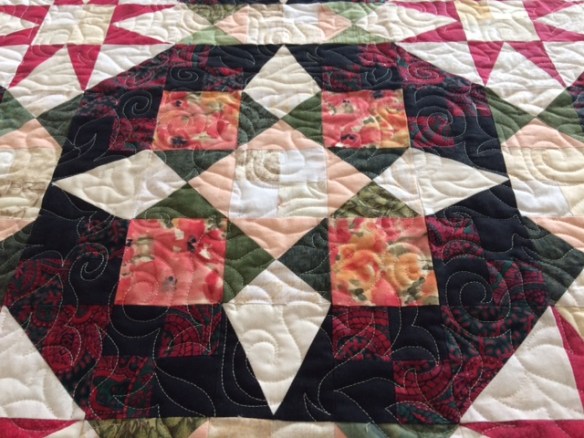
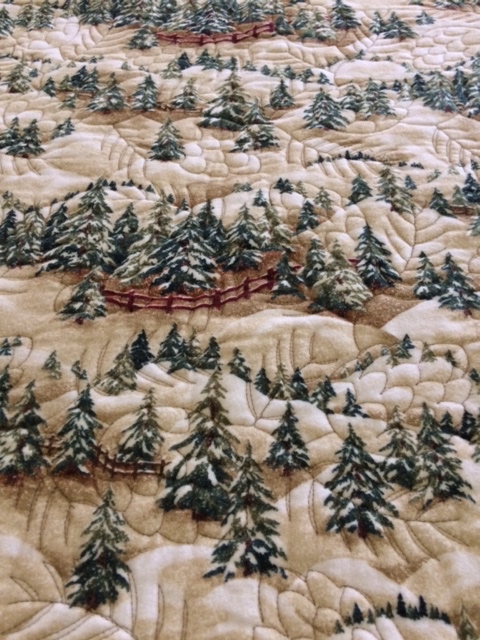
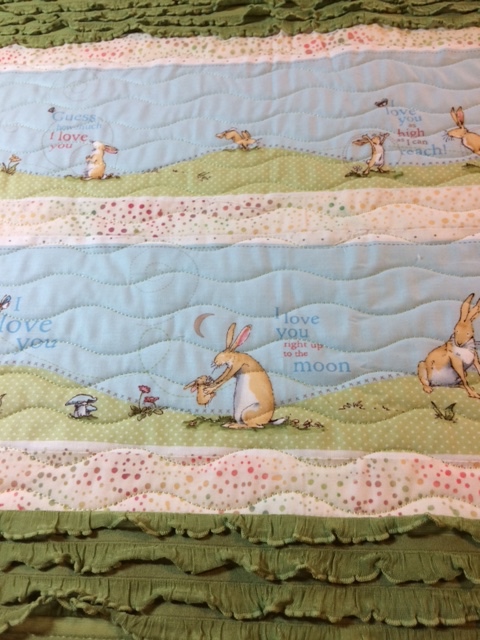
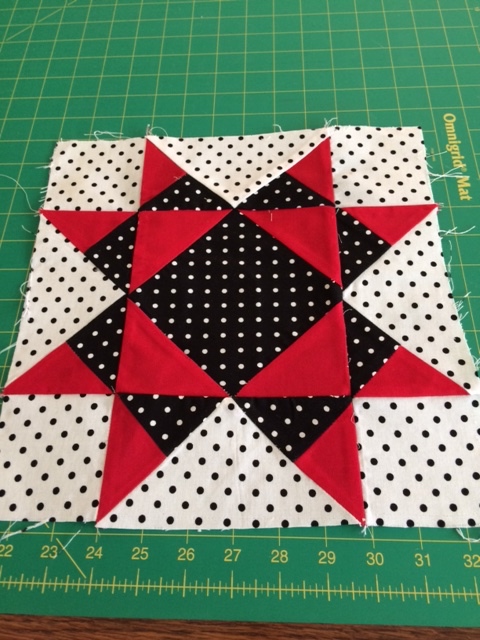
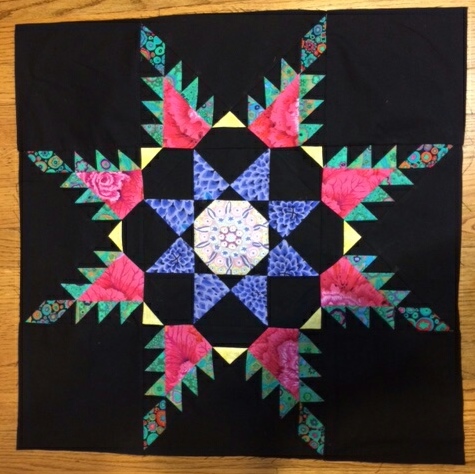
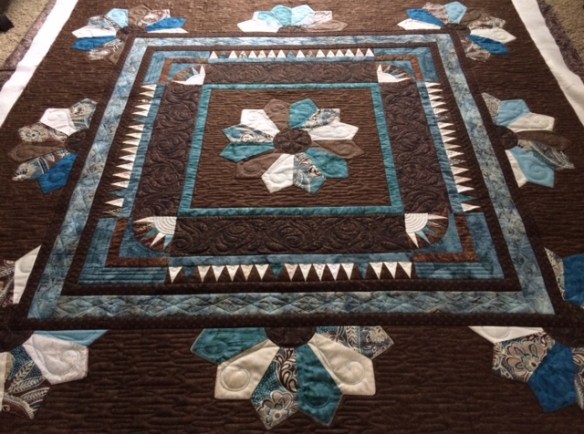
Nancy O whipped up this feathered star block out of Kaffe Faccett fabrics . Amy and Rosanne added to her block before me. My contribution is the 3 patch around the outside edge. I had just enough of this fabric to make it around her quilt, which was growing fast 70″ x 70″ . She easily turned this into a queen quilt before it was finished.
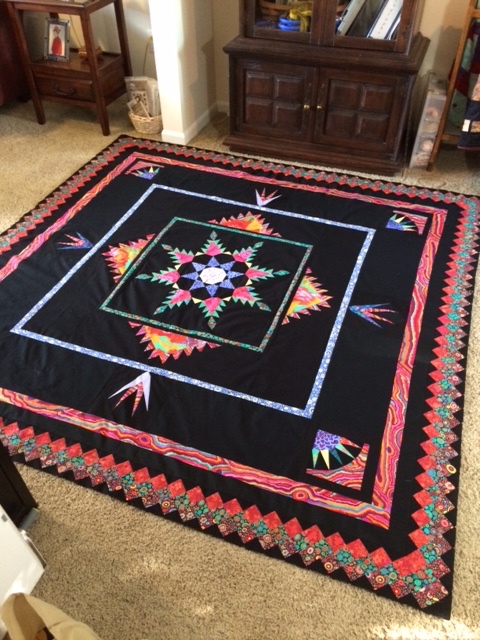
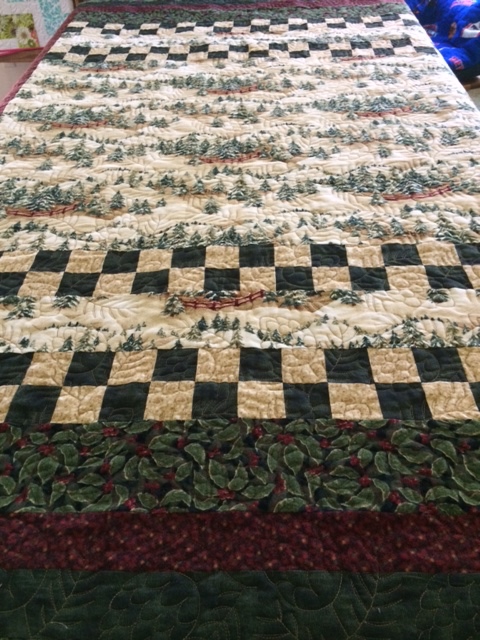
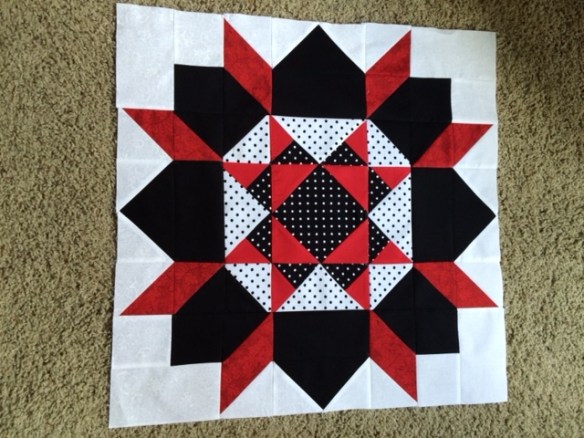
Here is Nancy O’s final quilt.

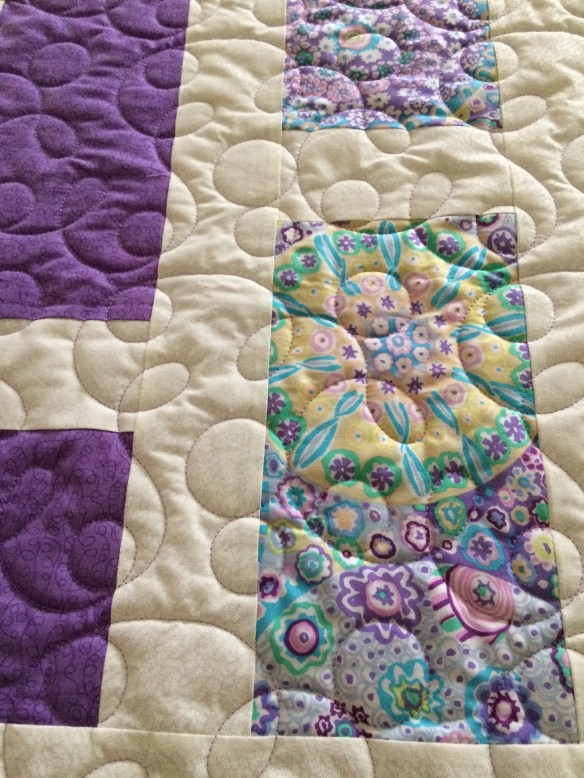
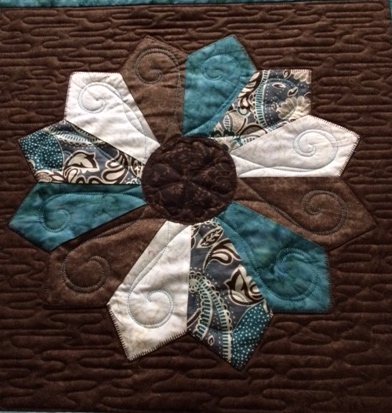
Martha had made a bunch of dresden plate blocks but never put them together for a quilt. She decided to use one for her quilt center. We found some of her fabrics tricky to match. It was purchased while on a Caribbean cruise so we couldn’t get any more of it. I was the last to work on her quilt & got the rest of her dresden plates, which had some more of this limited print fabric in them. I also got her permission to cut them and add to her quilt. This photo shows what her center block looks like before all the other details were added. Then the finished quilt.
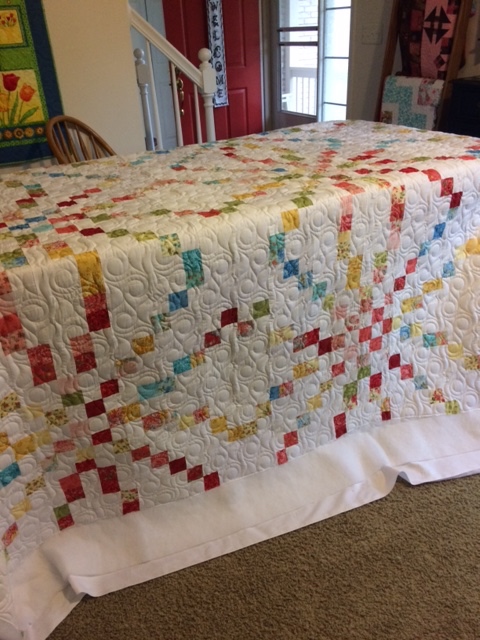
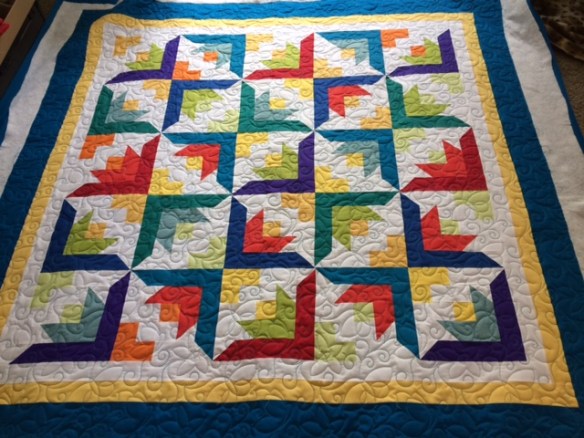
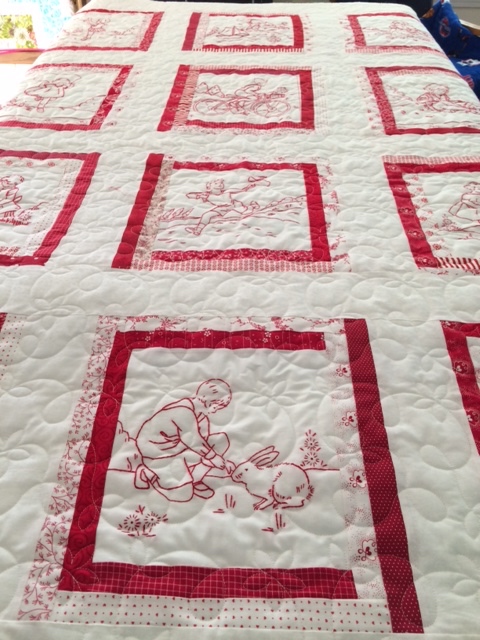
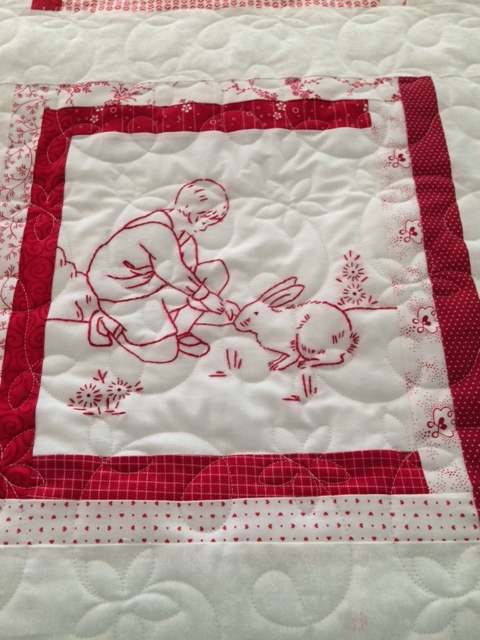
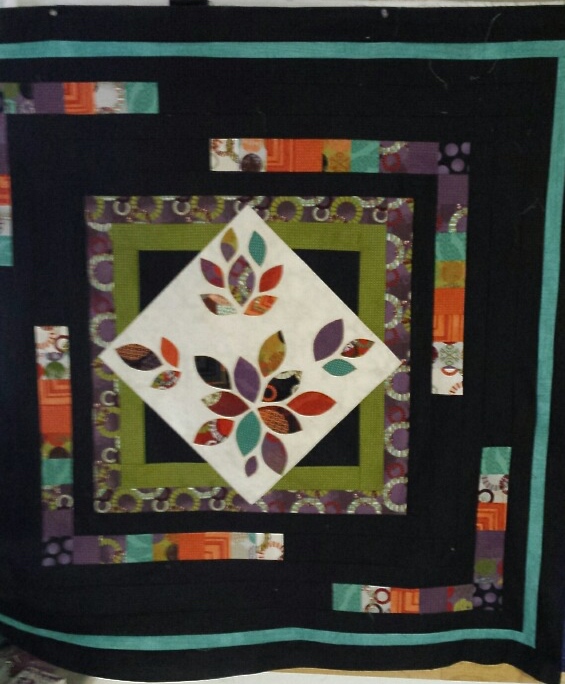
The last quilt block is my mine. I saw this block in The Practical Guild to Patchwork by Elizabeth Hartman. The quilt was called Little Leaves. I used a charm pack of fabrics by Zen Chic. I had been waiting for the right project to use it. The group found more of this fabric print to use in my quilt. I really love what they came up with.

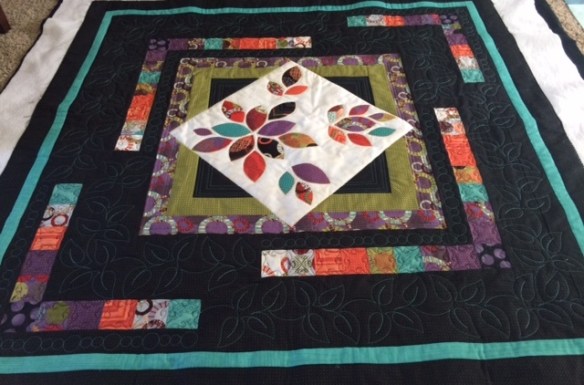
Here is my almost finished quilt. I still have some fill quilting work to complete on it.
Thank you to all that participated. It was a lot of fun. I think we all learned some new tricks along the way. Best of all, we all ended up with a beautiful quilt .